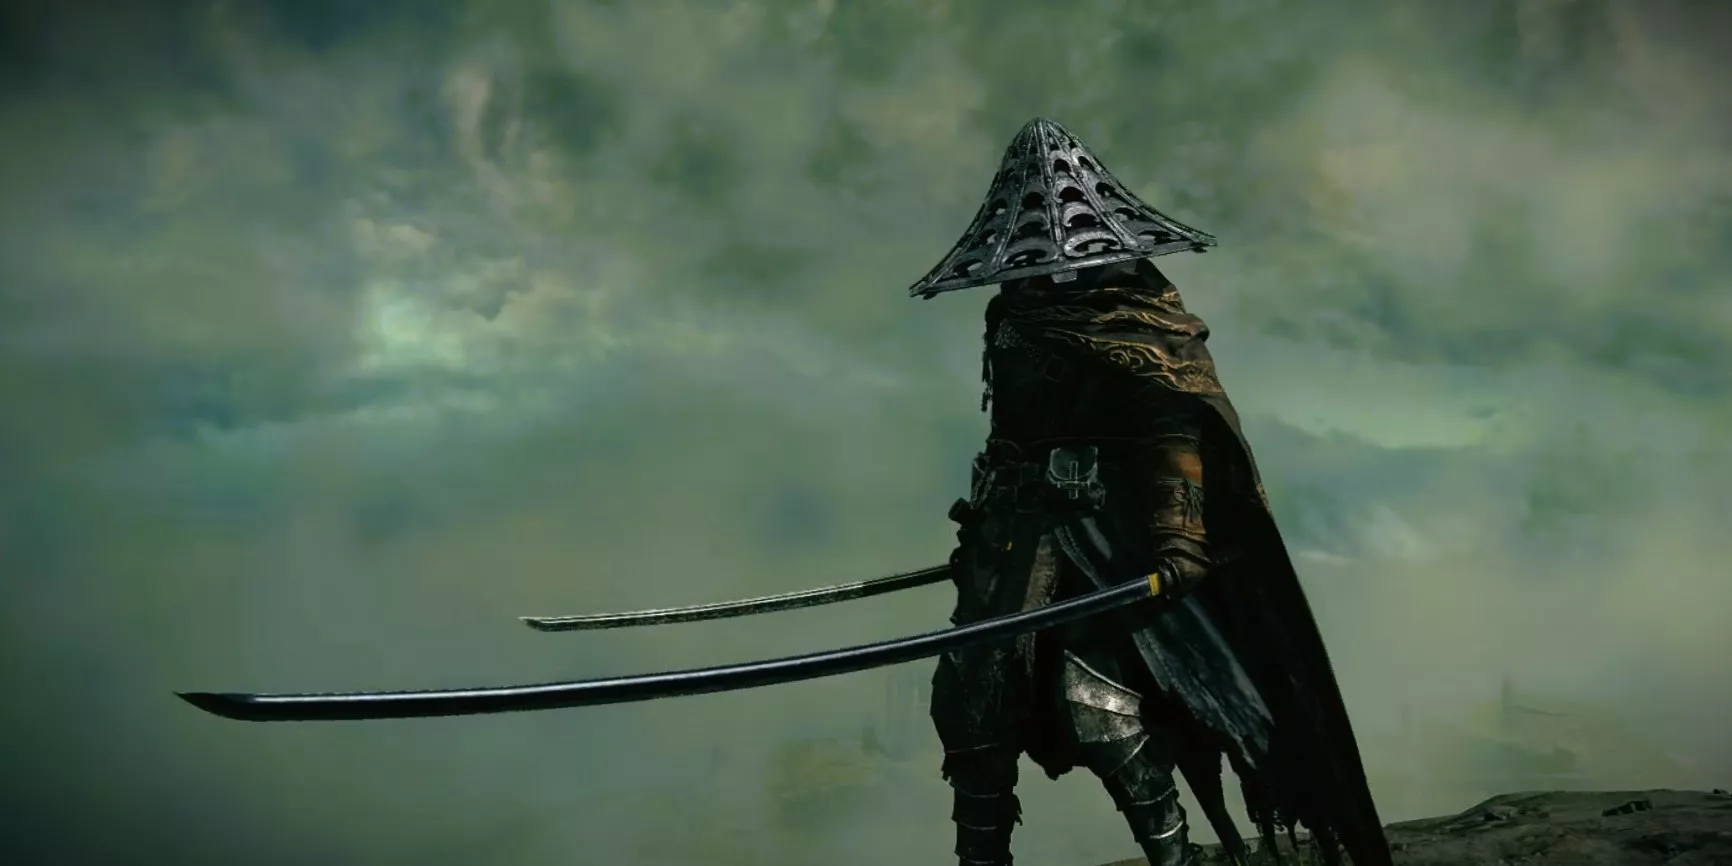
The Nagakiba, the genetically superior sibling of the Uchigatana in the Elden Ring katana family, boasts an impressive stature. Tarnished seeking a quick rundown on how to acquire this elongated katana have four options at their disposal:
- Defeat Yura: Take a direct approach and eliminate Yura when you encounter him along the river north of Murkwater Cave. This choice forfeits his quest.
- Complete Yura’s Questline: Alternatively, follow through with Yura’s questline, which extends into the mid-game. This method offers a more involved narrative experience.
- Wait and Retrieve: If you’re in no rush, simply let Yura be, and you can return later in-game to collect the Nagakiba from his usual locations.
- Trade with Other Players: For those who prefer a cooperative approach, you can trade for the Nagakiba with fellow players online.
Each of these four methods comes with its own set of advantages and disadvantages. The decision ultimately rests with the Tarnished, who must weigh their priorities and goals. It’s worth noting that Bloody Finger Hunter Yura, the NPC crucial to obtaining the Nagakiba katana, also plays a role in determining the availability of another powerful weapon. The specific weapon’s availability depends on which of the four methods the players opt for.
For a more comprehensive understanding and to make an informed choice based on the potential rewards and level of effort involved, here’s a hands-on guide detailing the steps to obtain the Nagakiba.
Killing Yura Prematurely
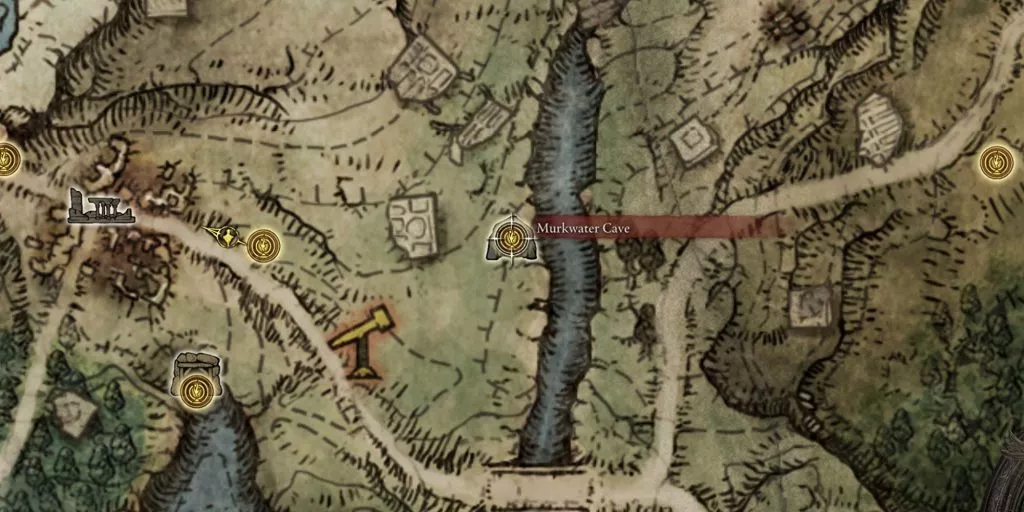
To acquire the Nagakiba without delay, follow these steps: After defeating Nerijus, continue north along the river, and you’ll find Yura concealed in a shadowy area, exuding an air of coolness. You can engage in conversation with him, but if you’re eager to obtain the Nagakiba immediately, you have the option to initiate combat with Yura.
Be prepared for a challenging battle, especially if your character is of a lower level. However, there’s a tactic you can employ to your advantage. You can effectively stun-lock or stagger Yura, making the fight more manageable. For added convenience and to minimize the setback of defeat, consider touching the Grace located inside Murkwater Cave, where the Patches questline unfolds. This will provide you with a convenient respawn point in case Yura proves to be a formidable adversary.
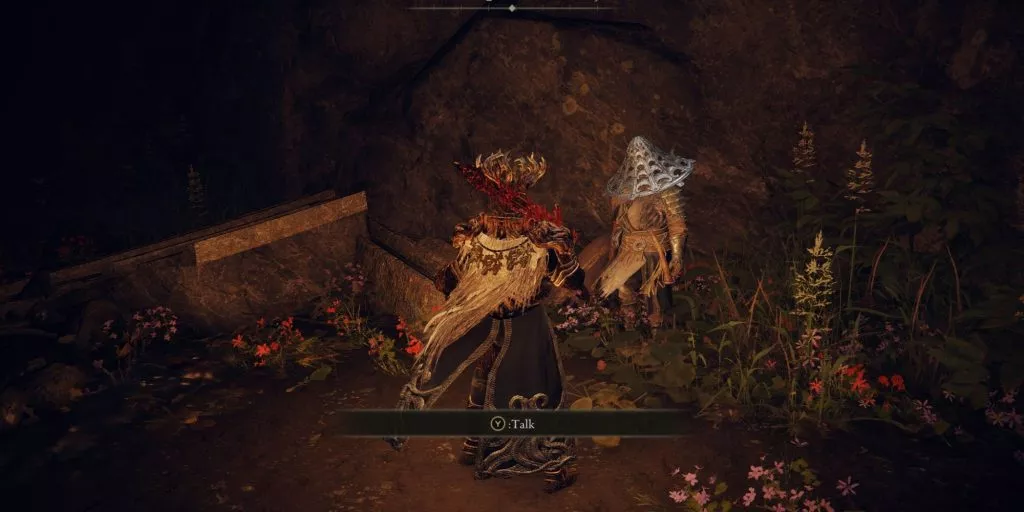
If you choose to eliminate Yura in combat, your reward will consist of the Nagakiba katana, a handful of Runes, and nothing more. However, it’s important to note that Yura’s armor set will not be among the spoils. So, for those eagerly eyeing his armor collection, this method of obtaining the Nagakiba may not be the most suitable choice.
Completing Yura’s Questline
For those who possess the patience to delay instant gratification and seek greater rewards, engaging in conversation with Yura, rather than resorting to violence, is a more advantageous choice. Completing Yura’s questline not only yields the Nagakiba katana but also unlocks Eleonora’s Poleblade—a premier Bleed weapon in Elden Ring. Additionally, you’ll receive the Ash of War: Raptor of the Mists, a valuable weapon skill, and the Purifying Crystal Tear.
This questline, however, is rather extensive and necessitates the unlocking of the Altus Plateau, often considered a mid-game area in Elden Ring. Here’s a detailed, step-by-step guide on completing Yura’s questline:
Meeting Yura in Limgrave:
- Head towards Murkwater Cave and confront Bloody Finger Nerijus.
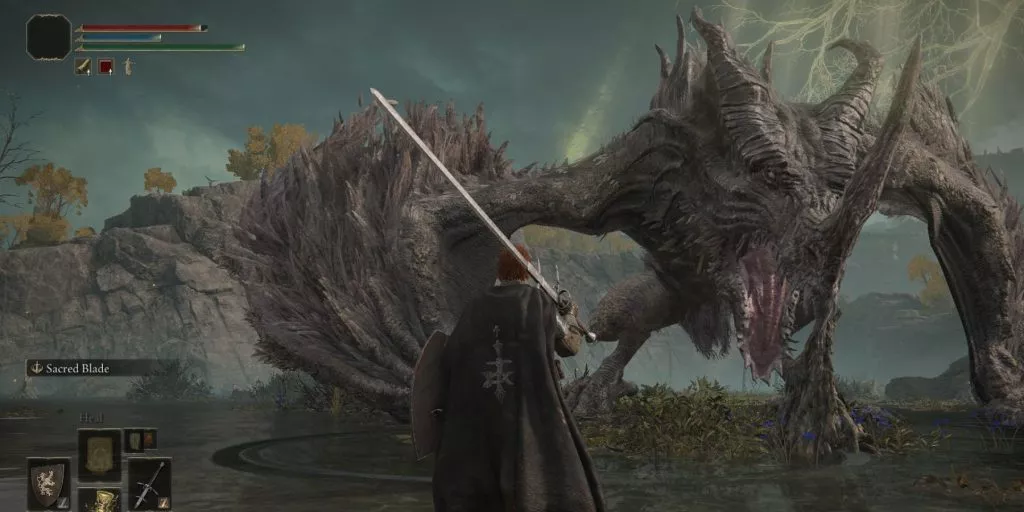
- Continue your journey north along the river until you spot Yura. Engage in conversation with him. He’ll hint at something concerning the dragon in Agheel Lake and advise players to exercise caution.
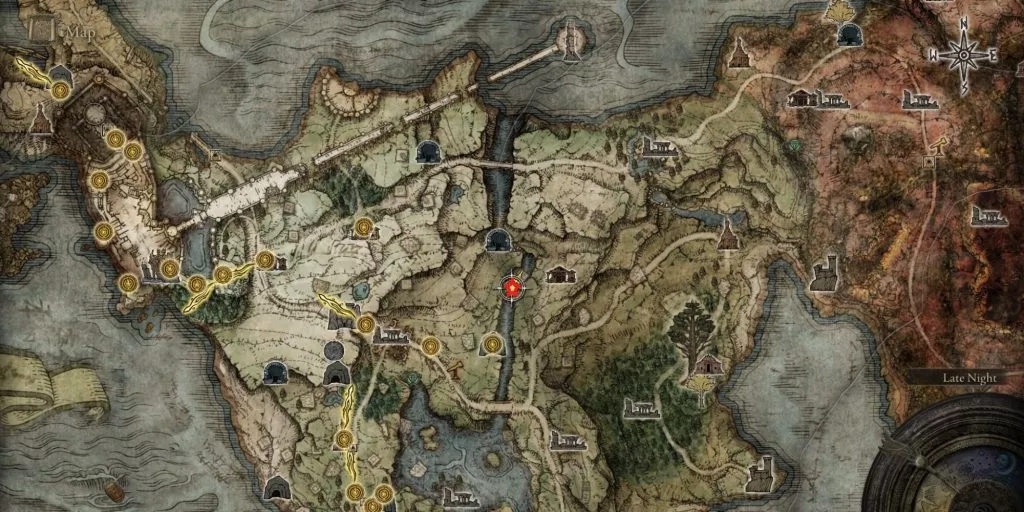
Optional Step: Players have the choice to either vanquish the dragon in Agheel Lake or spare it; this choice does not affect Yura’s questline.
- If you decide to eliminate the dragon, Yura will reveal the Dragon Communion Church’s location on a small island south of Limgrave.
Meeting Yura in Liurnia of the Lakes
After your initial encounter with Yura in Liurnia of the Lakes, follow these steps to continue his questline:
- Obtain the Glintstone Key in Liurnia of the Lakes. You’ll find it guarded by a dragon located to the north of the Temple Quarter Site of Grace.
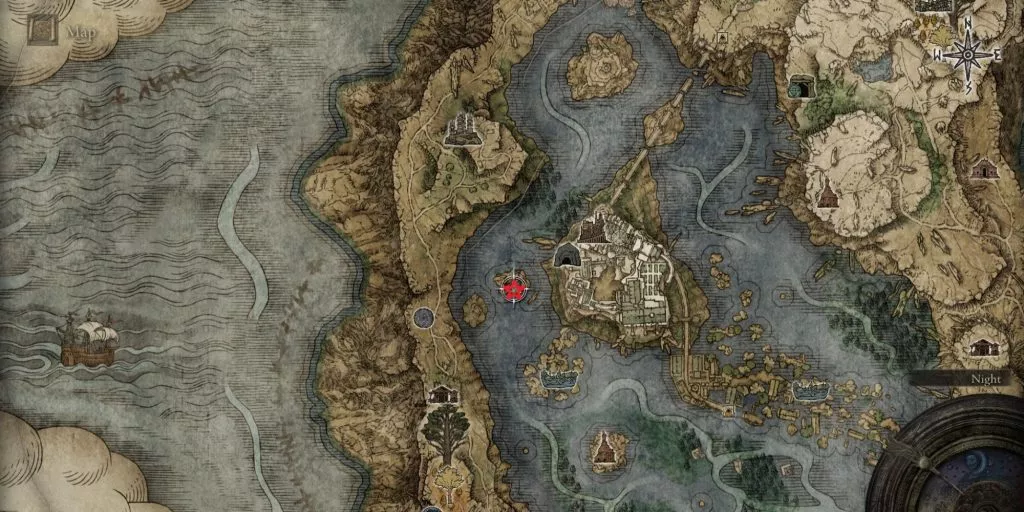
- Head to the Main Academy Gate Site of Grace, and keep an eye out for a small blue magical barrier in the vicinity. Enter this barrier.
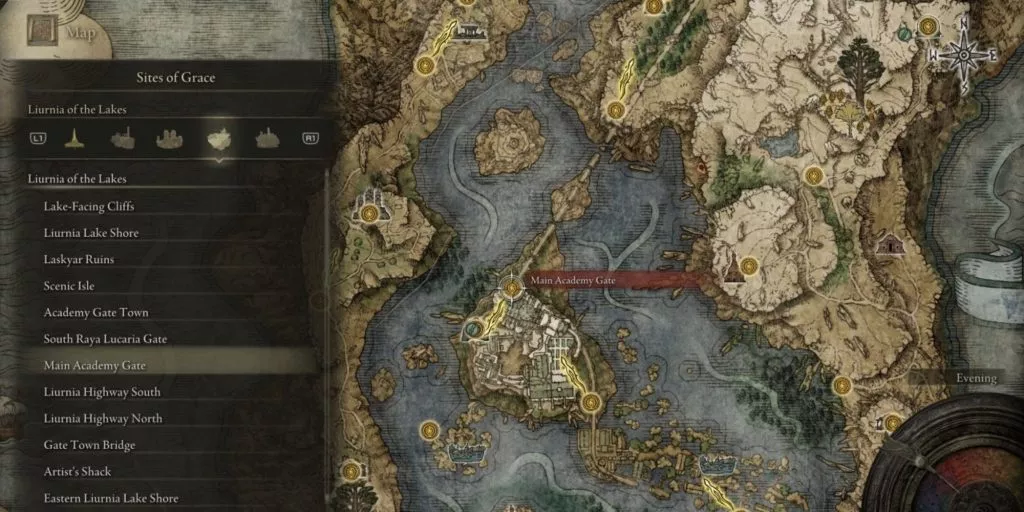
- Inside, you’ll come across Yura’s red summon sign along the pathway. Enter the sign to initiate a battle.
- Emerging victorious in this battle will grant you the Ash of War: Raptor of the Mists.
- After the fight, speak with Yura. You’ll find him near the location where his summon sign was initially located. This conversation marks an important progression in his questline.
Meeting Yura in the Altus Plateau
To continue Yura’s questline and ultimately receive the Nagakiba, follow these steps:
- Locate Yura in the Second Church of Marika in the Altus Plateau. You can find this church to the northeast of the Grand Dectus Lift and north of the Altus Highway Junction Site of Grace, along the main road.
- Engage in conversation with Yura. During this conversation, he will finally entrust you with the Nagakiba.
- Yura will also request your assistance in defeating Eleonora. Successfully winning this battle will result in two significant rewards: Eleonora’s Poleblade and the Purifying Crystal Tear.
By following these steps, you will not only acquire the Nagakiba katana but also unlock these valuable items as part of Yura’s questline in Elden Ring.
Spoiler Alert: In the epilogue of Yura’s questline, a tragic turn of events unfolds. Yura meets his demise, and his body is overtaken by a madman named Shabriri, who is connected to Hyetta’s questline. Shabriri will assume the guise of Yura and can be encountered in the Zamor Ruins Site of Grace within the Mountaintops of the Giants.
For those interested in obtaining Yura’s armor set, you have the option to engage and defeat Shabriri, who now inhabits Yura’s body. This will be your opportunity to secure Yura’s distinctive armor collection as part of this storyline’s conclusion.
Attaining the Nagakiba without Lifting a Finger
For those who missed Yura’s questline or didn’t manage to complete it up to the Altus Plateau encounter, you can still obtain the Nagakiba without much hassle. It can typically be found at the last location where players interacted with Yura or in the presumed final spot, which might be in the shadowy area along the river north of Murkwater Cave or at the pictured location below, beneath some ruins near the Seaside Ruins Site of Grace.
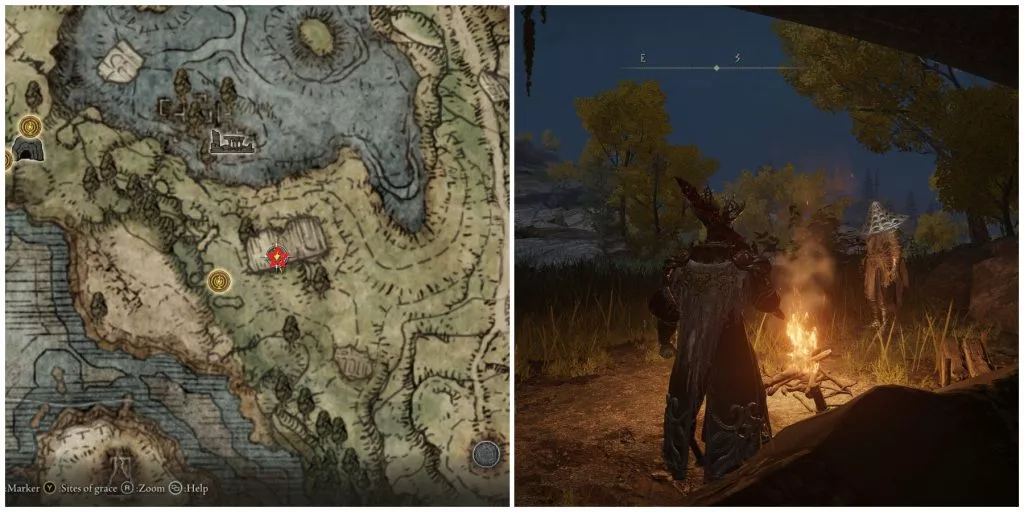
Yura will have left the Nagakiba here without any significant incident. The exact trigger for this event remains somewhat unclear, but it appears to occur after Yura has been possessed by Shabriri and is no longer himself. This transformation should take place around the time players unlock the Mountaintops of the Giants region.
It’s important to note that this method won’t grant additional rewards all in one place. However, Eleonora’s Poleblade and the Purifying Crystal Tear will still be obtainable if she invades players in the Second Church of Marika, regardless of Yura’s involvement.
Asking For The Nagakiba Online
An alternative method that requires minimal effort to obtain the Nagakiba is to seek it from other players through online interaction. If a fellow player agrees to a “trade,” you can set up a private game session and have them drop their spare or unwanted Nagakiba katana within the game. Since there’s no in-game chat function, you’ll need to reach out to potential traders through social media, messaging apps, or real-life connections.
However, it’s worth noting that the challenge lies in finding someone willing to part with their Nagakiba, as dual-wielding it is a popular choice for Bleed builds, and many players desire two of these katanas. After all, it’s considered a significant upgrade from the Uchigatana.
