Remnant 2 is widely known for its challenging gameplay. Players are thrust into a world where they’ll traverse various realms, engaging in battles against a multitude of monsters, including the deadly Dran and Fae of Losomn and the ever-present, world-consuming threat known as the Root. Conquering each fight poses a formidable challenge, particularly in the game’s more demanding difficulty modes. Merely evading attacks, akin to how one might approach Dark Souls, won’t suffice. For newcomers to the series, we’ve compiled seven valuable tips to assist them in making their inter-realm journey a tad more manageable.
Focus on One Weapon Set in Your Initial Campaign Run
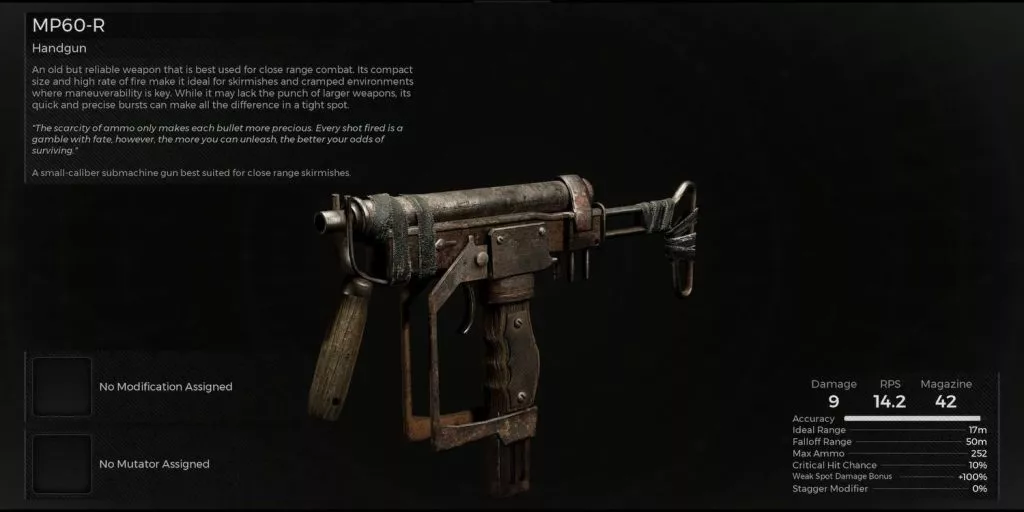
In Remnant 2, players might be enticed to wield every weapon they stumble upon. However, it’s crucial to exercise restraint and stick to just one set of weapons during their initial campaign playthrough. This is because Scrap, the game’s primary currency and essential for purchasing and upgrading items, is relatively scarce.
Upgrading weapons is a costly affair, and players need to be adequately prepared for the challenges that await them in the final stages of their first campaign. To ensure their strength, it’s advisable to aim for at least a preferred Long Gun upgraded to +15 by the end of the third world. This will significantly improve their chances of enduring the final act with greater ease.
Ways to Boost Your Currency in Remnant 2
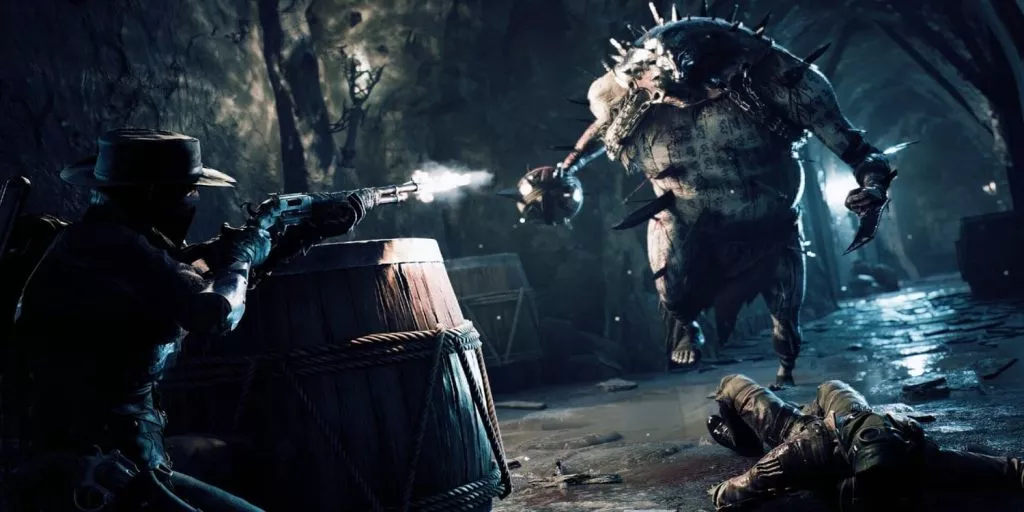
In contrast to its predecessor, Remnant 2 doles out Scrap in notably smaller amounts. To bolster your supply, one of the most effective methods is to seek out chests—many of which are now conveniently displayed on the 3D map. Listen for a shimmering noise to signal your proximity to a hidden chest, and you’ll be on the right track.
Another reliable way to acquire Scrap is by consistently breaking prop items like barrels and vases. Opt for a wide-swinging melee weapon like the Greatsword, or simply roll through them to smash and collect the precious currency. With these strategies in mind, you can enhance your Scrap reserves for a more prosperous adventure.
Revamped Armor Sets in Remnant 2: Introducing Mutators
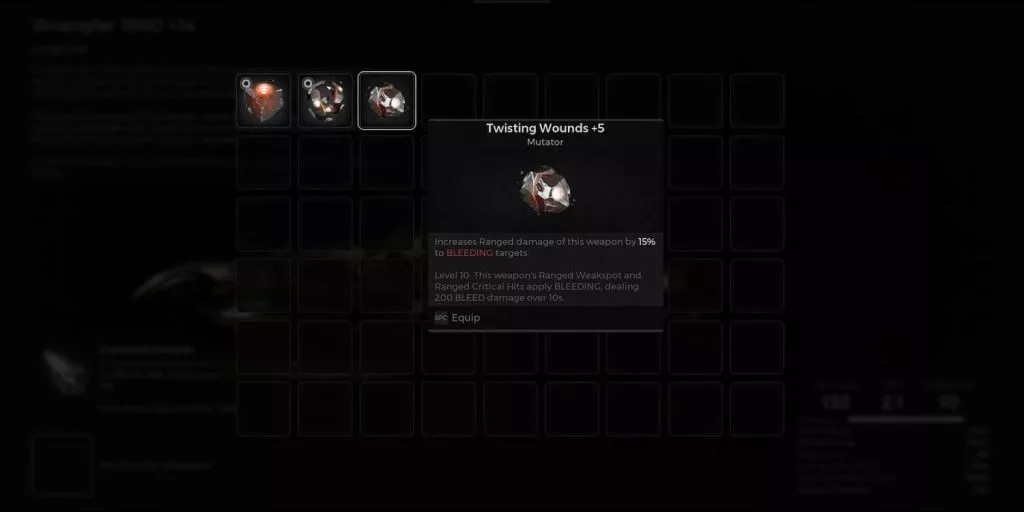
In Remnant 2, armor sets no longer offer unique bonuses. Instead, all these bonuses have been transferred to Mutators, special items that can be equipped in any of the player’s weapons. While they already prove helpful in the early stages, their true potential unfolds once fully upgraded.
To upgrade Mutators, players must visit Dwell, located in front of the shooting range at Ward 13. However, this enhancement process demands a substantial amount of resources. It’s crucial to come prepared with ample supplies to make the most of these potent enhancements.
A Swift and Versatile Defensive Move
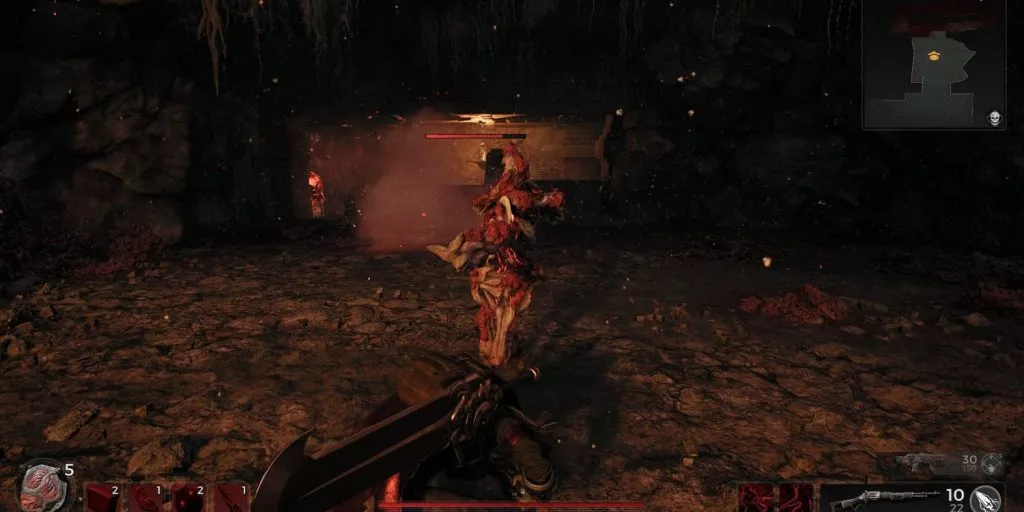
In Remnant 2, the backstep proves to be a valuable defensive maneuver, significantly faster than a regular dodge roll. This agile move is particularly effective for evading combo attacks and battling in confined spaces. Executing a backstep is simple; just press the dodge button without any directional inputs.
The backstep can be seamlessly followed up by a normal or charged melee attack. Moreover, each melee weapon in the game features a distinctive lunging move tied to this mechanic. Some weapons even boast special attacks that can only be unleashed after a successful backstep. By honing this technique, you can add a swift and versatile dimension to your combat prowess.
Overcoming Reduced Physical Damage
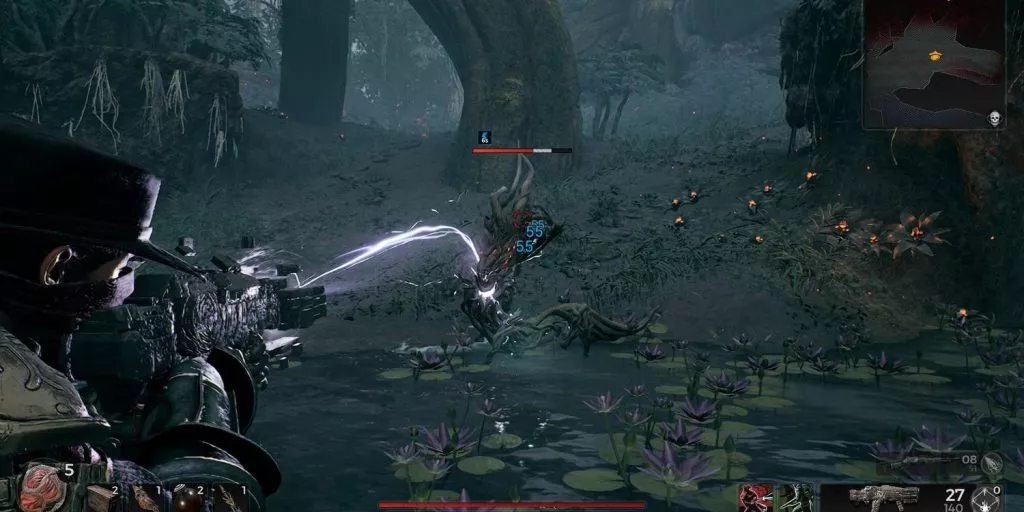
When facing armored enemies in Remnant 2, players may notice significantly reduced damage reflected by gray numbers. To overcome this challenge, there are several effective strategies:
- Target Different Body Parts: Vary your aim and attack different parts of the enemy’s body. Some areas may be less armored and susceptible to greater damage.
- Break Armor Consistently: Focus on shooting the armor consistently to weaken it. Once the armor is shattered, subsequent attacks will deal full damage.
- Elemental Damage: Switch to a weapon that deals elemental damage, as it can bypass armor protection. Even basic guns with Hot Shot or Acid Shot mods can be highly effective against armored foes.
- Damage-Over-Time Effects: Utilize damage-over-time effects like Bleeding and Burning to wear down the enemy’s defenses gradually.
- Corroded Status: Guns or mods that apply the Corroded status can effectively nullify armor protection, making it easier to deal full damage.
By employing these tactics, players can effectively counter armored enemies and emerge victorious with less hassle.
Boost Your Stats with Relic Fragments in Remnant 2
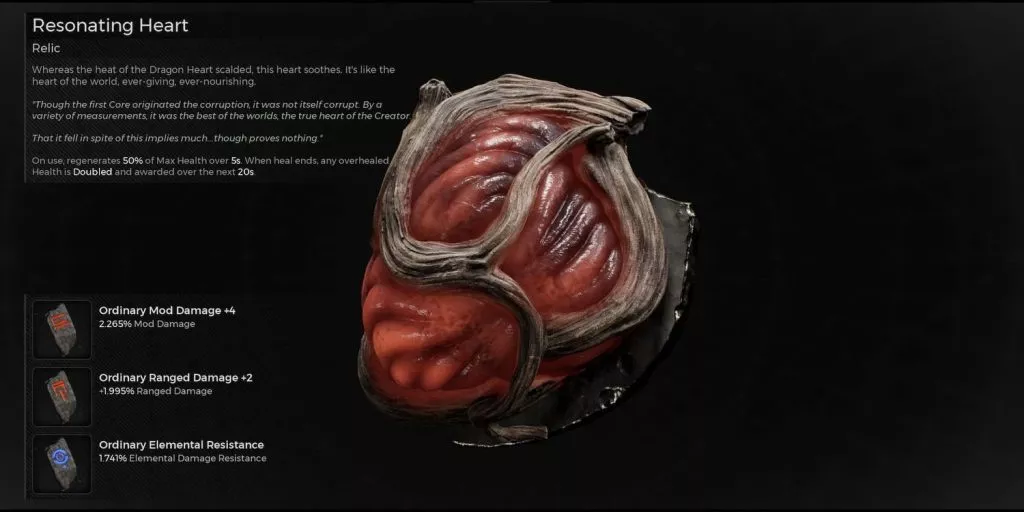
To enhance your stats in Remnant 2, look no further than Relic Fragments. By slotting these fragments into your equipped Relic, you can gain valuable stat boosts. Simply open the Inventory screen, inspect a Relic, and hover over the empty fragment slots to begin the customization process.
Relic Fragments come with stat bonuses categorized into offensive, defensive, and utility attributes. The higher the difficulty level you play on, the better the quality of these fragments you can acquire. For instance, Regal-tier fragments drop exclusively in Apocalypse mode, providing even more powerful enhancements. Embrace the challenge and reap the rewards of these potent Relic Fragments to bolster your character and overcome the toughest adversaries.
Switching Archetypes in Remnant 2
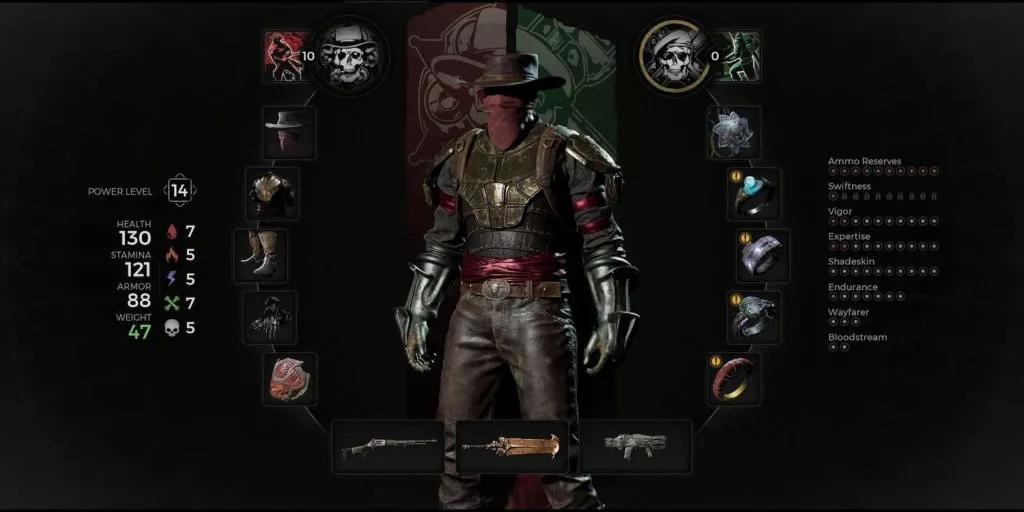
In Remnant 2, once players reach level 10 with their chosen main archetype, a savvy strategy is to switch it out for their desired secondary archetype. This switch expedites the leveling process for the secondary archetype. The equipped main archetype tends to gain more XP than the secondary one, making it a no-brainer to switch and maximize progress—though, it’s worth noting that players will miss out on one archetype’s Prime Perk.
Unlocking the second archetype becomes possible once players have spent a total of at least 10 Trait Points. Additionally, they’ll need to find or purchase specific class-related items and then unlock the second archetype by conversing with Wally at Ward 13. With this approach, players can efficiently utilize multiple archetypes and enhance their overall character progression.
