
Prior to exploring mesh WiFi networks, assess your environment. Does your space span multiple levels? Are there areas where connectivity drops entirely? Do numerous smart gadgets operate in various rooms? If these conditions exist, a mesh system becomes essential. In simpler setups, a single router may suffice.
A mesh network extends wireless coverage through coordinated access points. Unlike traditional setups, it employs interconnected nodes to blanket larger spaces effectively. These devices collaborate to route data efficiently while maintaining consistent signal strength.
Configuring such a system involves several key stages. Below is a streamlined guide to establishing robust whole-home connectivity.
Important: Multiple manufacturers offer mesh solutions. While brands differ, core principles remain consistent across systems. This guide outlines universal configuration methods.
Implementing a Mesh Network: Key Stages
8. Ongoing System Maintenance
- Software Updates: Regular patches enhance security and performance.
- Network Monitoring: Track node status and traffic patterns to prevent bottlenecks.
- Expansion Capability: Add nodes as spatial needs grow. Cross-brand compatibility simplifies integration with EasyMesh standards.
7. Performance Verification
- Coverage Check: Map signal strength throughout your premises.
- Bandwidth Assessment: Measure throughput near each node.
- Channel Adjustment: Optimize frequencies manually or use automated steering.
- Fault Tolerance: Networks self-correct using protocols like B.A.T.M.A.N. for alternative pathways.
6. Network Configuration
- Unified Credentials: Maintain one network identifier for seamless roaming.
- Encryption Standards: Prioritize WPA3 where supported.
- Isolated Guest Access: Establish secondary networks for visitors.
Maximize efficiency by activating QoS prioritization, MU-MIMO, and automated band selection features.
5. Integrating Secondary Nodes

- Strategic Placement: Position satellites at 60-70% of primary node’s maximum range.
- Device Pairing: Use manufacturer apps for node registration and naming.
- Wired Backhaul Advantage: Ethernet connections minimize wireless interference for optimal throughput.
4. Protocol Configuration
- Install vendor-specific management software
- Authenticate and detect primary node through guided setup
- Note that HWMP governs node communication through MAC-based routing protocols
- Leverage EasyMesh™ certification for cross-brand compatibility
3. Primary Node Positioning
Centralized placement is critical – elevate the main unit for signal propagation. Ensure adequate ventilation, especially for high-performance hardware. Connect to your internet source and power up after physical installation.
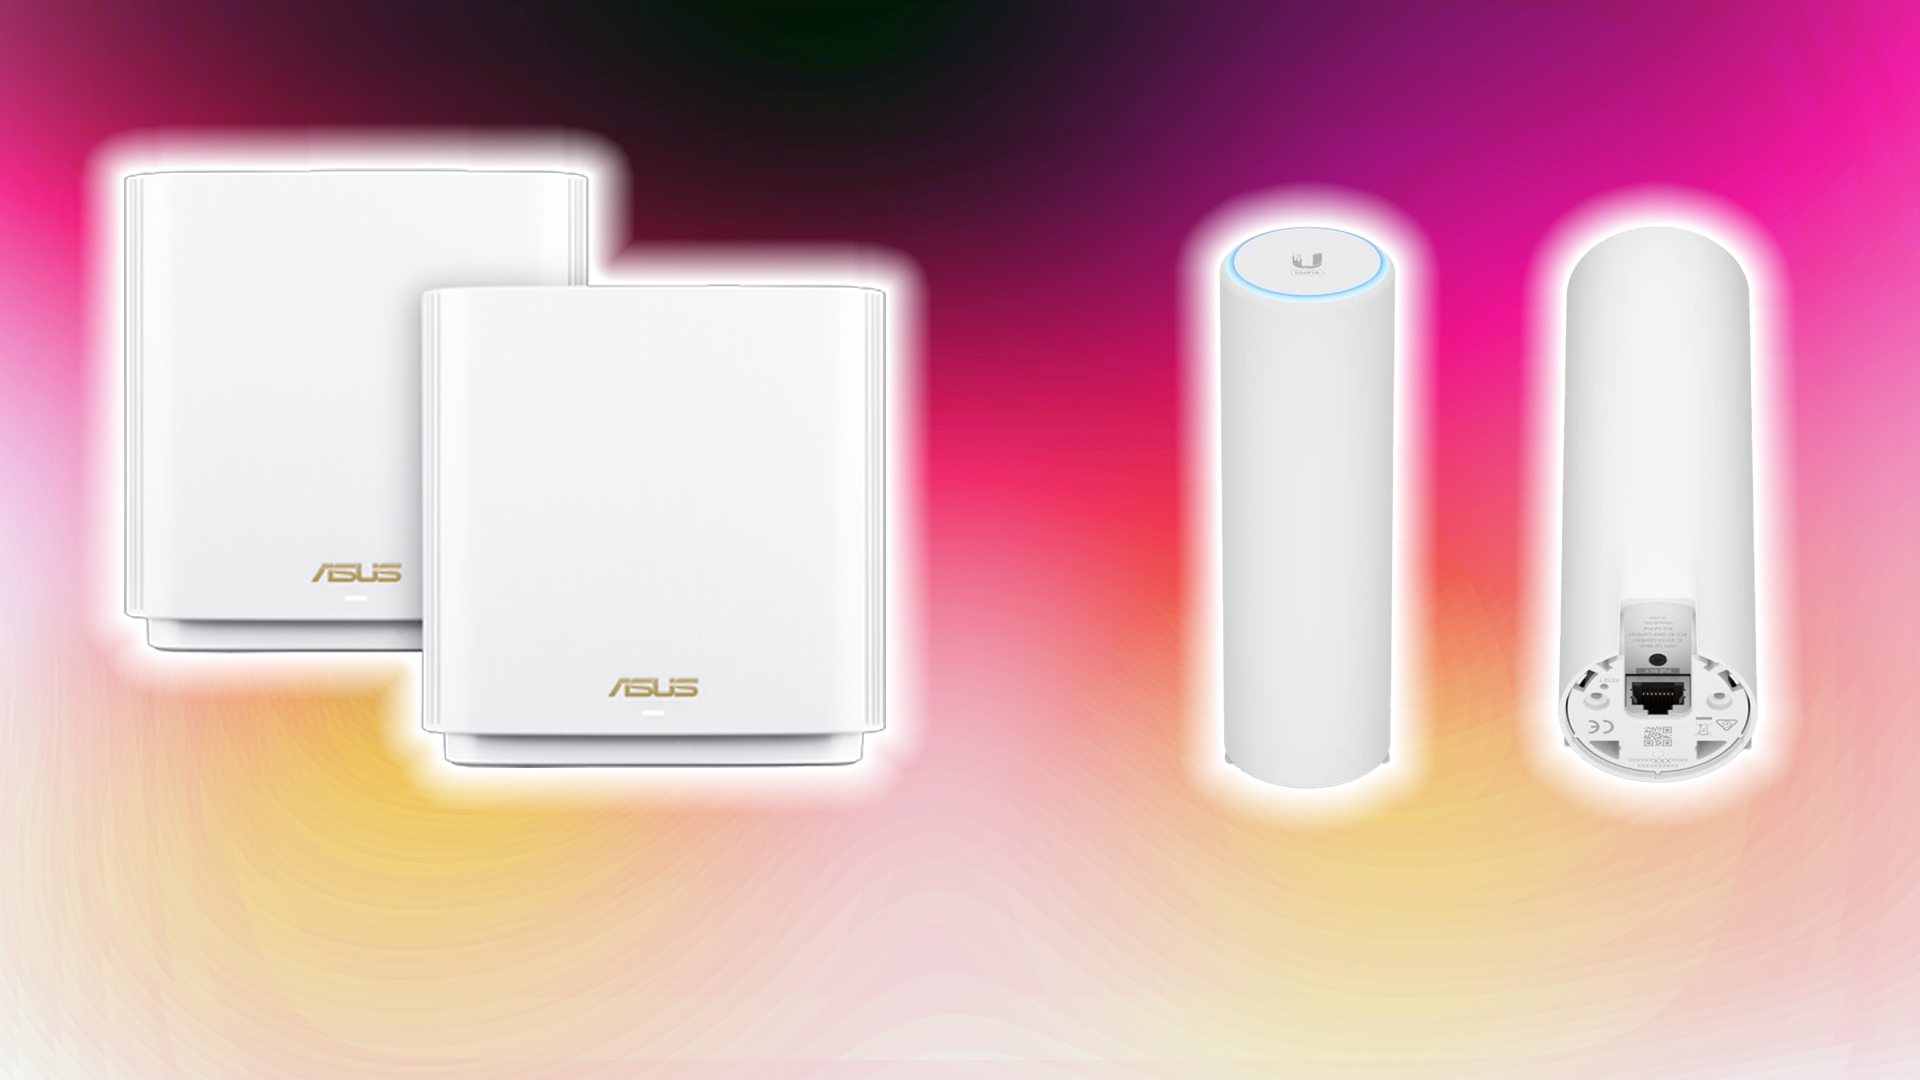
2. Hardware Selection
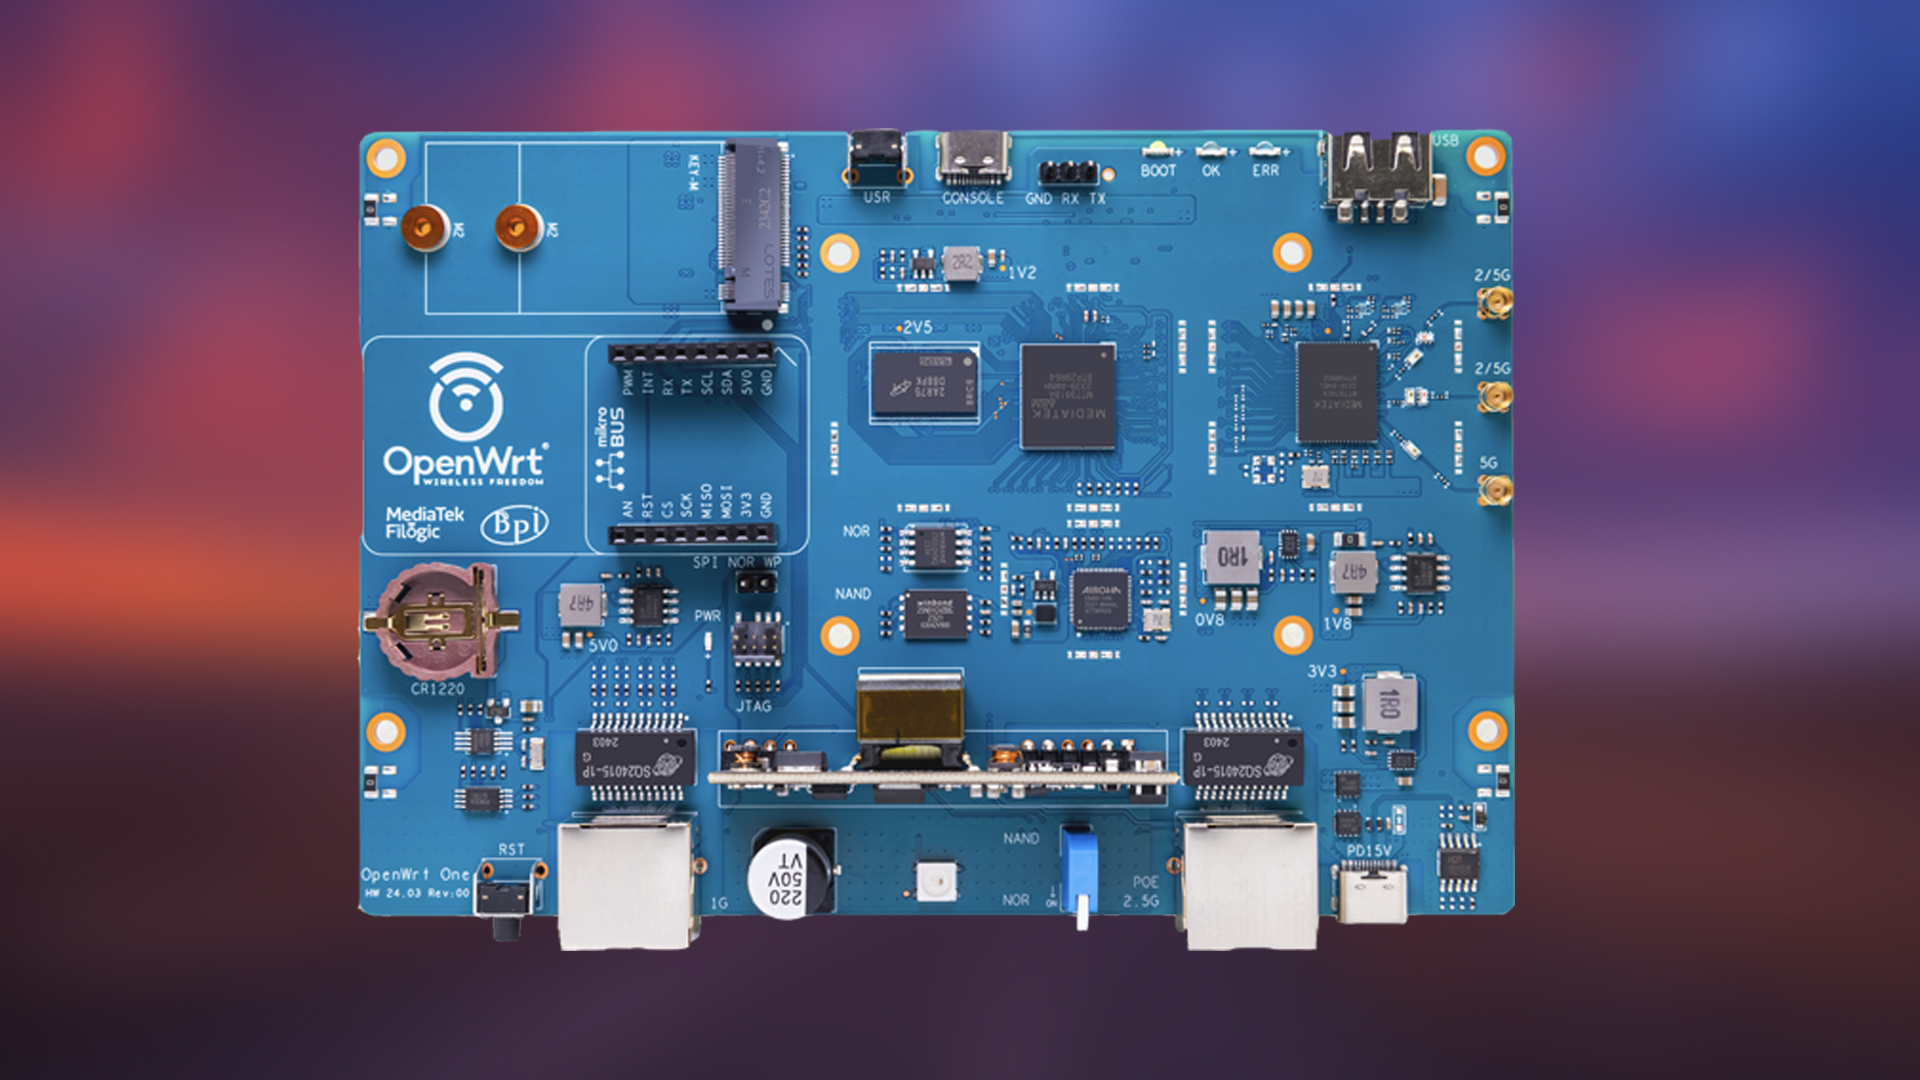
Choose WiFi 6/6E compatible hardware with 802.11s support. Prioritize devices implementing HWMP without additional licensing fees. OpenWRT-based solutions are often cost-effective for protocol flexibility. Prepare mobile device(s) for system administration.
1. Pre-Installation Analysis

Conduct a site survey identifying coverage gaps, structural barriers exceeding 12cm, and interference sources like microwave ovens. Document these factors on a floor plan, highlighting priority connectivity zones such as workspaces or entertainment areas.
Final Thoughts
Mesh implementation balances simplicity with technical nuance. While major brands offer streamlined solutions, custom configurations demand understanding of networking fundamentals. Commercial systems from leading manufacturers provide user-friendly alternatives for less experienced users.