Baldur’s Gate 3‘s second Act embarks on a venture across the eerie and perilous Shadow-Cursed Lands. On this journey, players will gradually unveil its history and concealed enigmas. Amidst this ominous realm, the Last Light Inn stands as a solitary fortress against the encroaching shadow curse, providing a haven of security for both the adventuring party and a few recognizable faces from Act 1 of Baldur’s Gate 3.
Among the familiar countenances, there’s a particular assembly that might not elicit the warmest reception from players: Mol’s gang of Tiefling urchins. This group likely left an unpleasant impression after their initial encounter, possibly through swindling or pilfering from the party. Nevertheless, one member of this gang, Mattis, functions as a vendor, and he possesses an enigmatic key available for purchase at the price of 1,000 gold.
Where To Use The Tower-Shaped Key
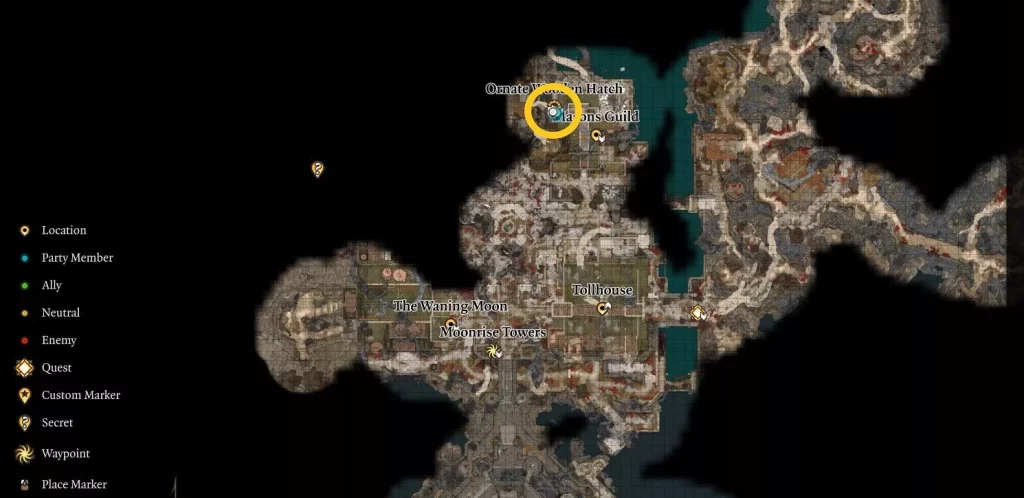
Although acquiring the Tower-shaped Key might initially appear to be just another ploy by the crafty Tiefling gang, it holds the dual purpose of unlocking a trove of valuable treasures and advancing the completion of the “Investigate the Selunite Resistance” quest. As one would anticipate, the unique design of the Tower-shaped Key serves as the primary clue regarding the location of its corresponding lock. However, contrary to expectations, this key isn’t meant for the imposing Moonrise Towers, but rather for the Reithwin Masons’ Guild, which incorporates a similarly fashioned stone tower within its insignia.
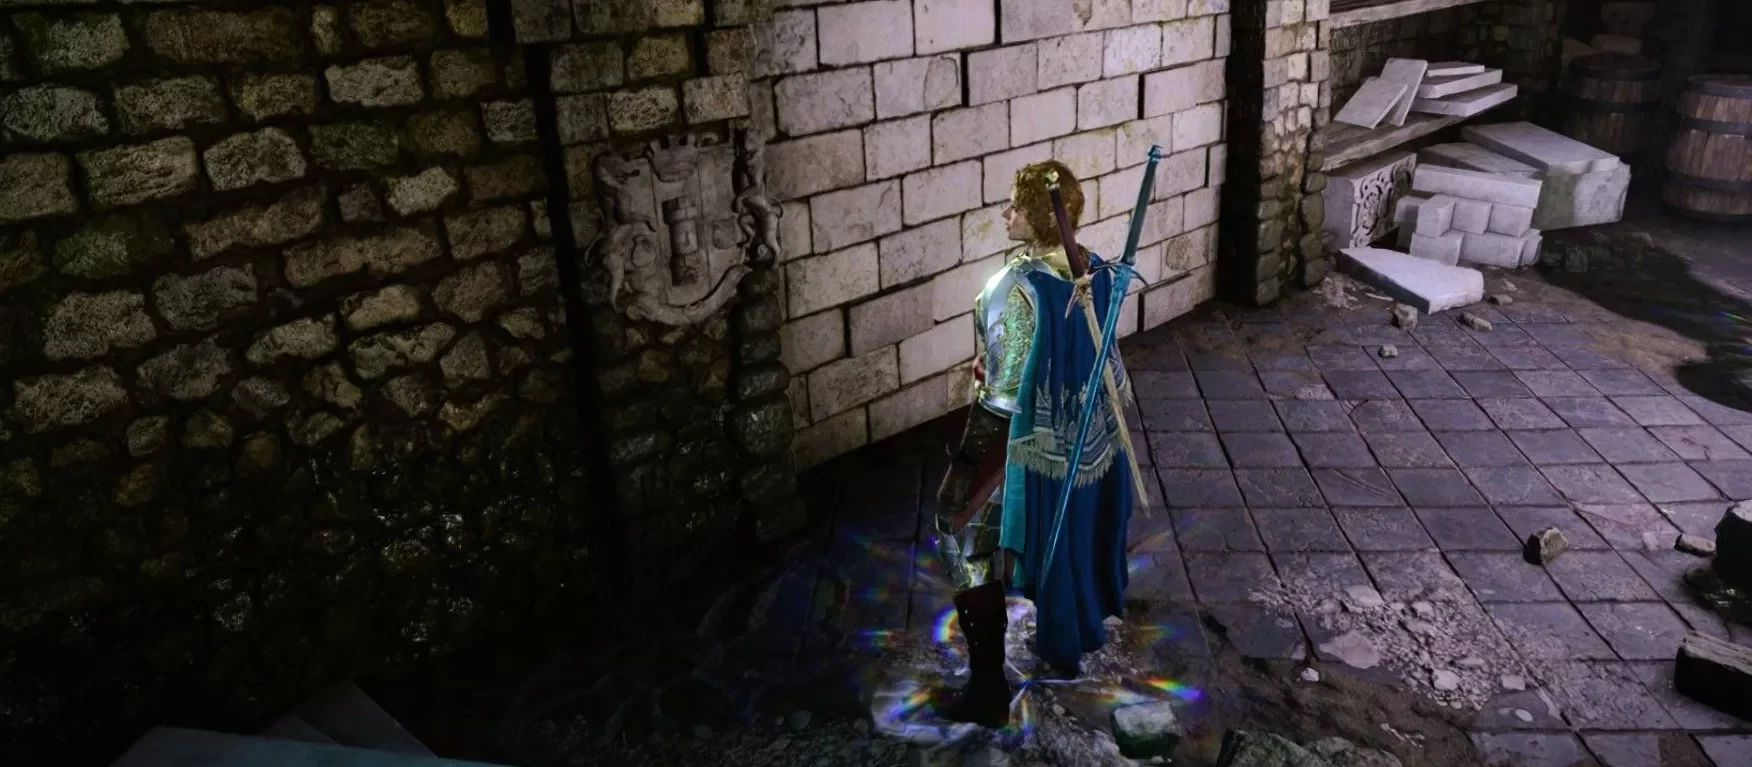
Positioned to the east of the Ketheric Thorm statue in the heart of Reithwin and to the north of the Tollhouse, the Masons’ Guild appears vacant on its main level. Yet, players can either utilize the concealed trapdoor at the workshop’s rear or the accessible elevator on the second floor to descend into the guild’s subterranean recesses. While exploring the basement, observant players might notice a Keyholed Herald mounted on the wall, which can be unlocked using the Tower-shaped Key to unveil a concealed passageway. It’s noteworthy that a particularly adept Sleight of Hands check has the potential to pick the Herald’s lock, potentially sparing players the expenditure of 1,000 gold.
Secrets
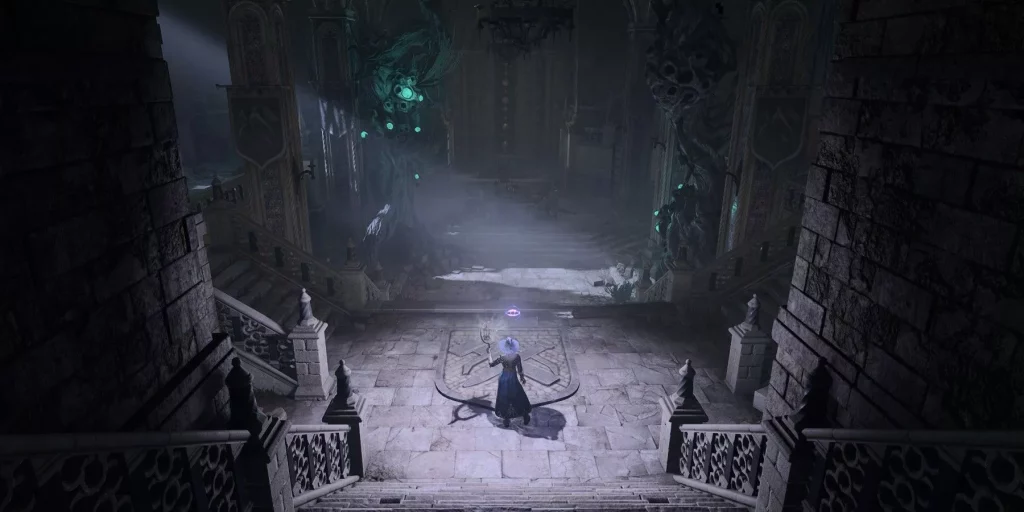
The concealed corridor unlocked by the Tower-shaped Key poses a substantial threat due to its abundance of traps. Players should exercise caution and resist the allure of a conspicuously placed chest positioned midway. Nevertheless, after successfully navigating these challenges, players will emerge into an expansive chamber that once served as the covert headquarters for the Selunite resistance against Ketheric Thorm subsequent to his allegiance shift to Shar. This room is presently inhabited by a group of Shadows; however, players acquainted with the Shadow-Cursed Lands should already be well-versed in confronting these spectral undead adversaries.
For those who meticulously explore the chamber beneath the Masons’ Guild, a series of intriguing texts await discovery. These texts divulge the saga of the Mason family and their associates as they opposed Ketheric Thorm and his cohort of Dark Justiciars. Notably, the texts unveil that it was the Masons who forged an alliance with the forces of Avernus to retaliate against the followers of Shar. This pivotal action directly precipitated the conflict at Grymforge, the remnants of which players can witness when delving into the Underdark.