
Mastering the Support role in Battlefield 6 transforms chaotic skirmishes into coordinated assaults through strategic positioning and calculated aggression. While crucial for sustaining momentum, overextending guarantees failure without proper preparation.
Core principles for effective battlefield support
Seasoned Support operatives balance defensive tactics with opportunistic advances. Rather than charging unprotected areas, establish fortified positions that enable rapid responses to shifting frontline dynamics while protecting resurrection capabilities.
The following strategies optimize team survival and territorial control when deployed through adaptive gameplay and environmental awareness.
Position as tactical reinforcement, not frontline cannon fodder
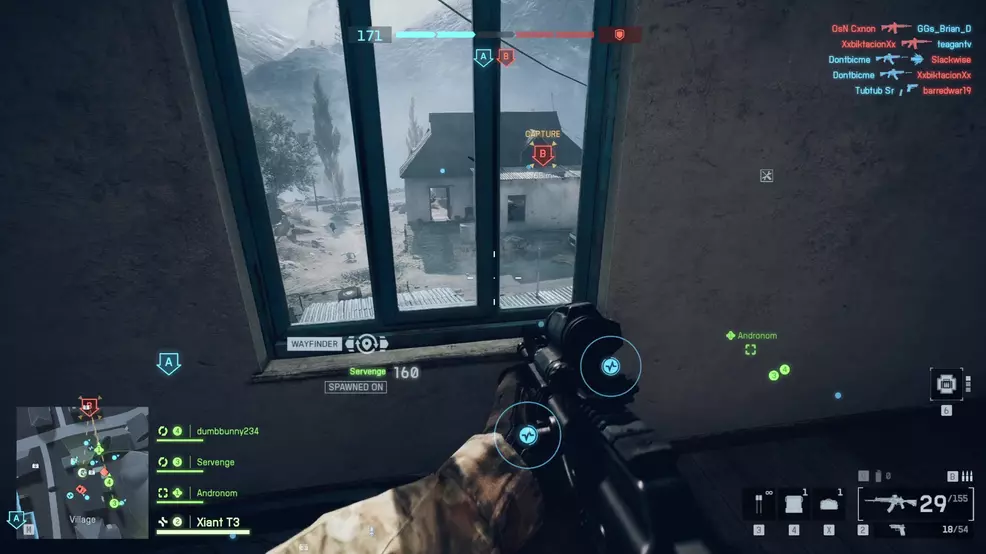
Your revival equipment maintains squad continuity across multiple engagements. Maintain proximity to advancing allies while avoiding direct confrontations until breakthrough opportunities emerge. When friendly forces secure footholds, immediately stabilize the position with medical support and ammunition redistribution.
If isolated from teammates, prioritize establishing fallback zones instead of suicidal rescue attempts. These temporary strongpoints become crucial respawn anchors for regrouping squads.
Prioritize meaningful revivals and tactical disengagements
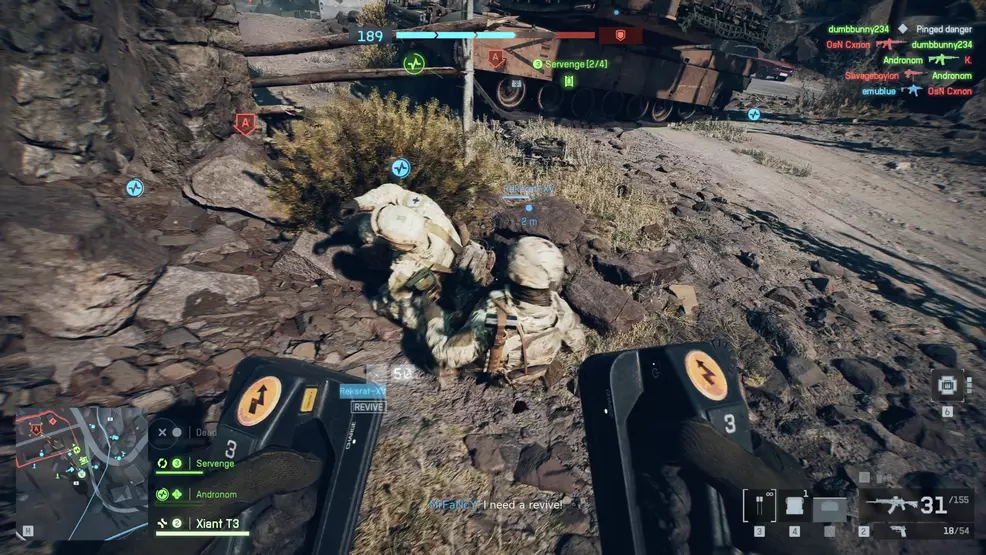
Resuscitation opportunities require battlefield awareness. Assess threats before reviving – plunging allies into continued crossfire wastes resources. Utilize full-charge revives (indicated by auditory confirmation) for maximum combat readiness.
Leverage environmental barriers during revival sequences and consider tactical dragging to relocate vulnerable teammates. This quick-kneeling maneuver guarantees full-health recovery while repositioning allies from kill zones.
Deploy concealment for critical operations
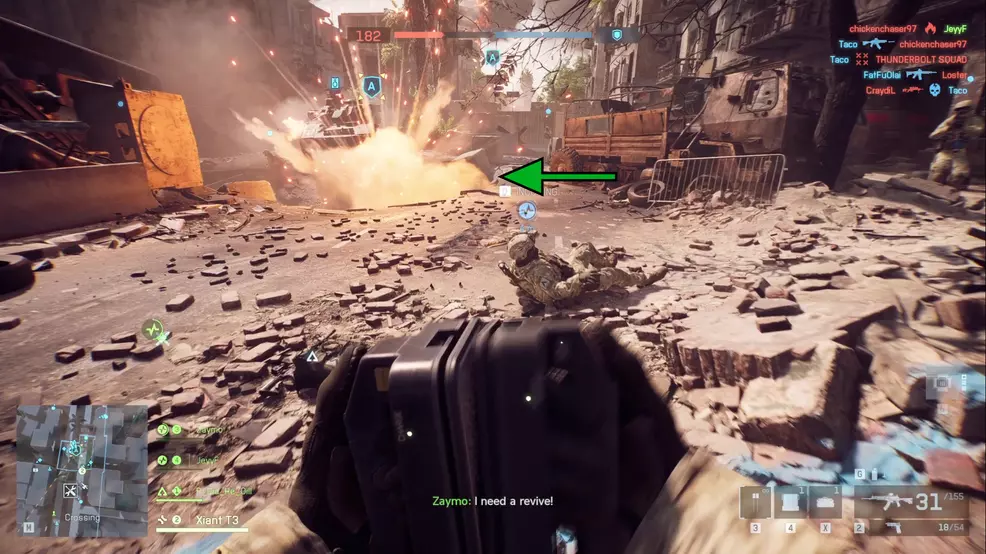
Smoke grenades create essential visual barriers for revives and repositioning. Launch obscuring screens between enemy positions and downed allies before initiating revives. When retreating under fire, deploy smokes in escape paths with abrupt directional changes to break targeting solutions.
Maximize resource distribution efficiency
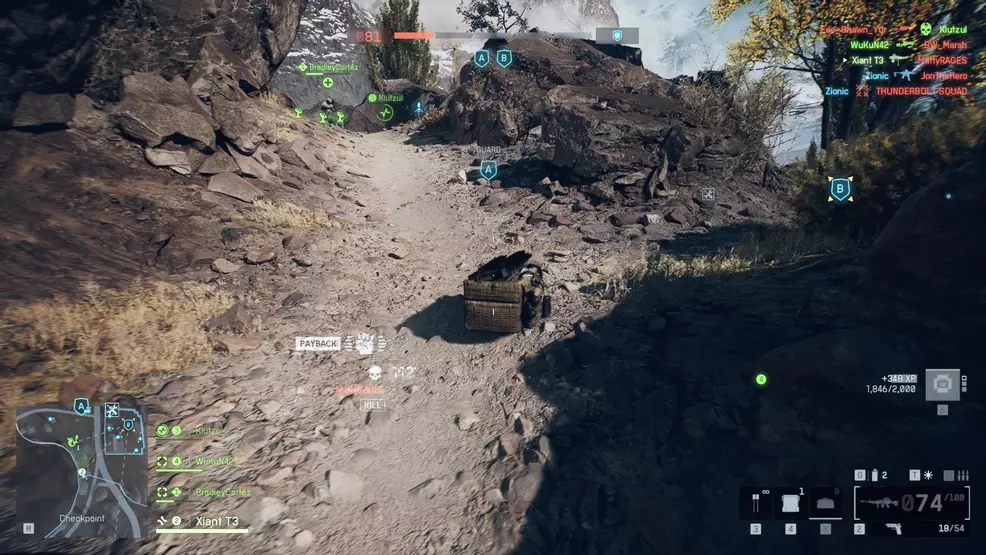
Supply crates offer combined health/ammo restoration – deploy them proactively at concentration points. Personal use during downtime accelerates recovery while obscuring your signature from thermal optics.
Engineer battlefield advantages
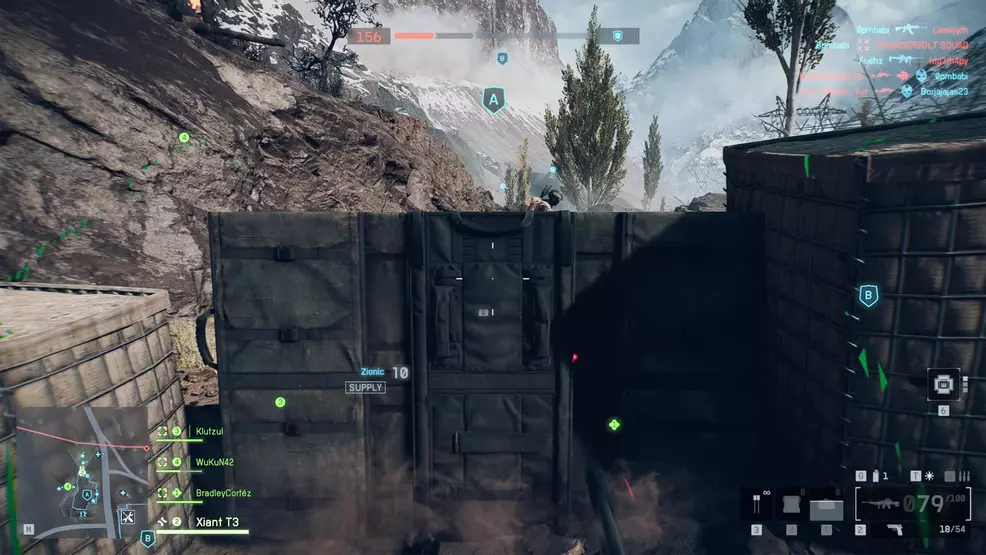
Portable barriers reshape engagement zones when placed in high-traffic areas lacking natural protection. Maintain proximity to constructed defenses while coordinating suppression efforts with teammates for maximum disruption potential.
Control engagement ranges
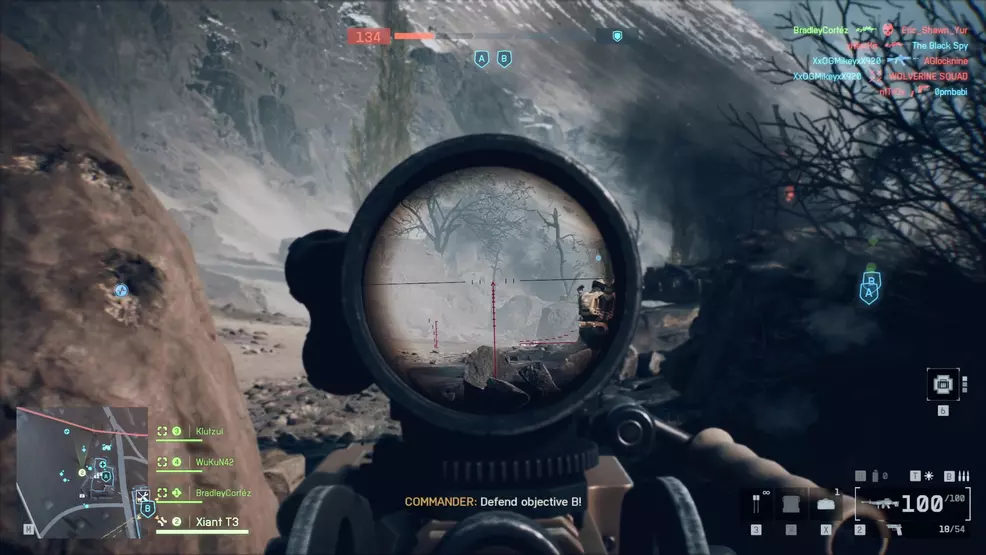
High-capacity weapons enable sustained area denial from fortified positions. Prioritize fire discipline over accuracy when pinning enemies – sporadic bursts disrupt formations while conserving ammunition for prolonged engagements.
Mastering these combat principles requires situational adaptation and personalized refinement. Combine foundational strategies with evolving battlefield awareness to become an indispensable asset in prolonged engagements.