
The remastered version of Talos Principle: Reawakened introduced more than just a visual upgrade with Unreal Engine 5. It also included a new expansion called In the Beginning, featuring 18 fresh puzzles. Out of these, 16 were co-created with input from the community, making it a fan-made expansion tailored for seasoned players. As a result, many of these puzzles are among the most challenging in the series. This guide will walk you through solving the Reason’s Retreat puzzle, one of the most intricate in the expansion.
Talos Principle: Reawakened – In the Beginning – Reason’s Retreat Puzzle Guide
Like several other complex puzzles in the expansion, Reason’s Retreat revolves heavily around manipulating lasers. Activating and deactivating them is key to progressing through the puzzle. Here’s how to tackle it step by step.
Phase 1: Acquiring the Third Connector
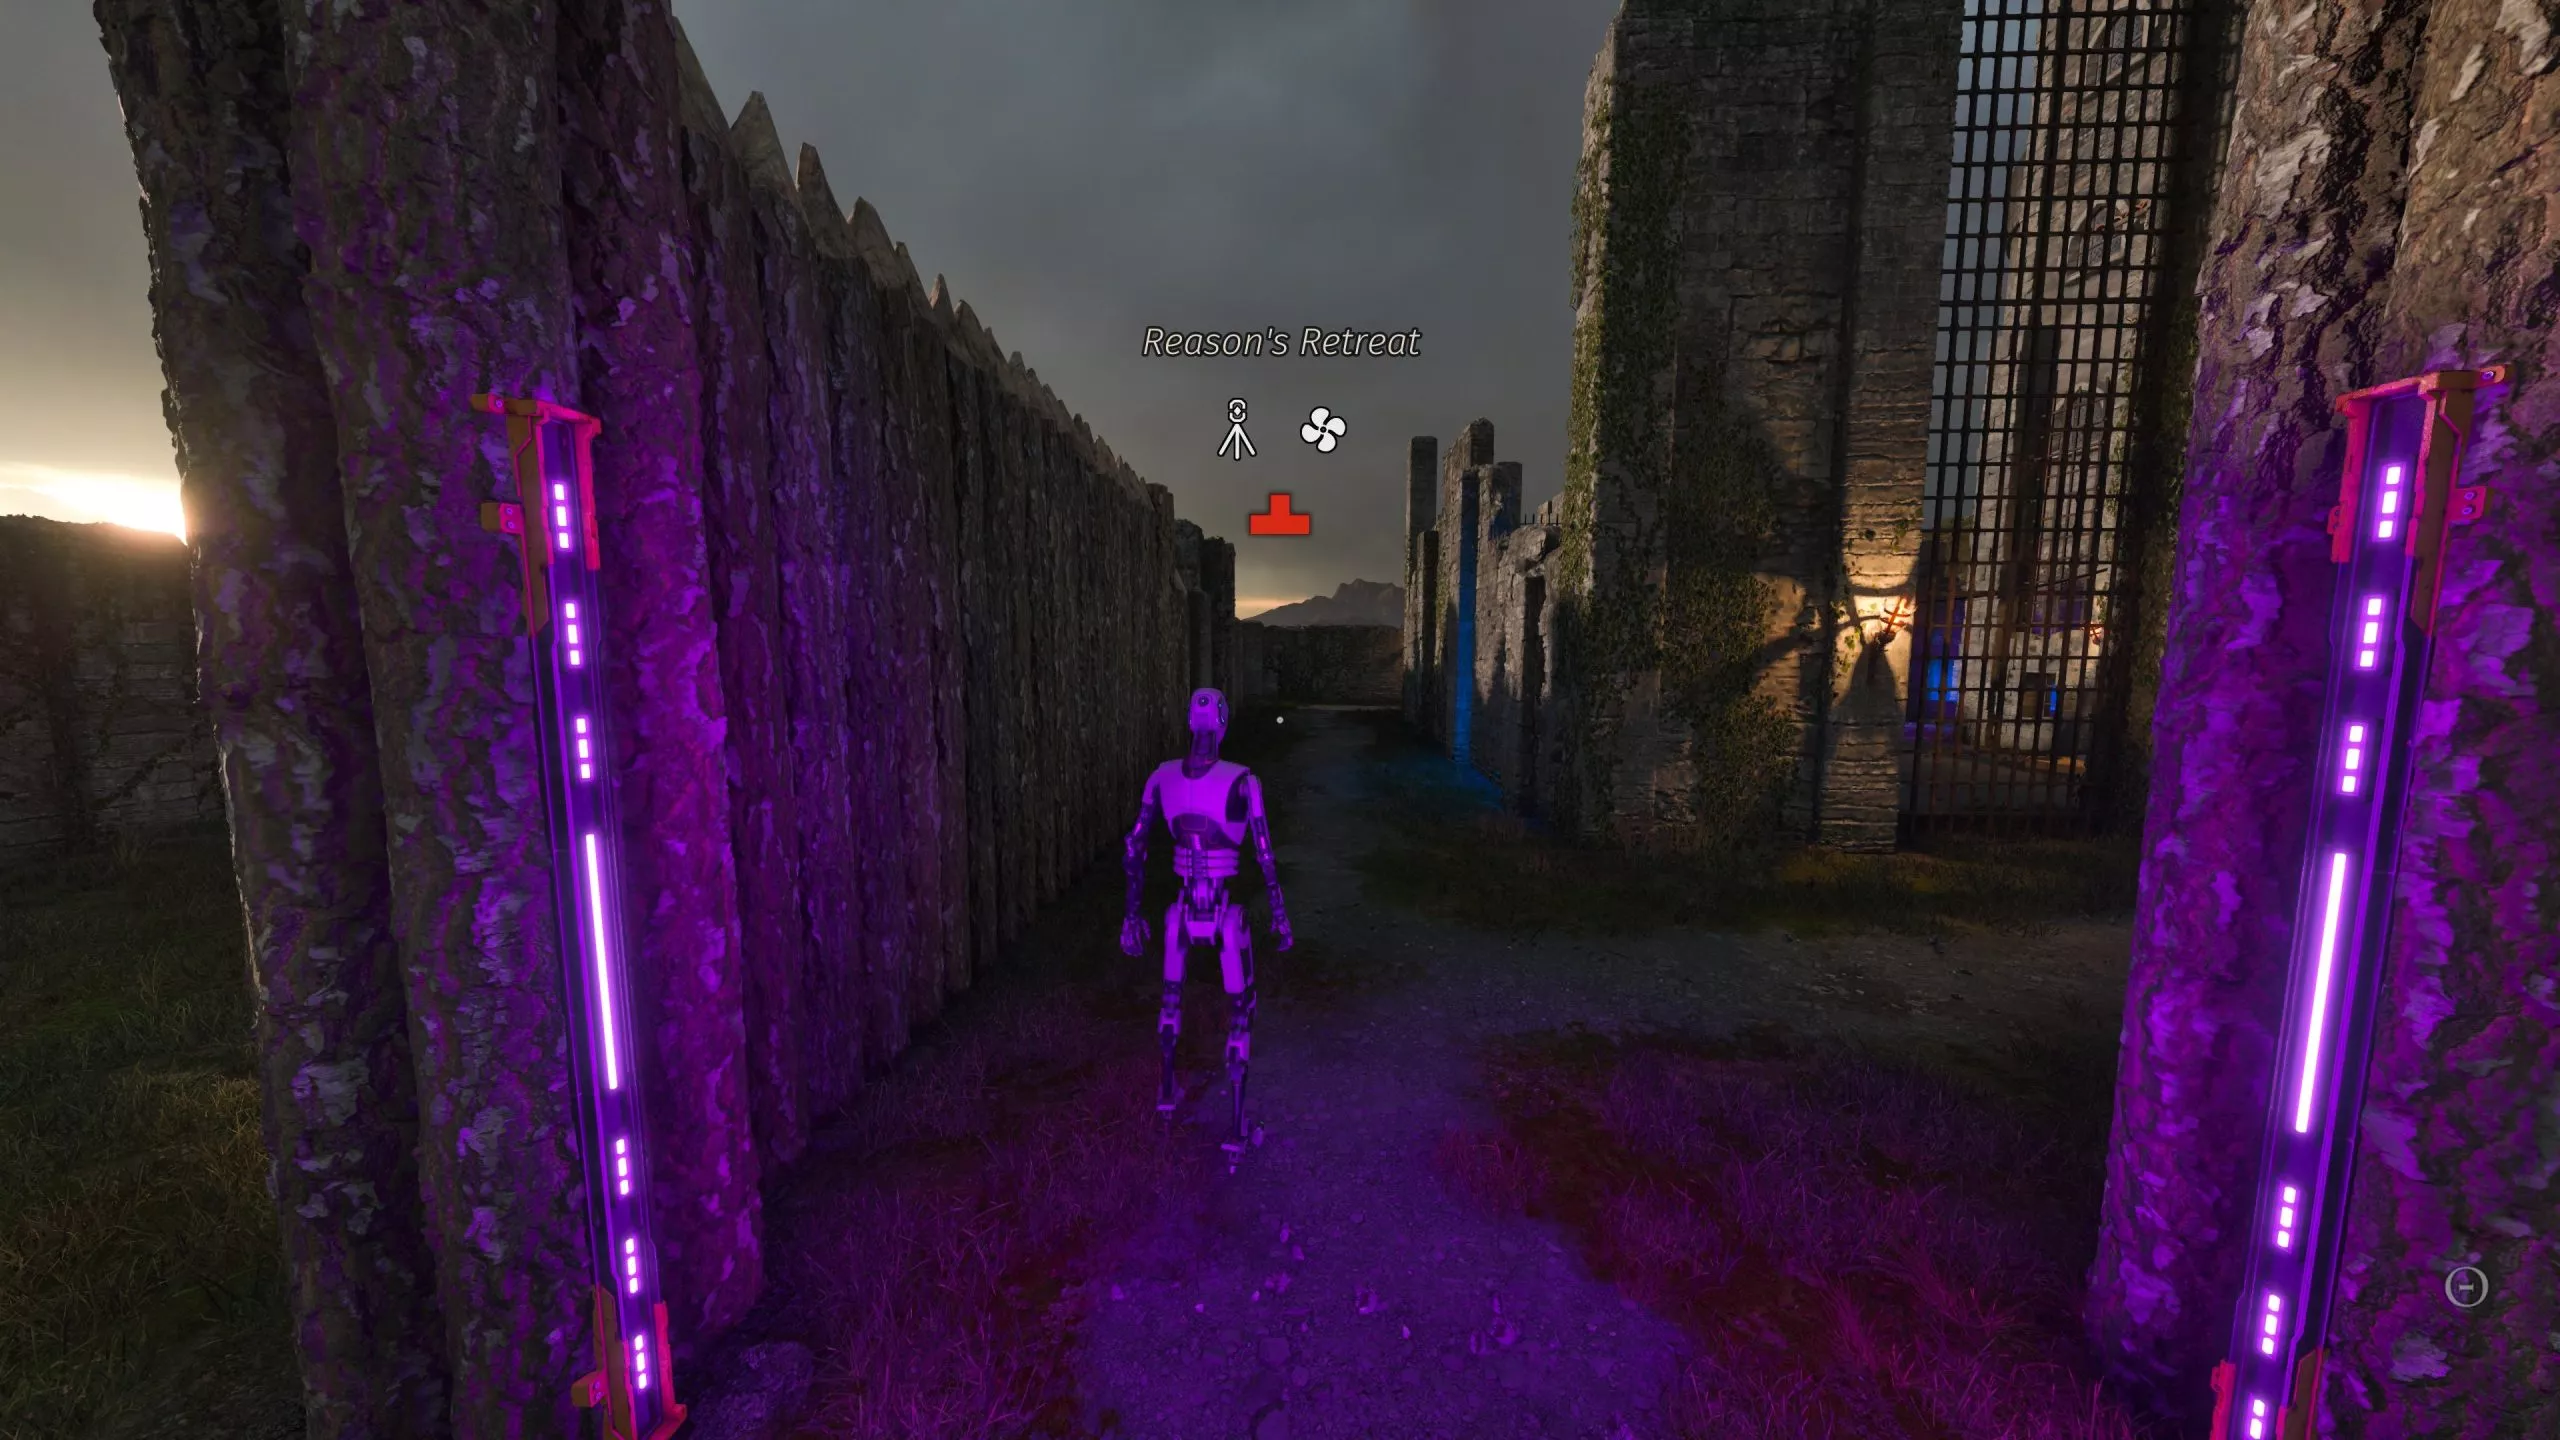
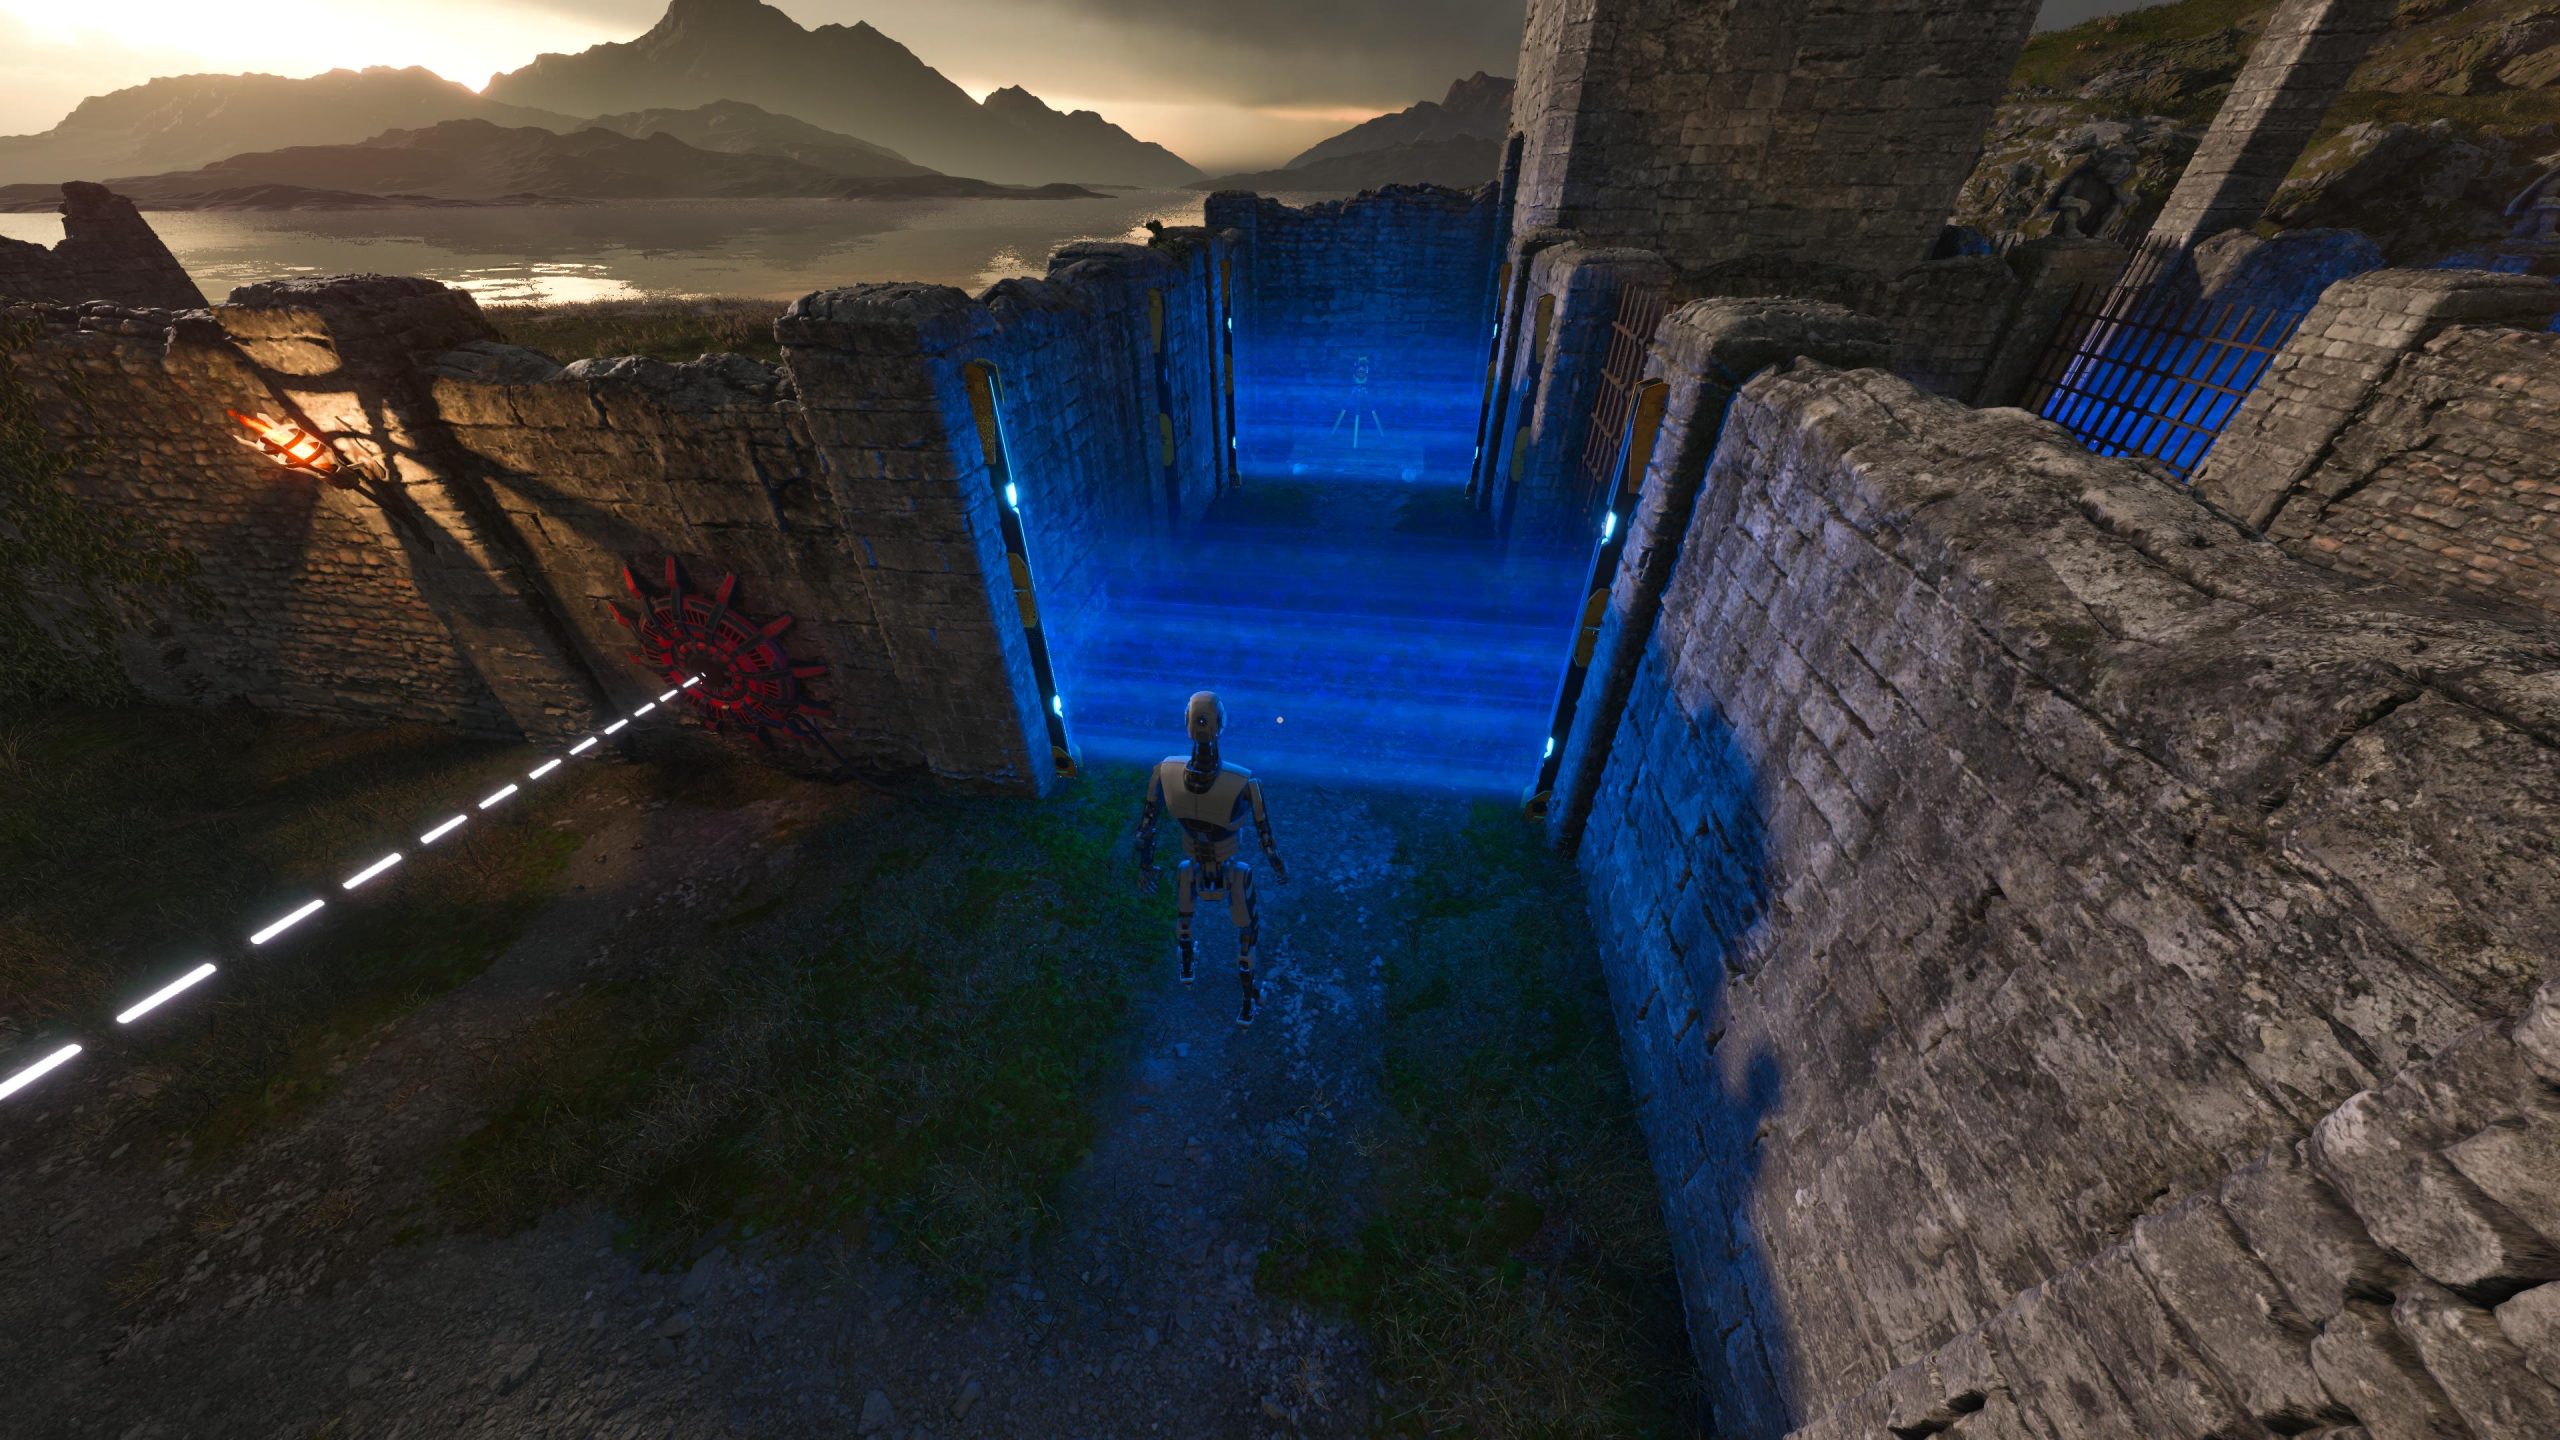
Upon entering the puzzle area, turning right immediately leads to a shielded path that doesn’t open up. Instead, walk straight ahead and turn right at the far corner. The objective in this phase is to obtain the third connector, which is located behind multiple shields that can’t all be deactivated simultaneously. From here on, the connectors will be referred to as C1, C2, and C3.
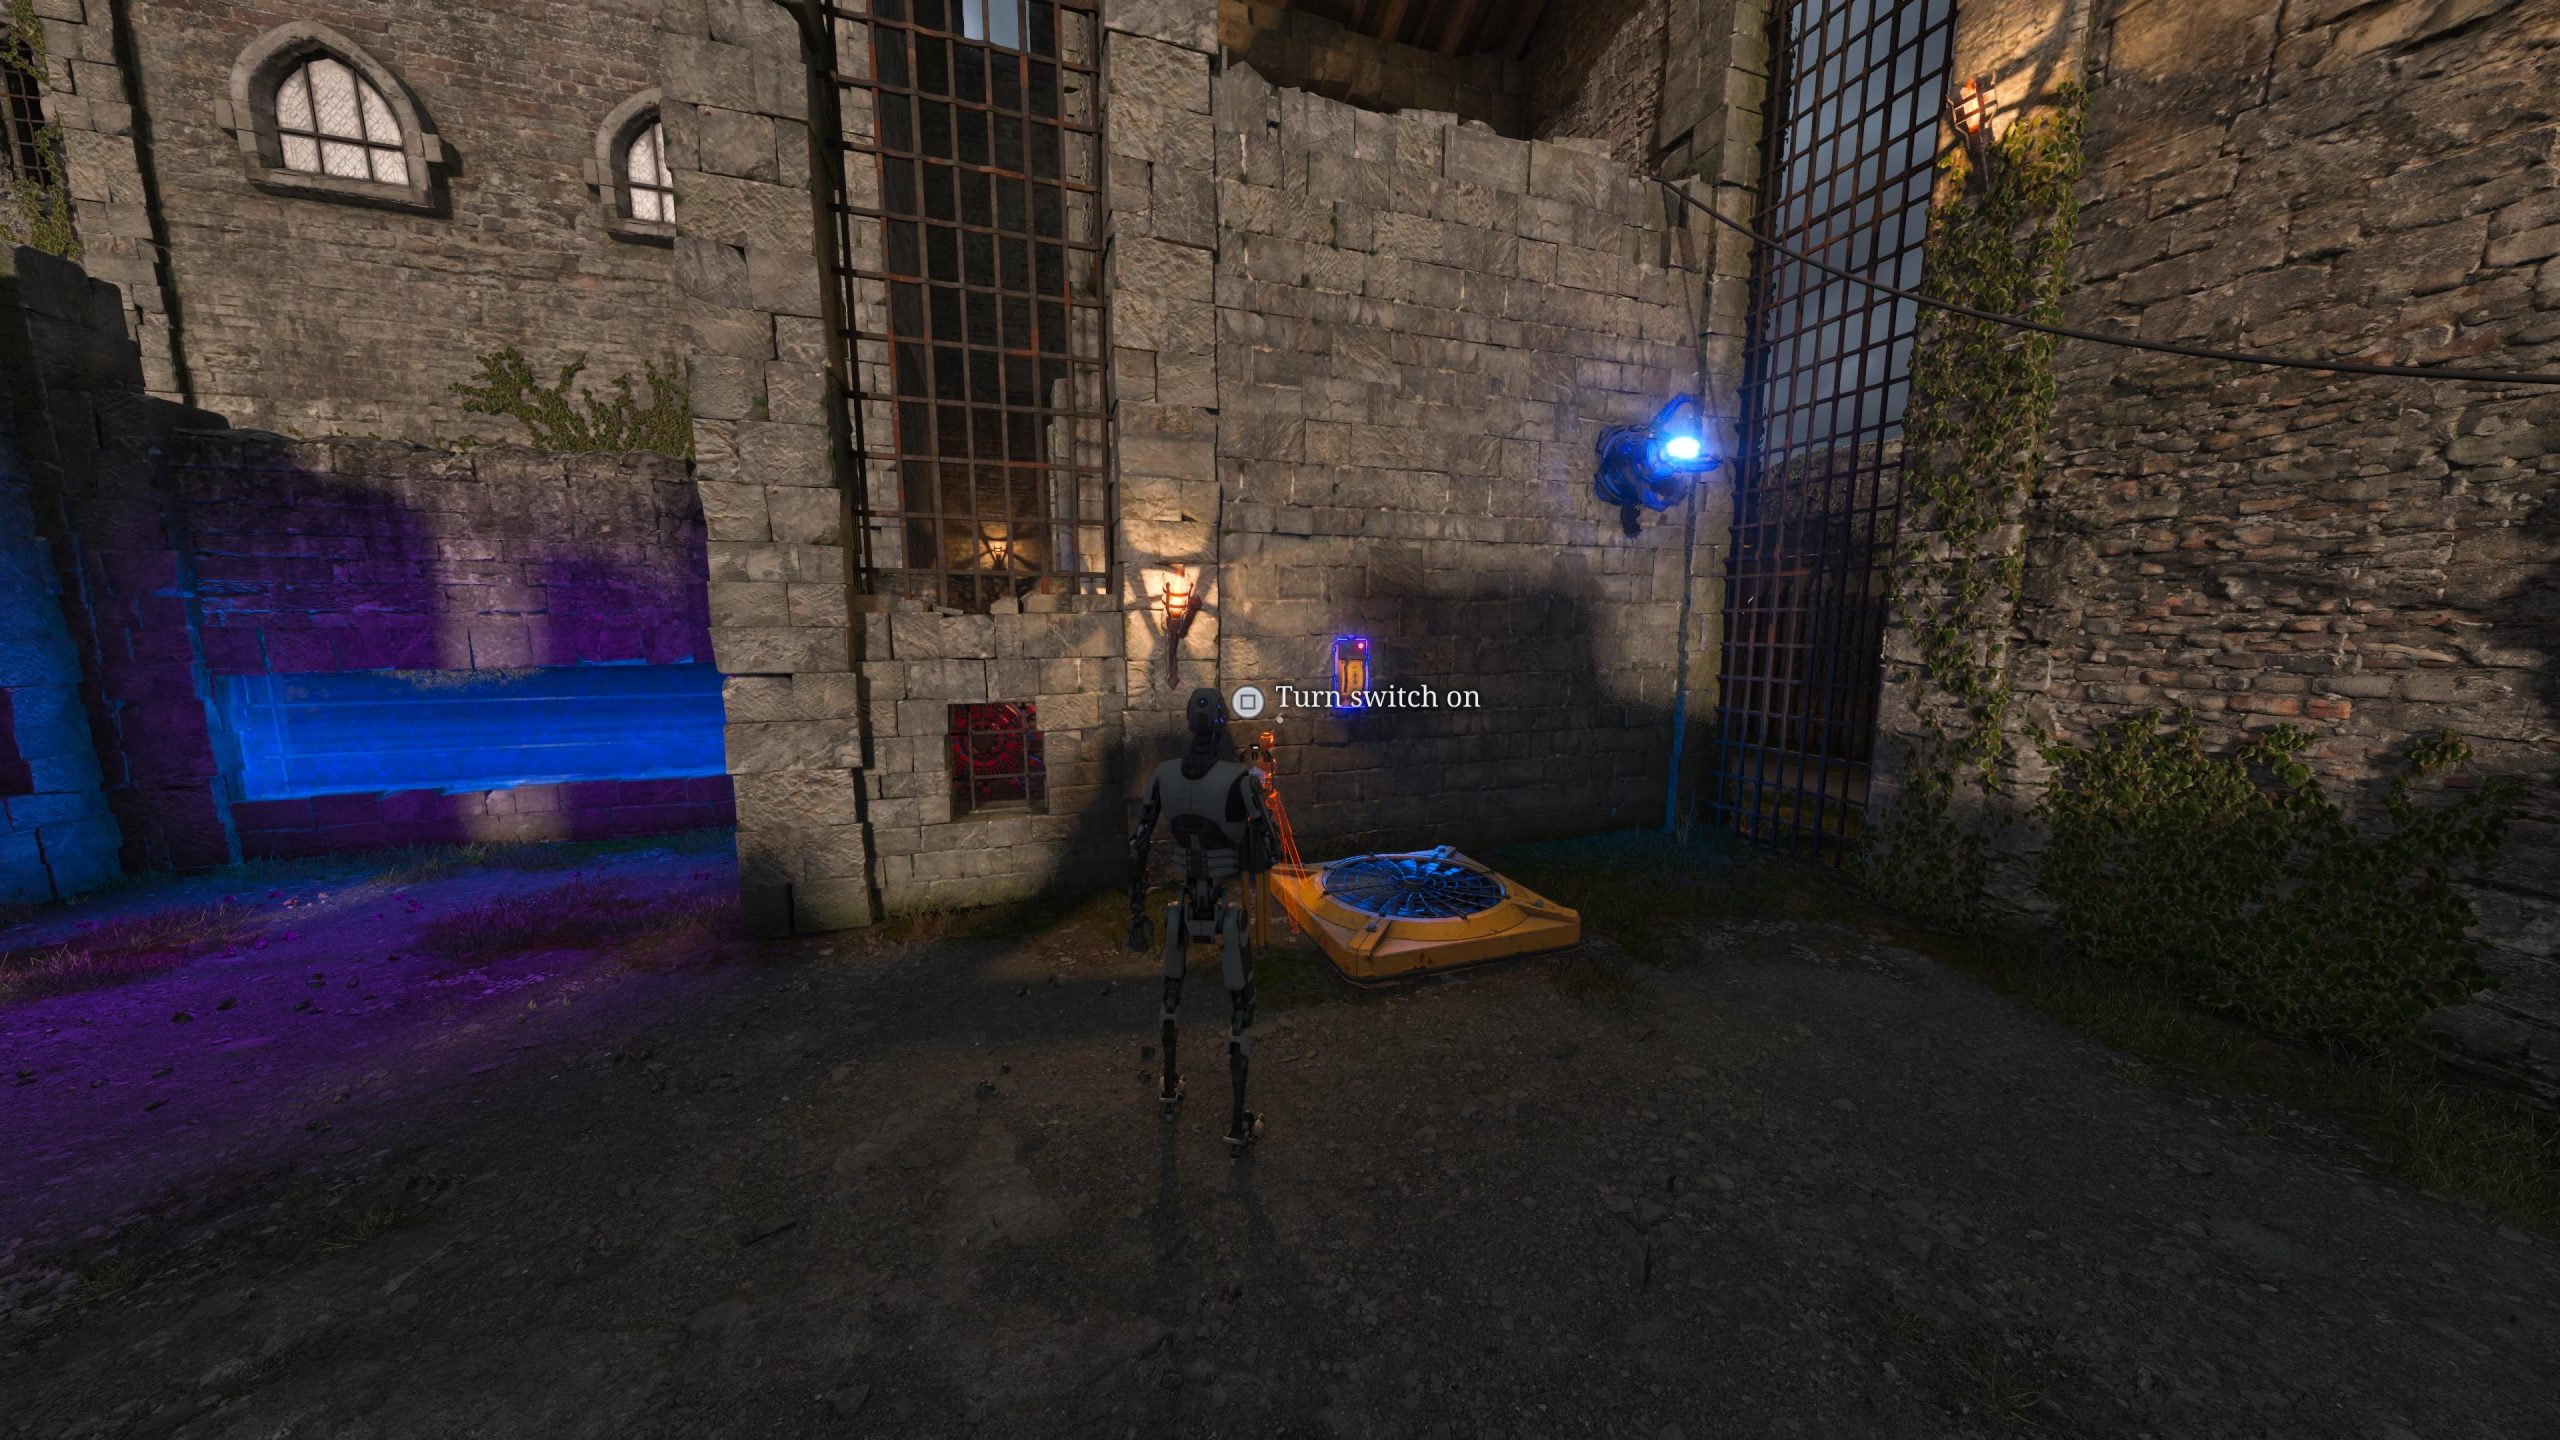
- Pick up C1 after turning the corner, then enter the center area and activate the fan in the corner.
- Fly up to the pressure switch and connect C1 to the red node near where you found it, as well as the red laser generator behind a shield. Place C1 on the pressure switch, which will cause the wall panel in the center room to oscillate.
- Return to the ground and grab C2, then connect it to the blue laser generator and the blue node above the moving panel.
- Position C2 near the wall so the moving panel obstructs the blue laser’s path. The easiest way is to place it close to the wall, ensuring the panel blocks the laser.
- With the panel oscillating, the blue shields near the red node where you found C1 will deactivate periodically, allowing you to reach C3, which is positioned behind both shields.
Phase 2: Using Lasers to Solve the Puzzle
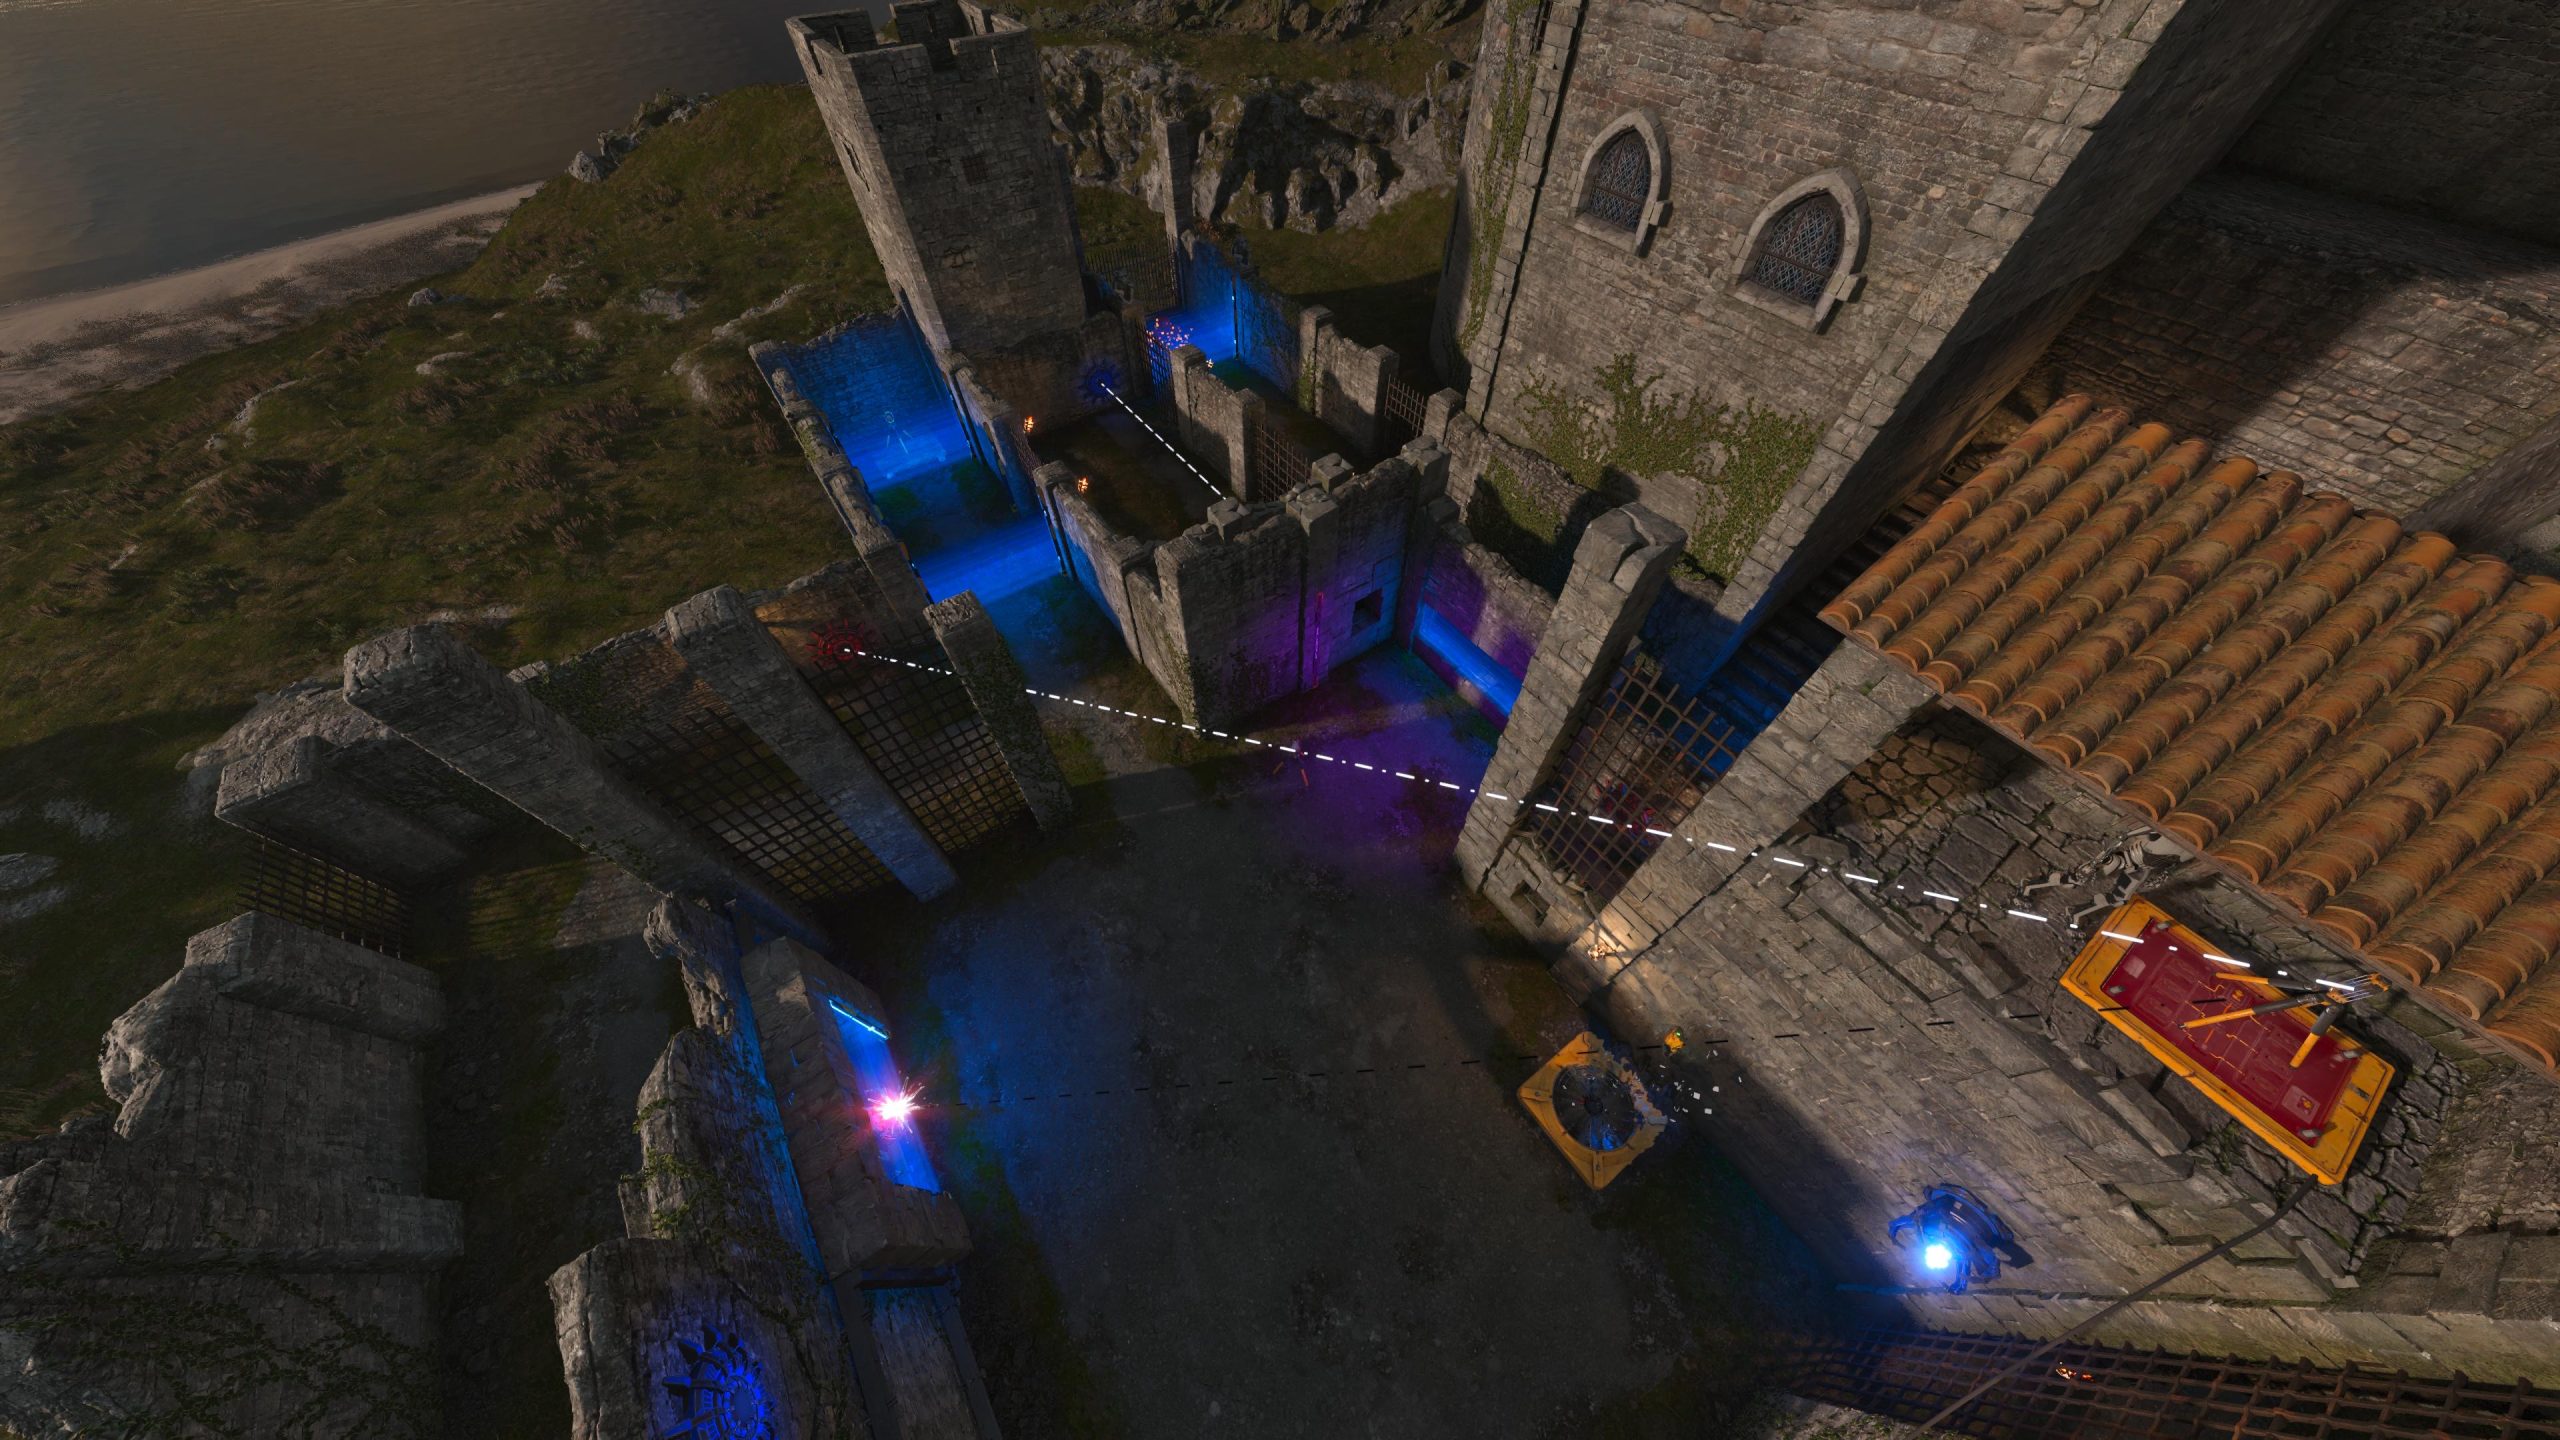
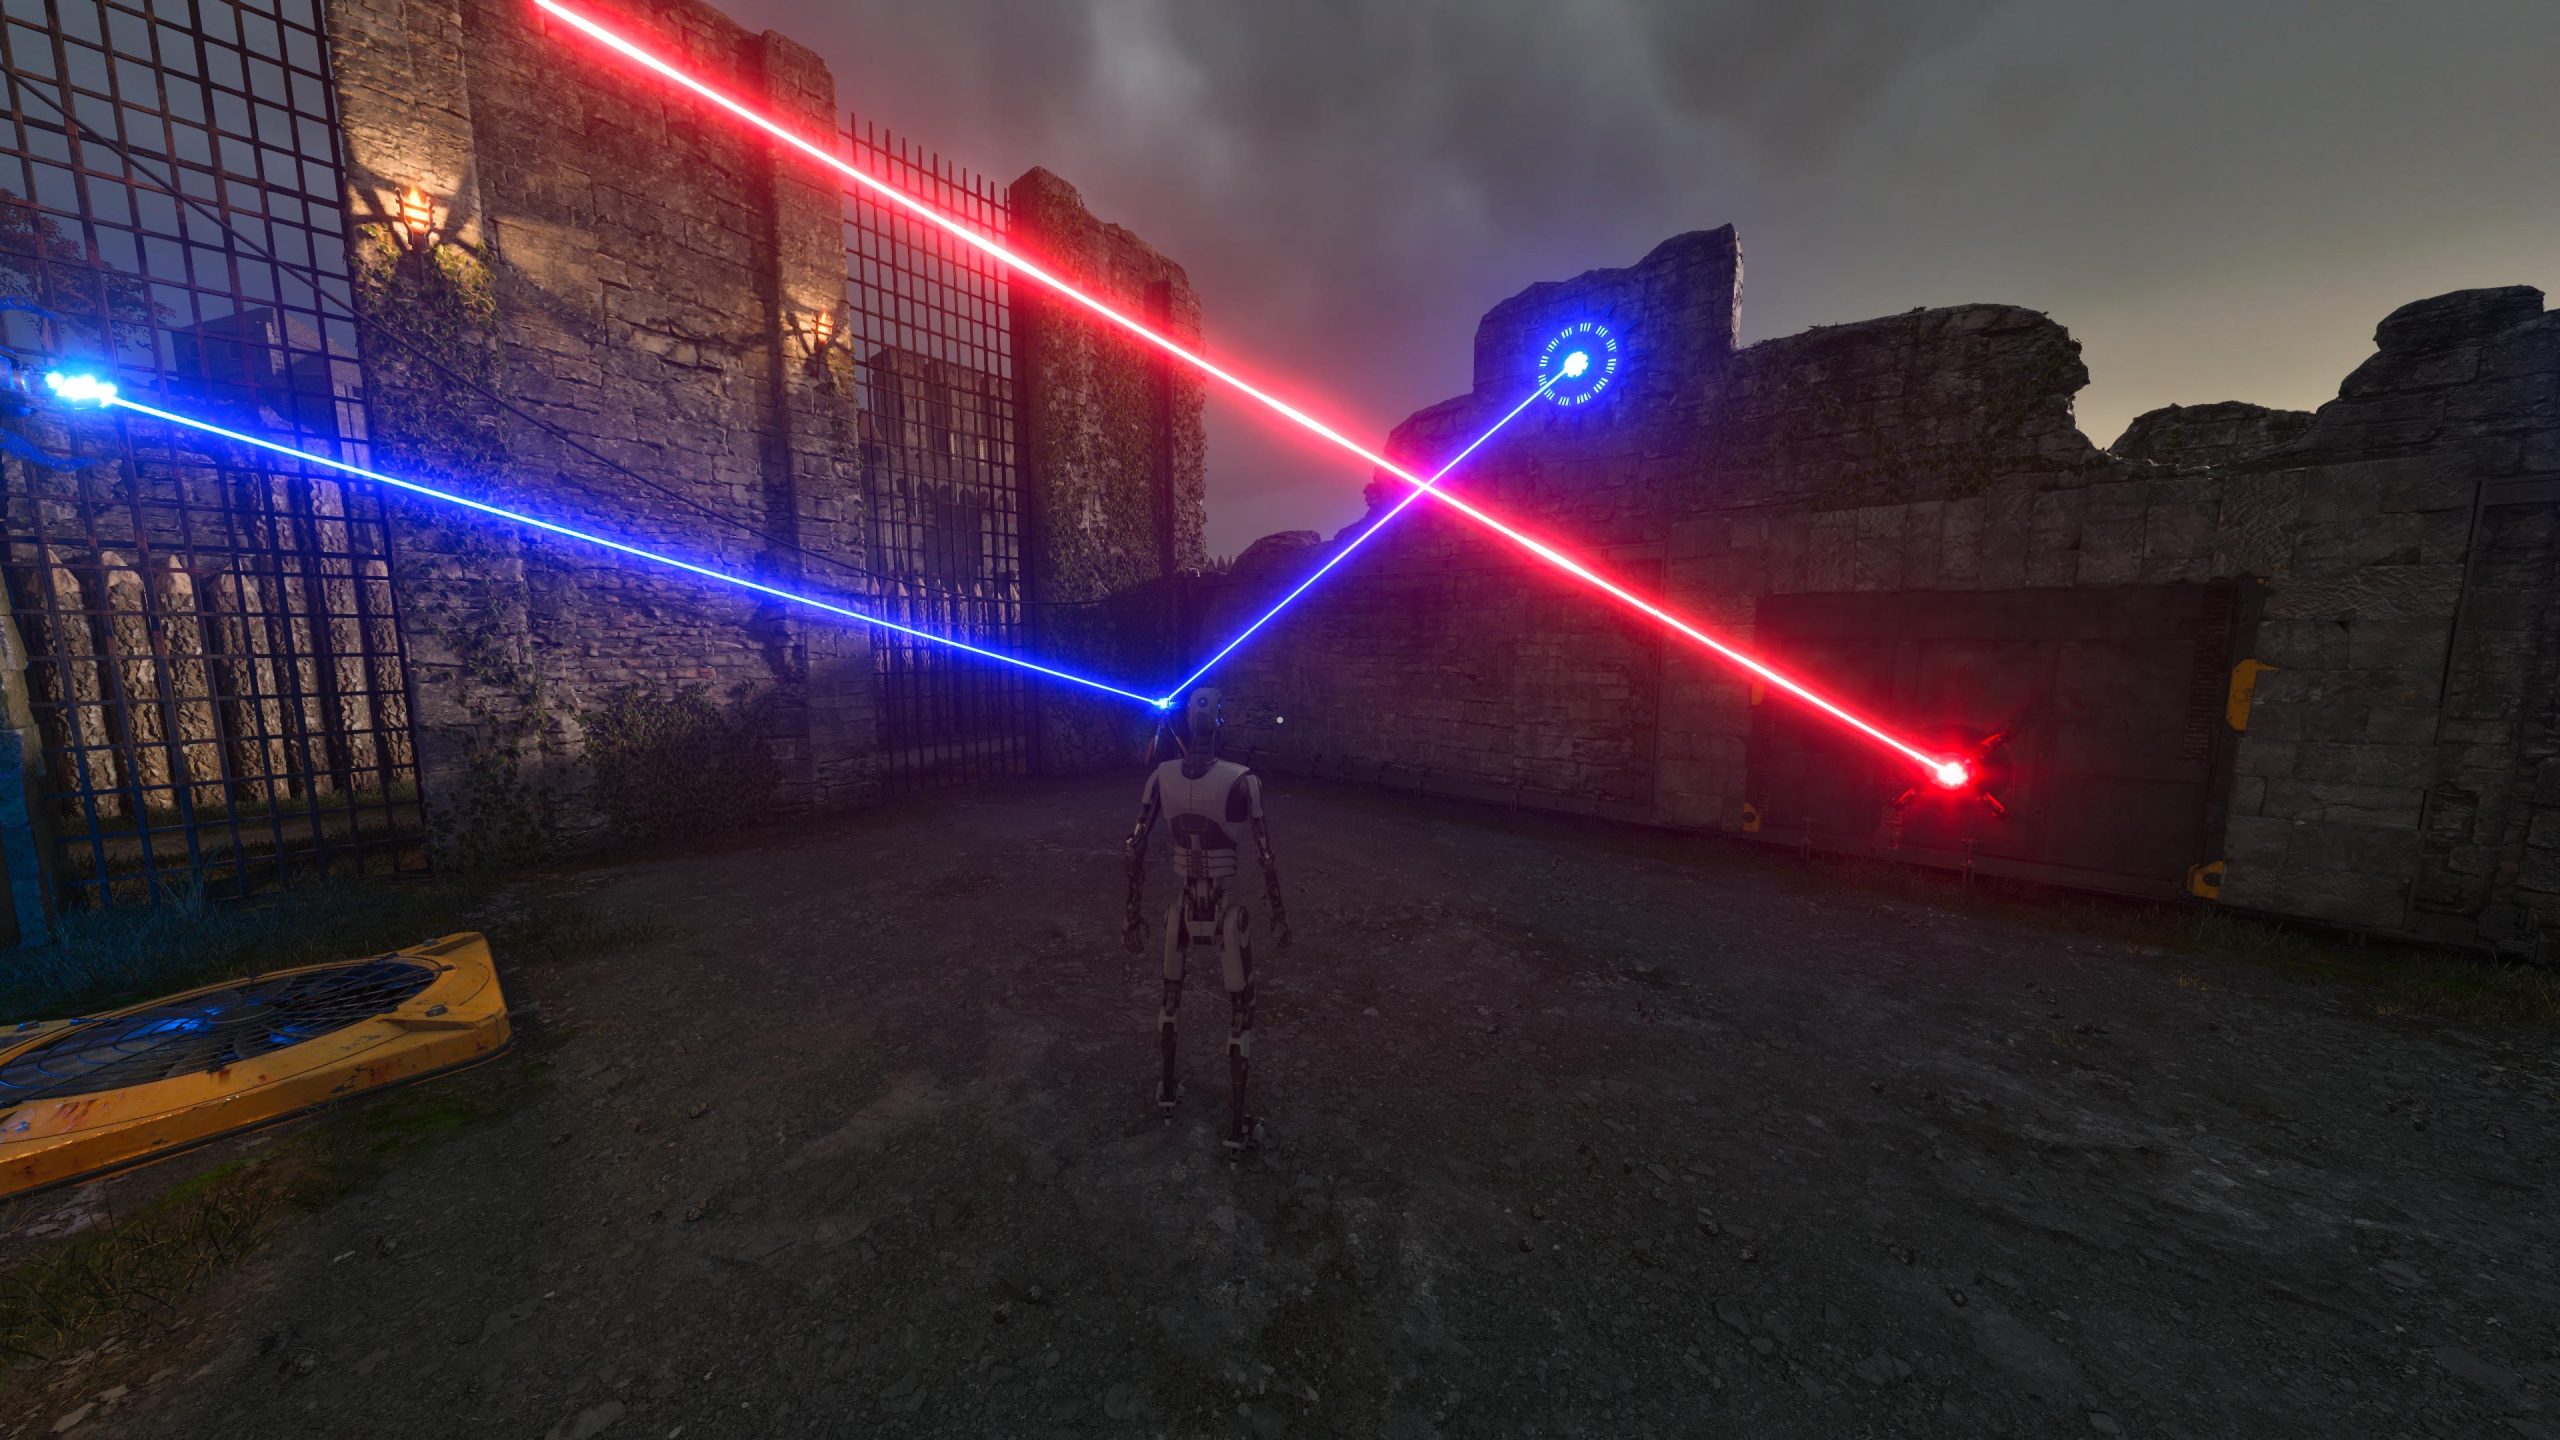
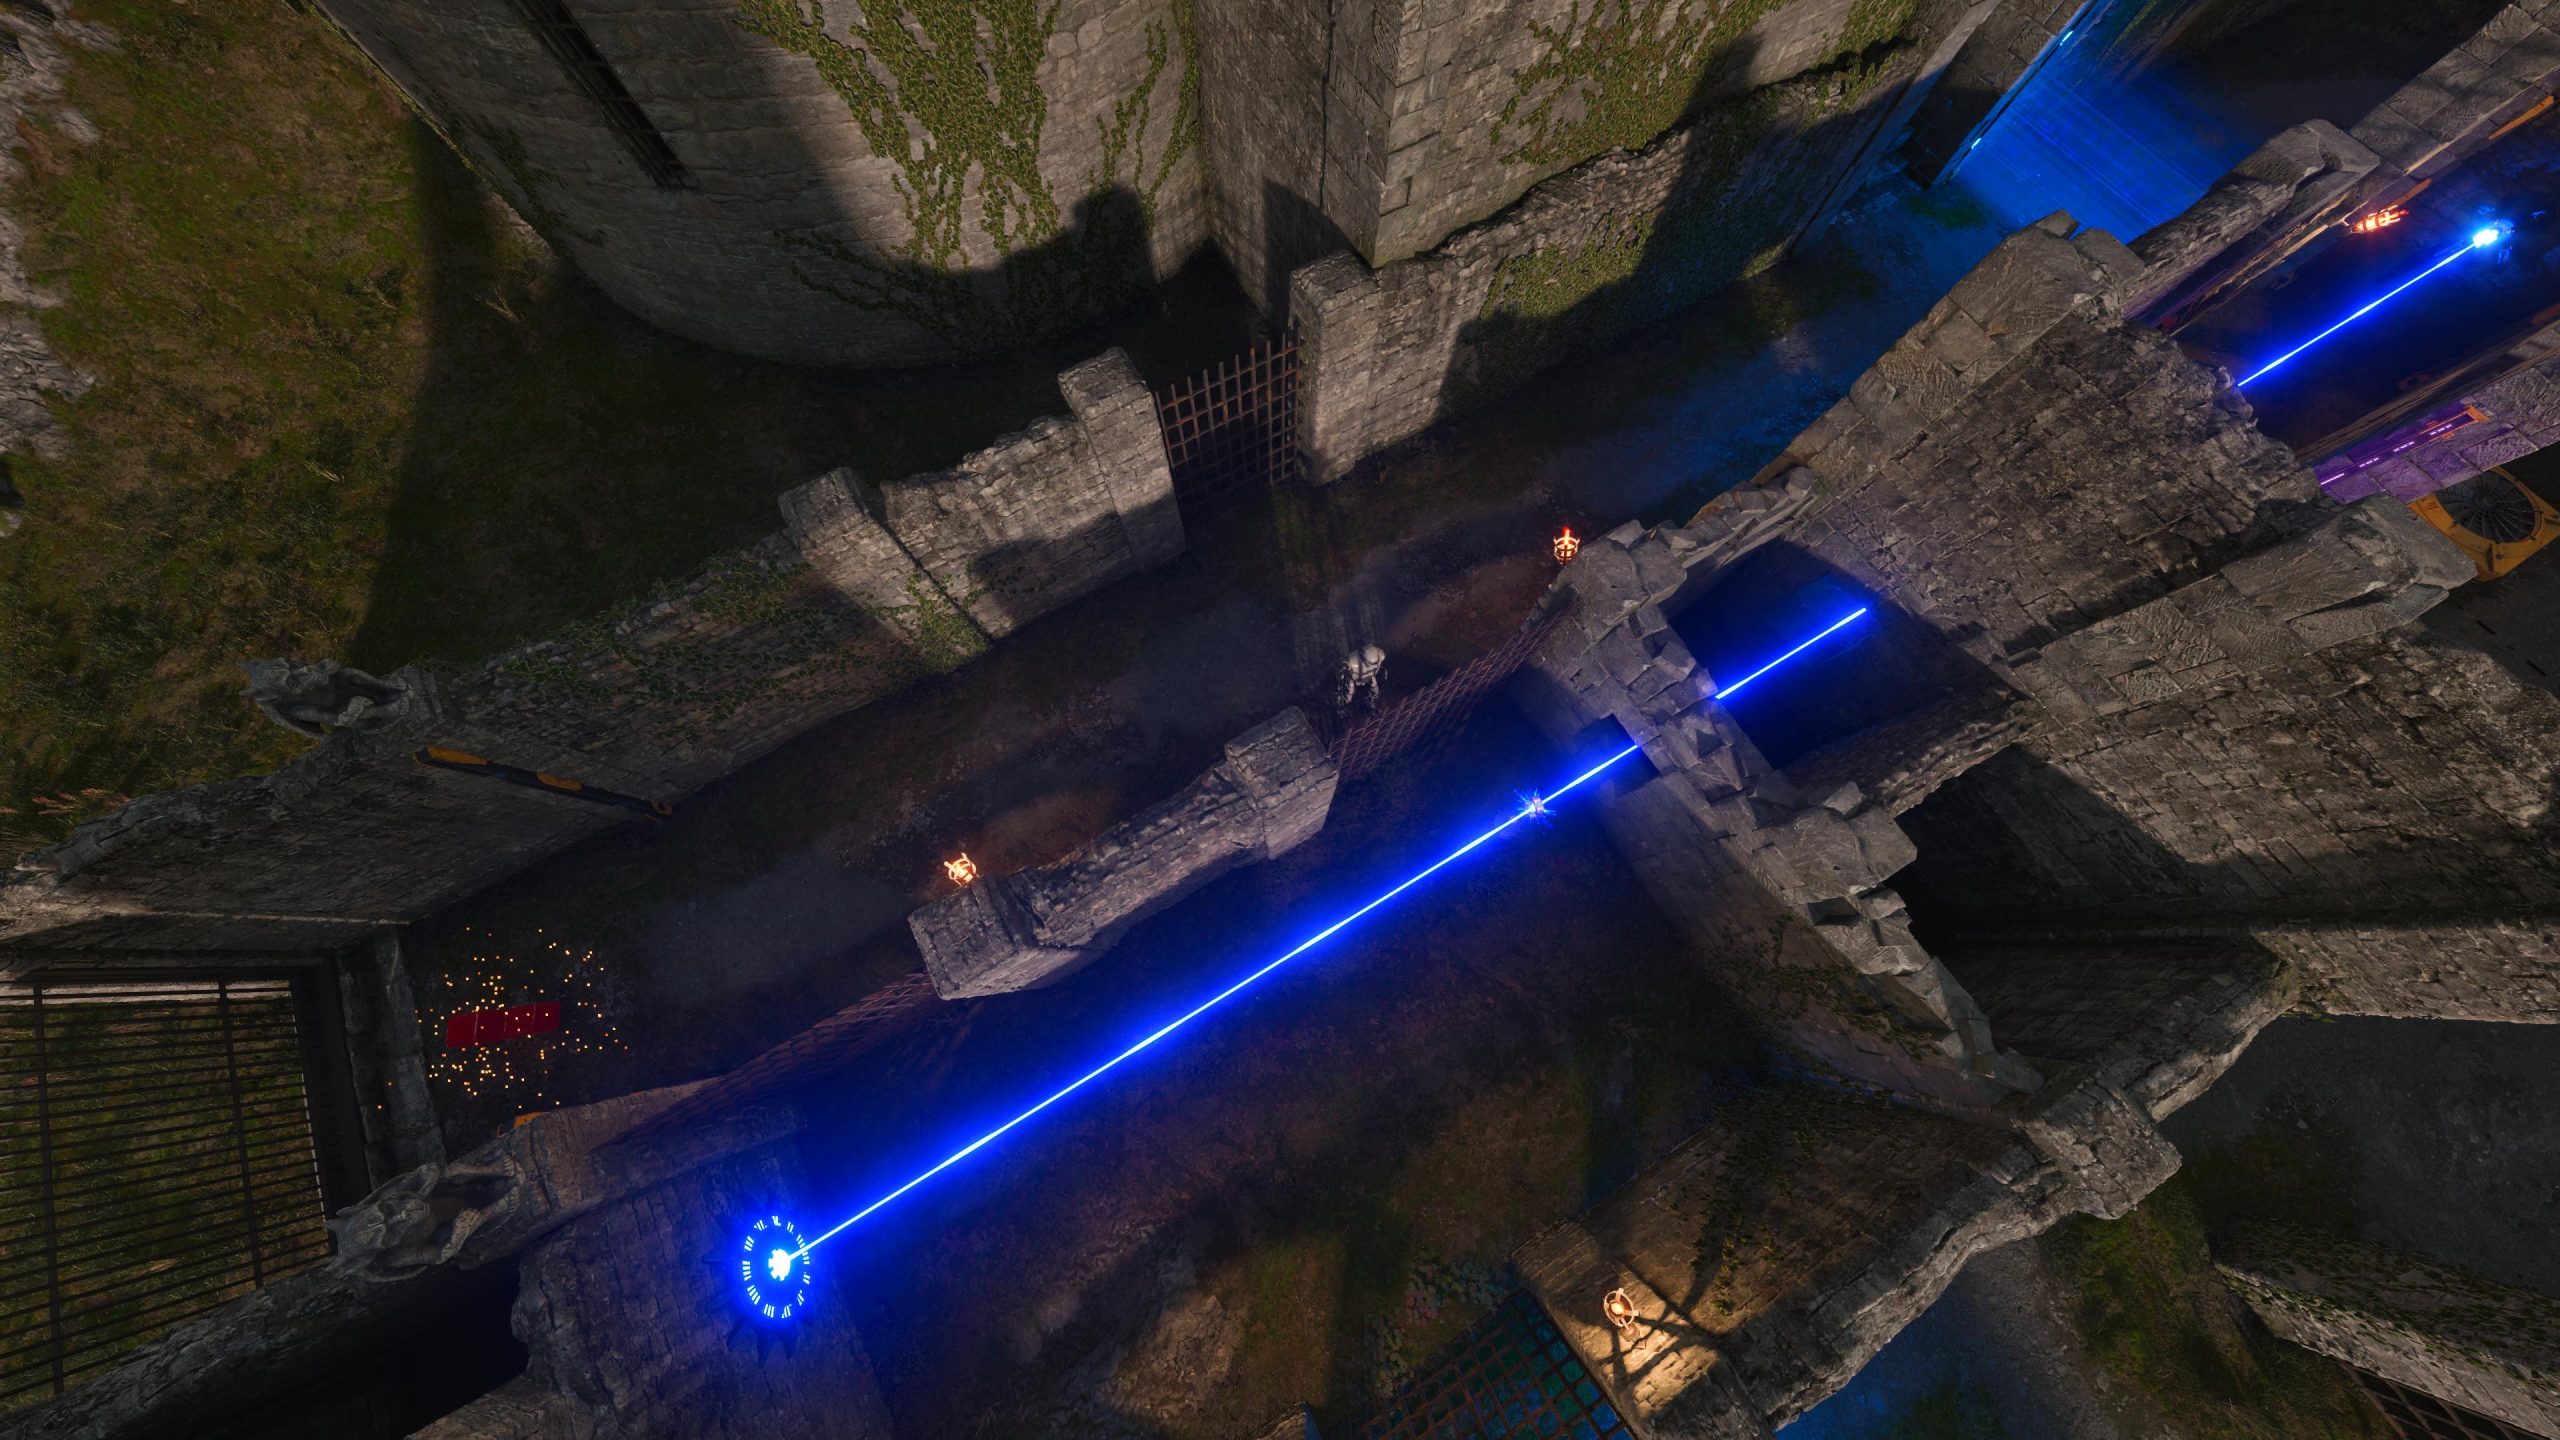
Now that you have all three connectors, it’s time to solve the puzzle. The goal is to position the lasers in a way that they block each other, ultimately deactivating the shield blocking the tetromino. This involves creating a specific interference pattern between the red and blue lasers.
- Bring all three connectors (C1, C2, and C3) to ground level and place them on one side of the center area. Attach C1 to the red laser generator and the red node behind the wall opposite the moving panel. Connect C2 to the blue laser generator and the blue node above the moving panel. Position C2 so it doesn’t obstruct the red lasers.
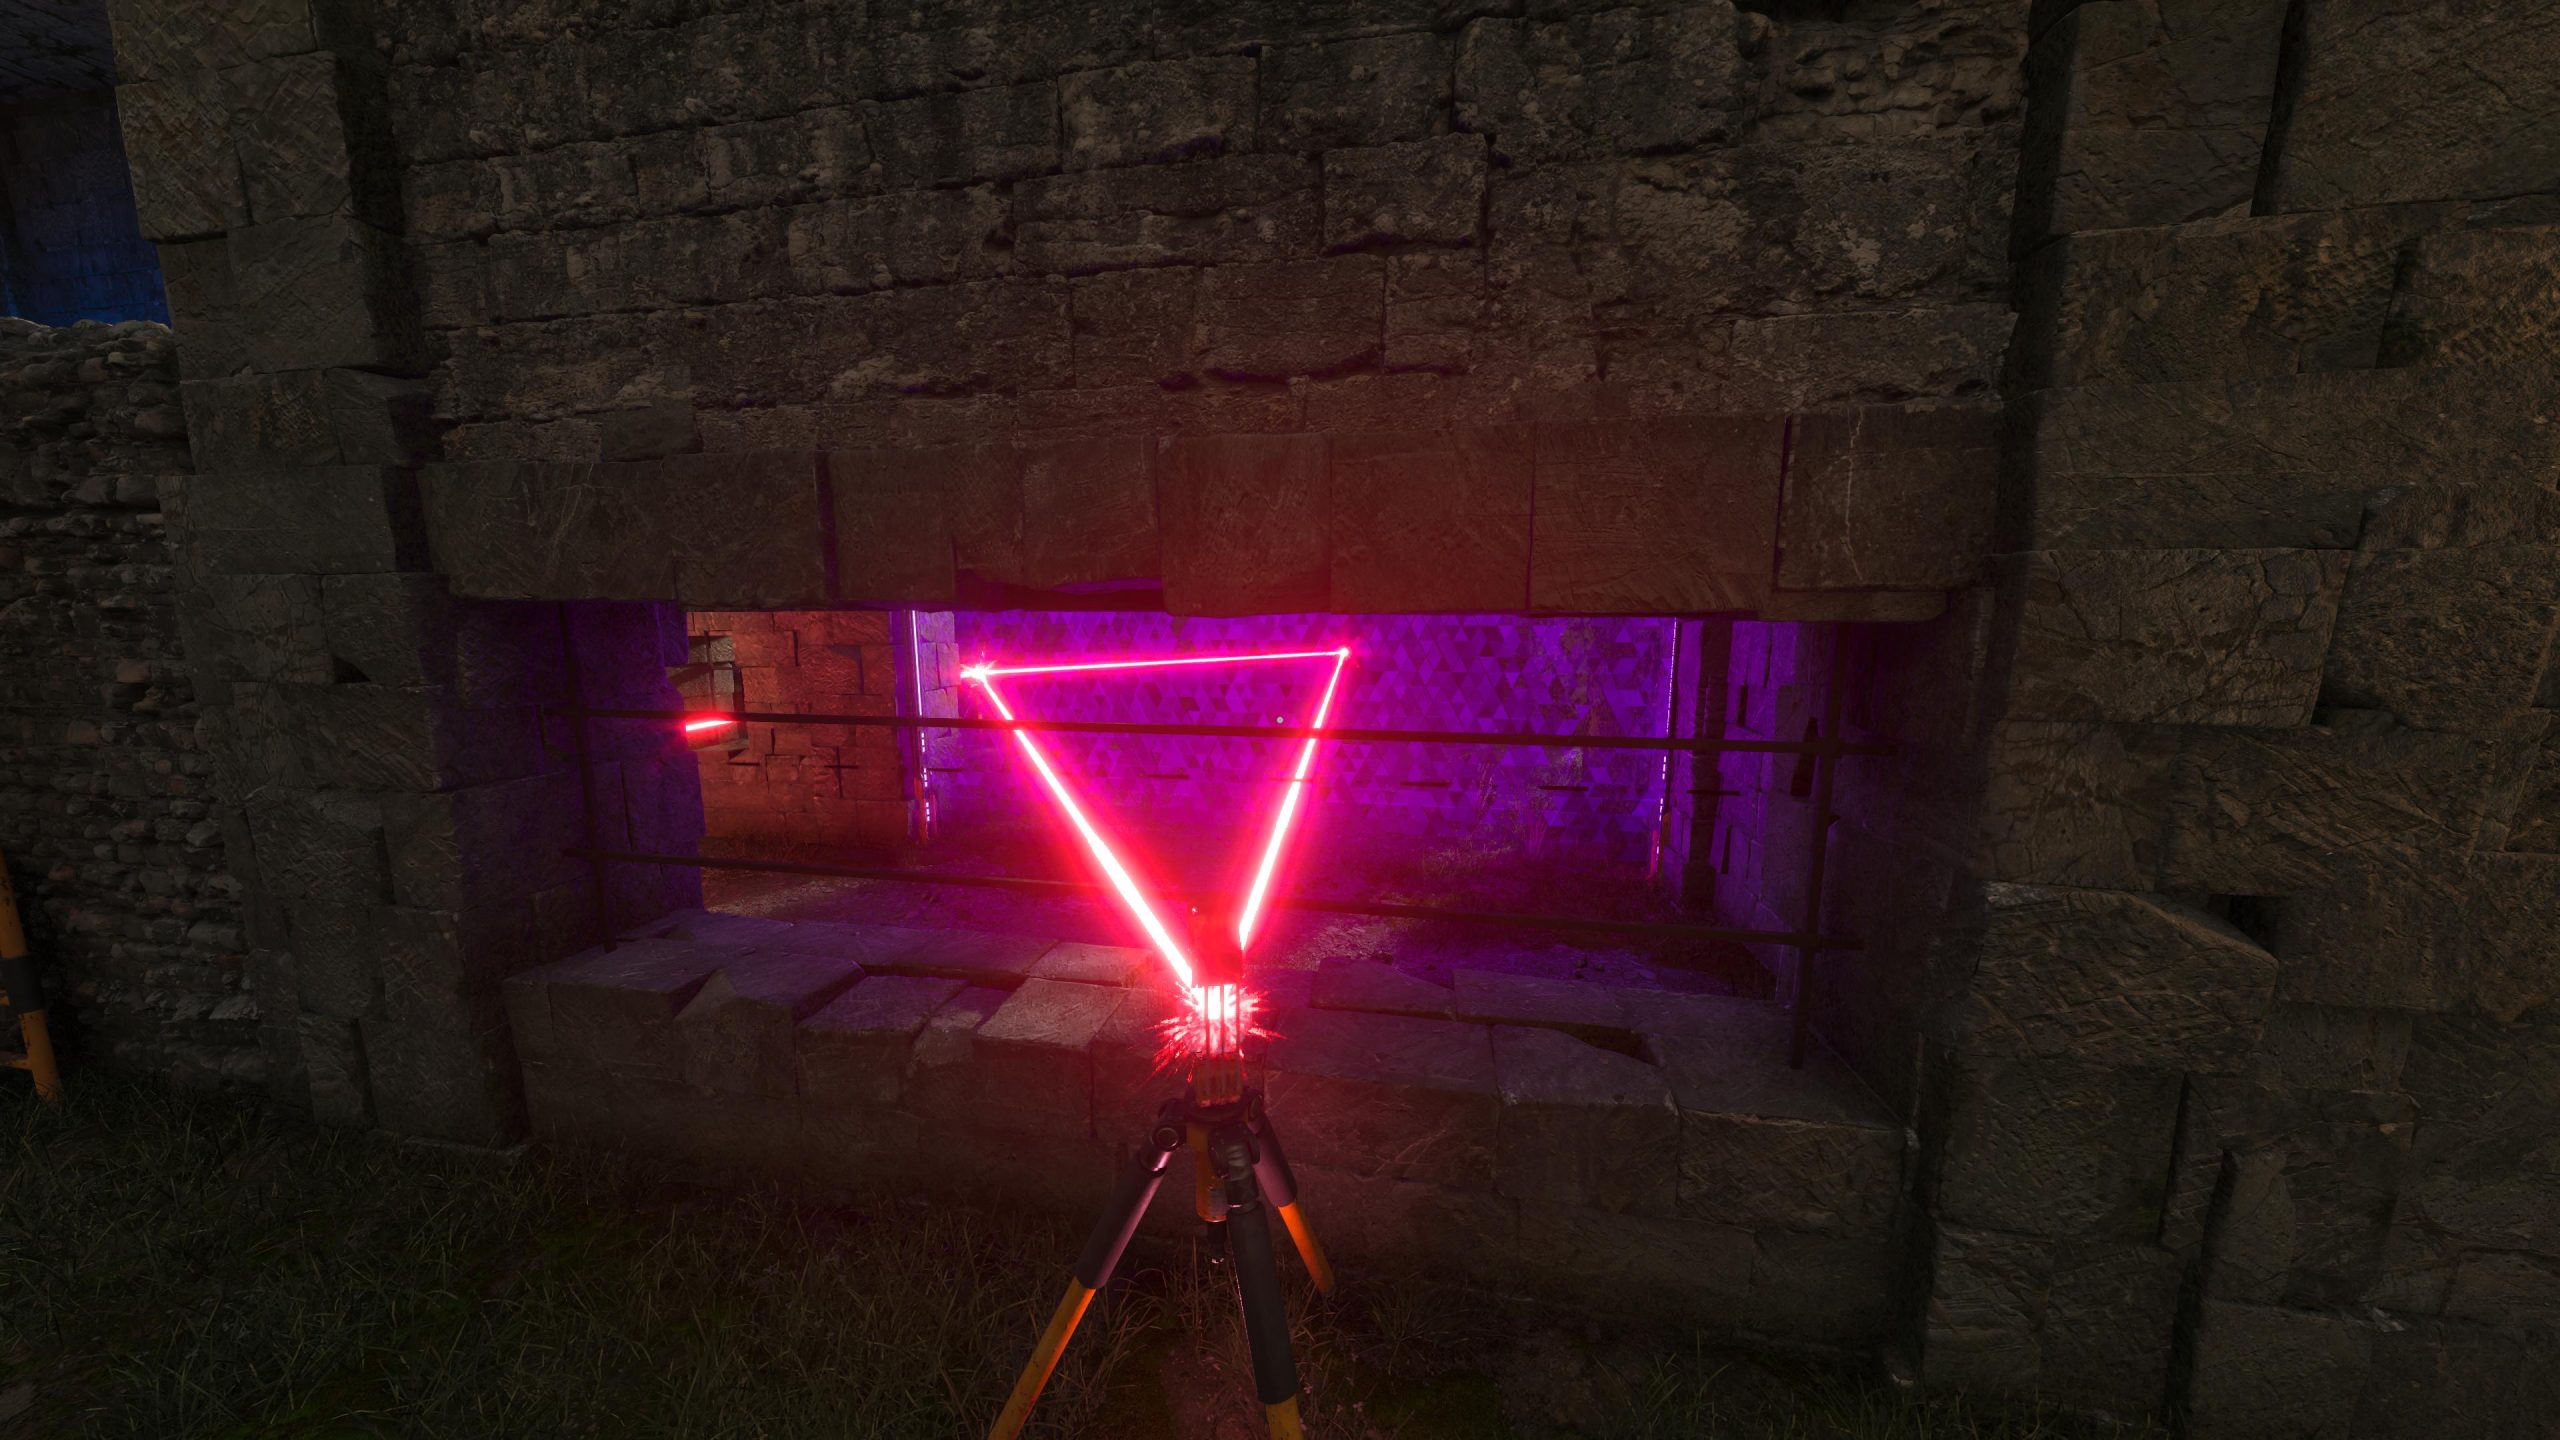
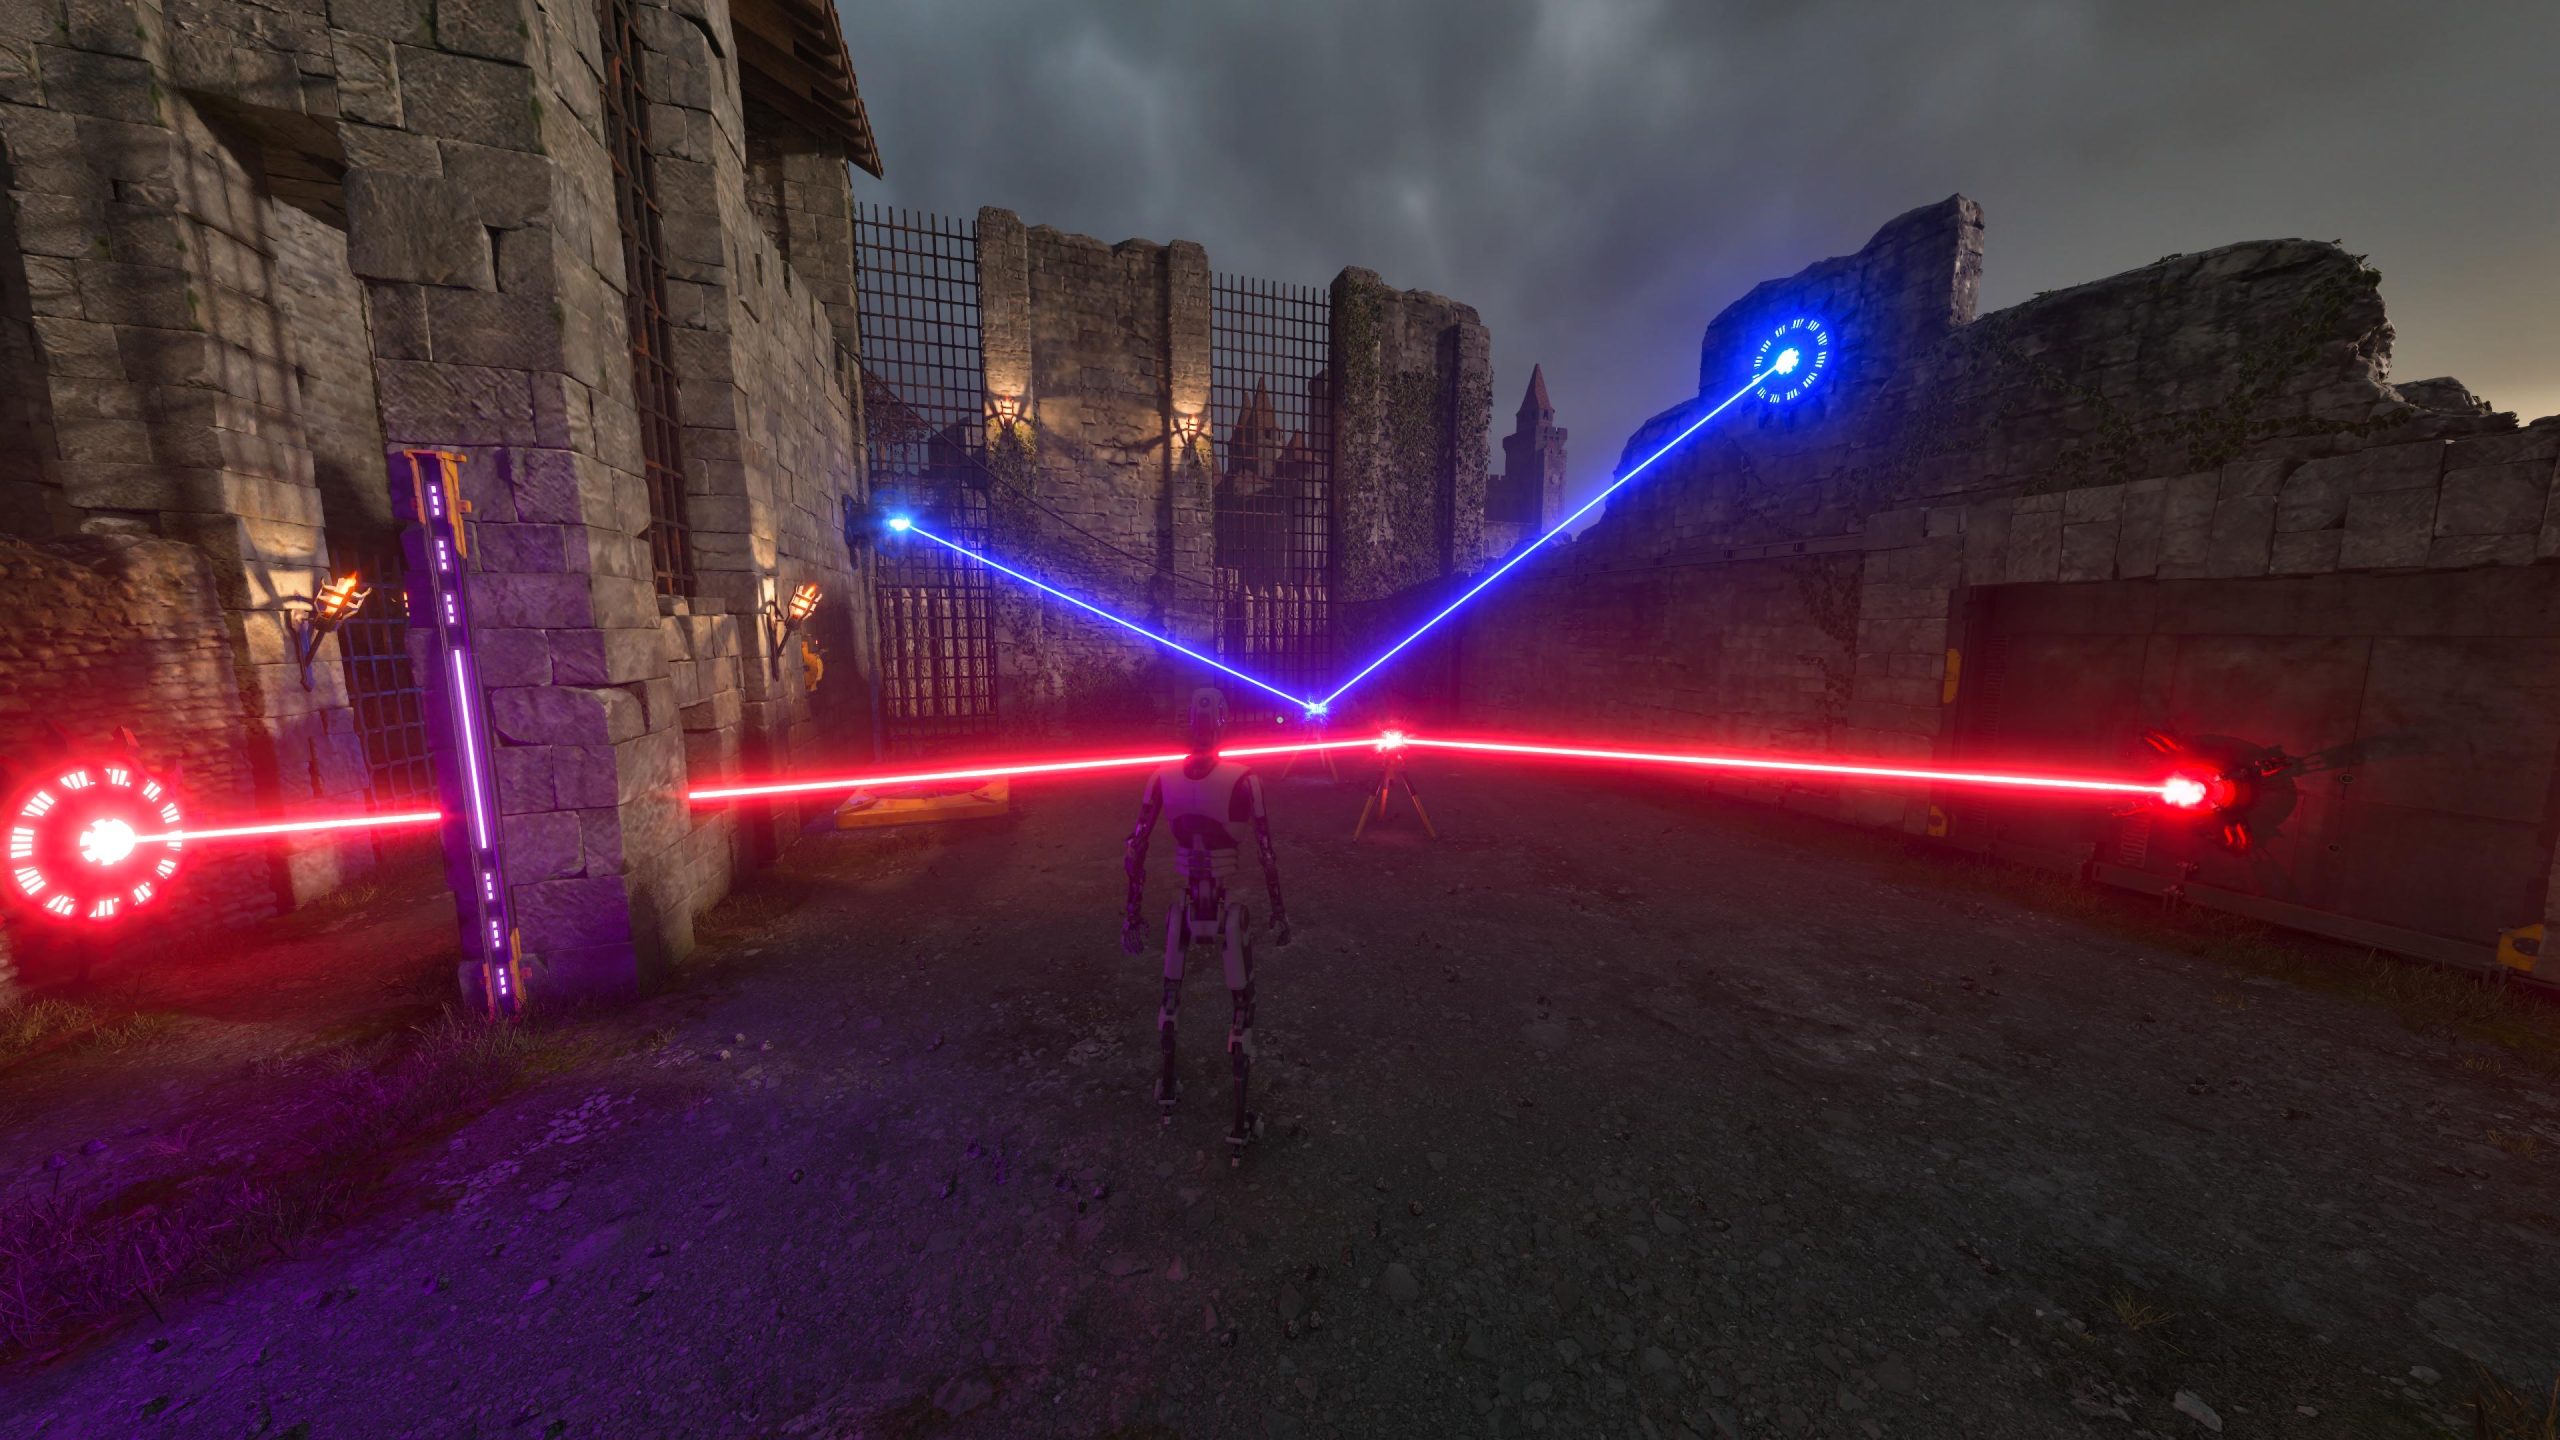
- Pick up C3 and move it around the center area to the initially blocked path. Connect C3 to C1 and the red laser generator to form a triangle through the window.
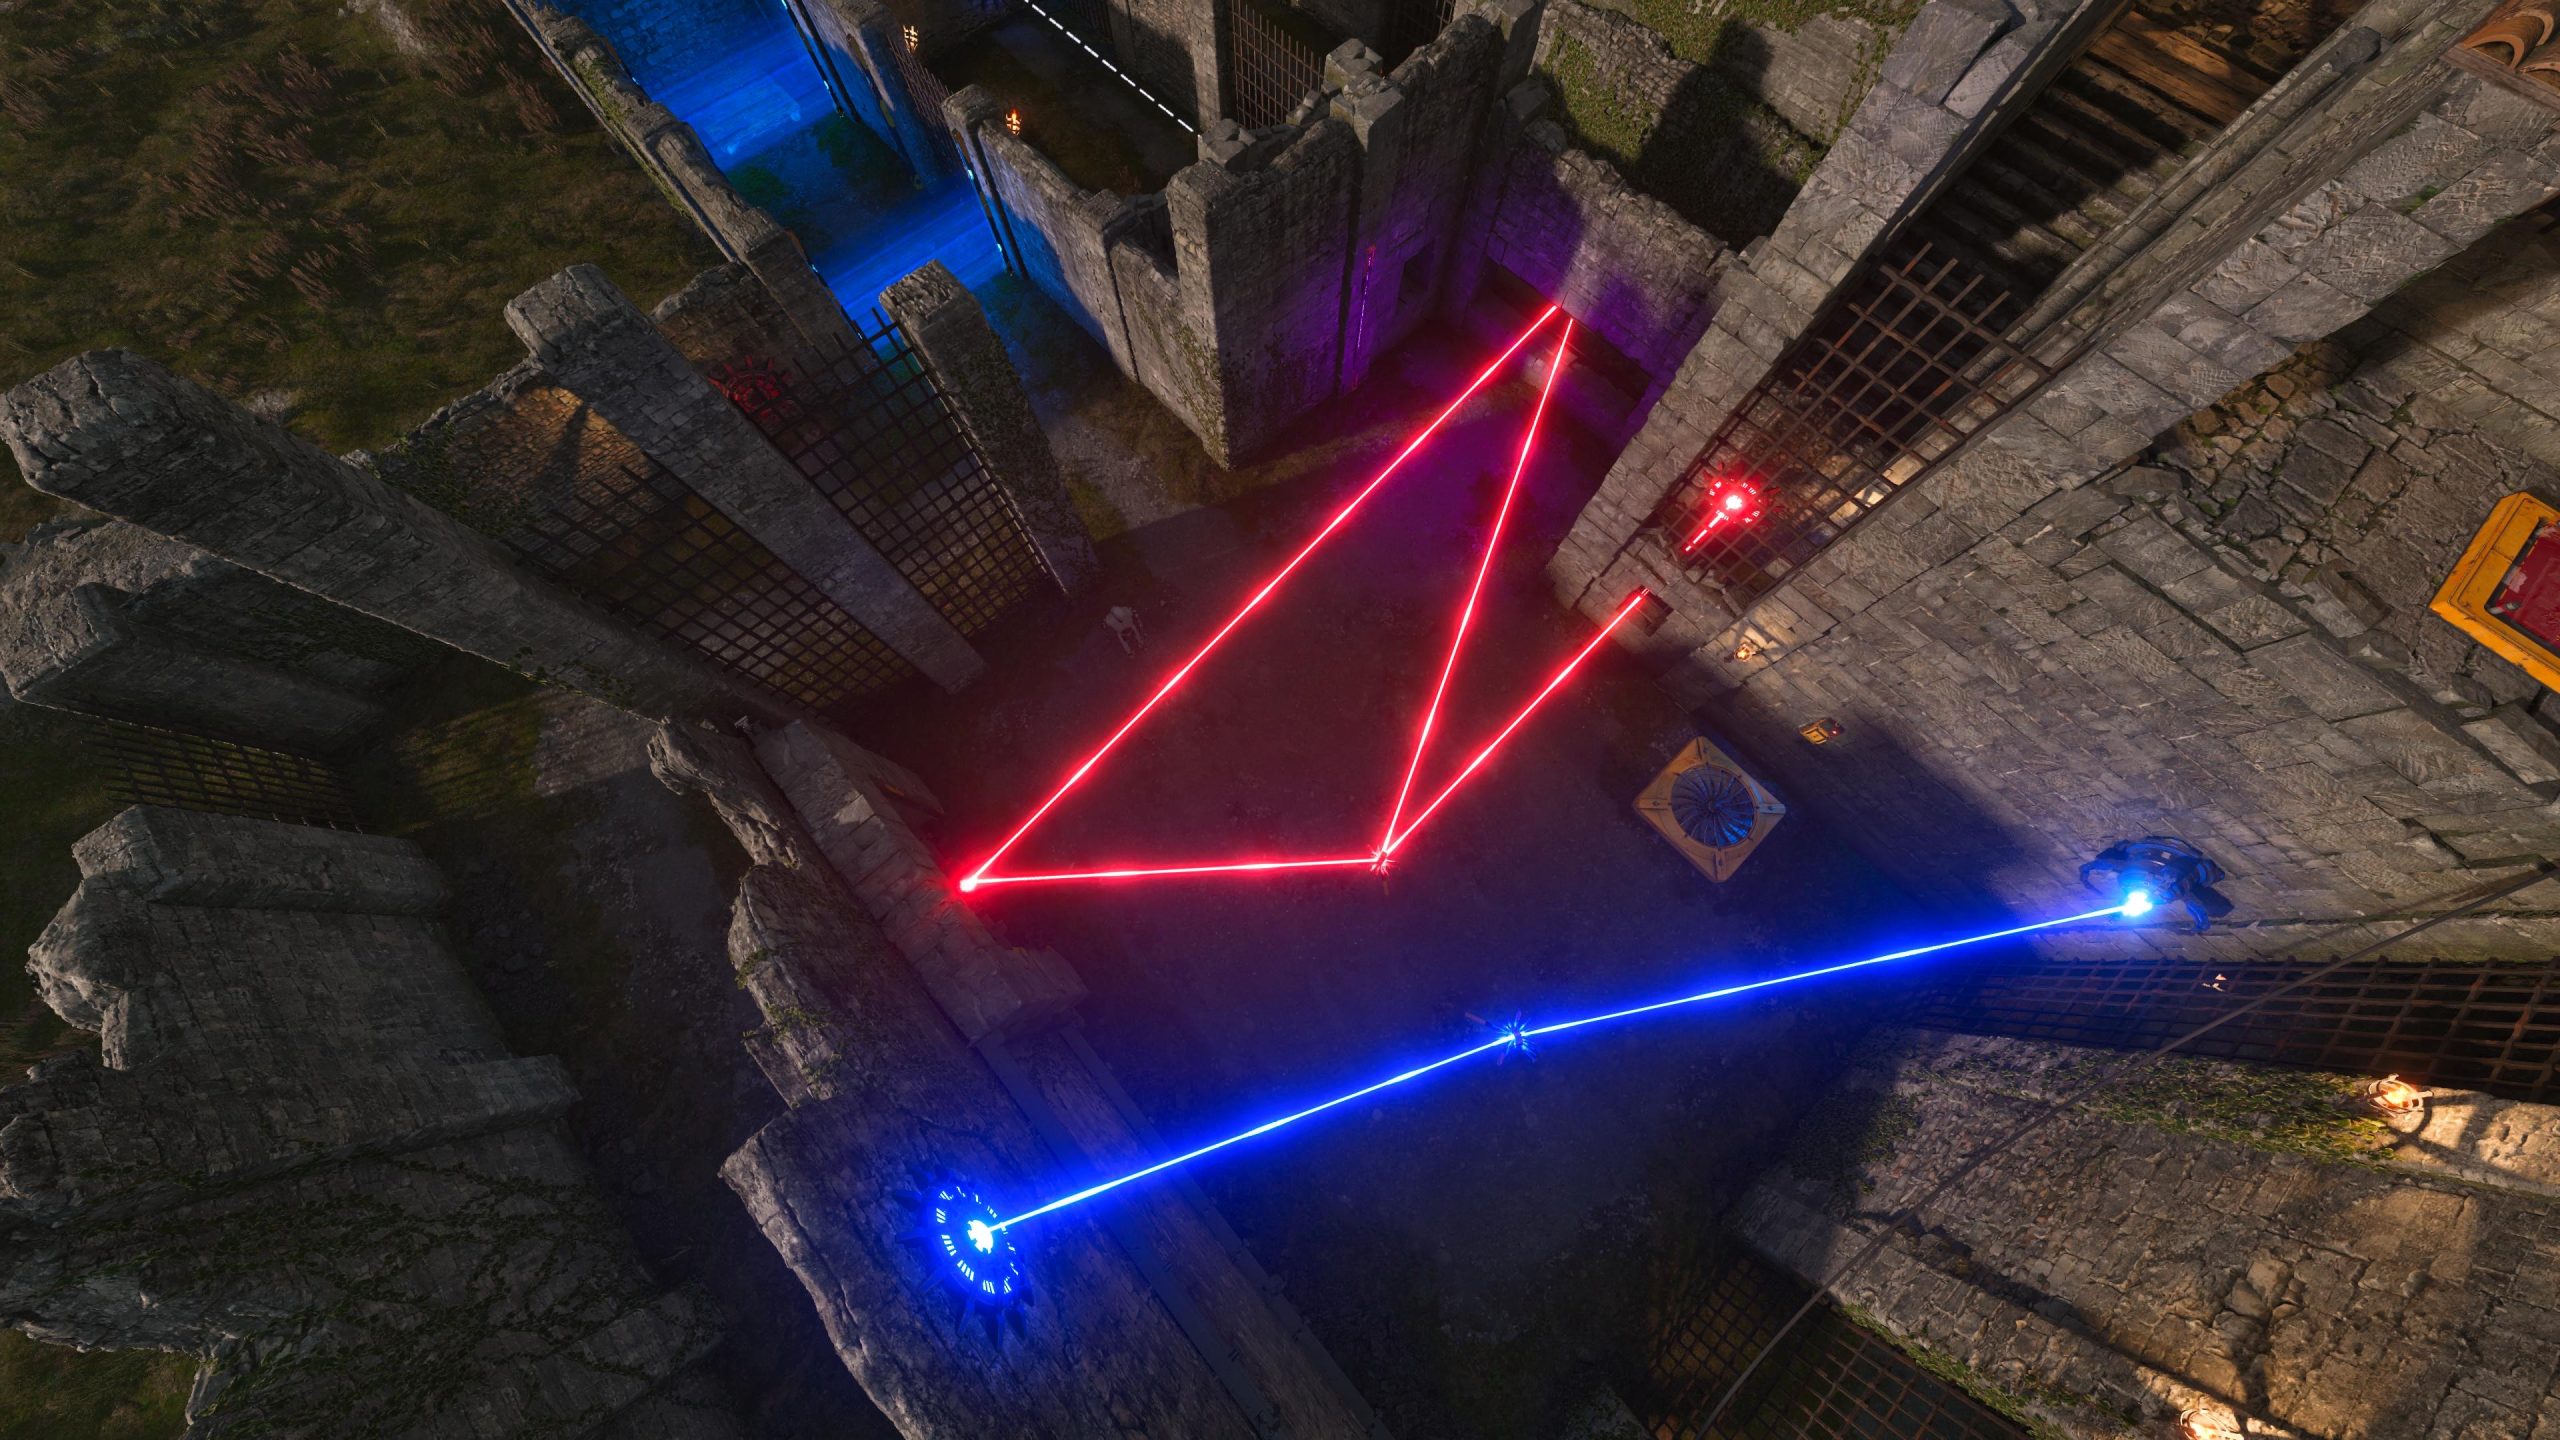
- Your laser layout should now resemble a triangle, with the red lasers active and the blue laser not interfering yet.
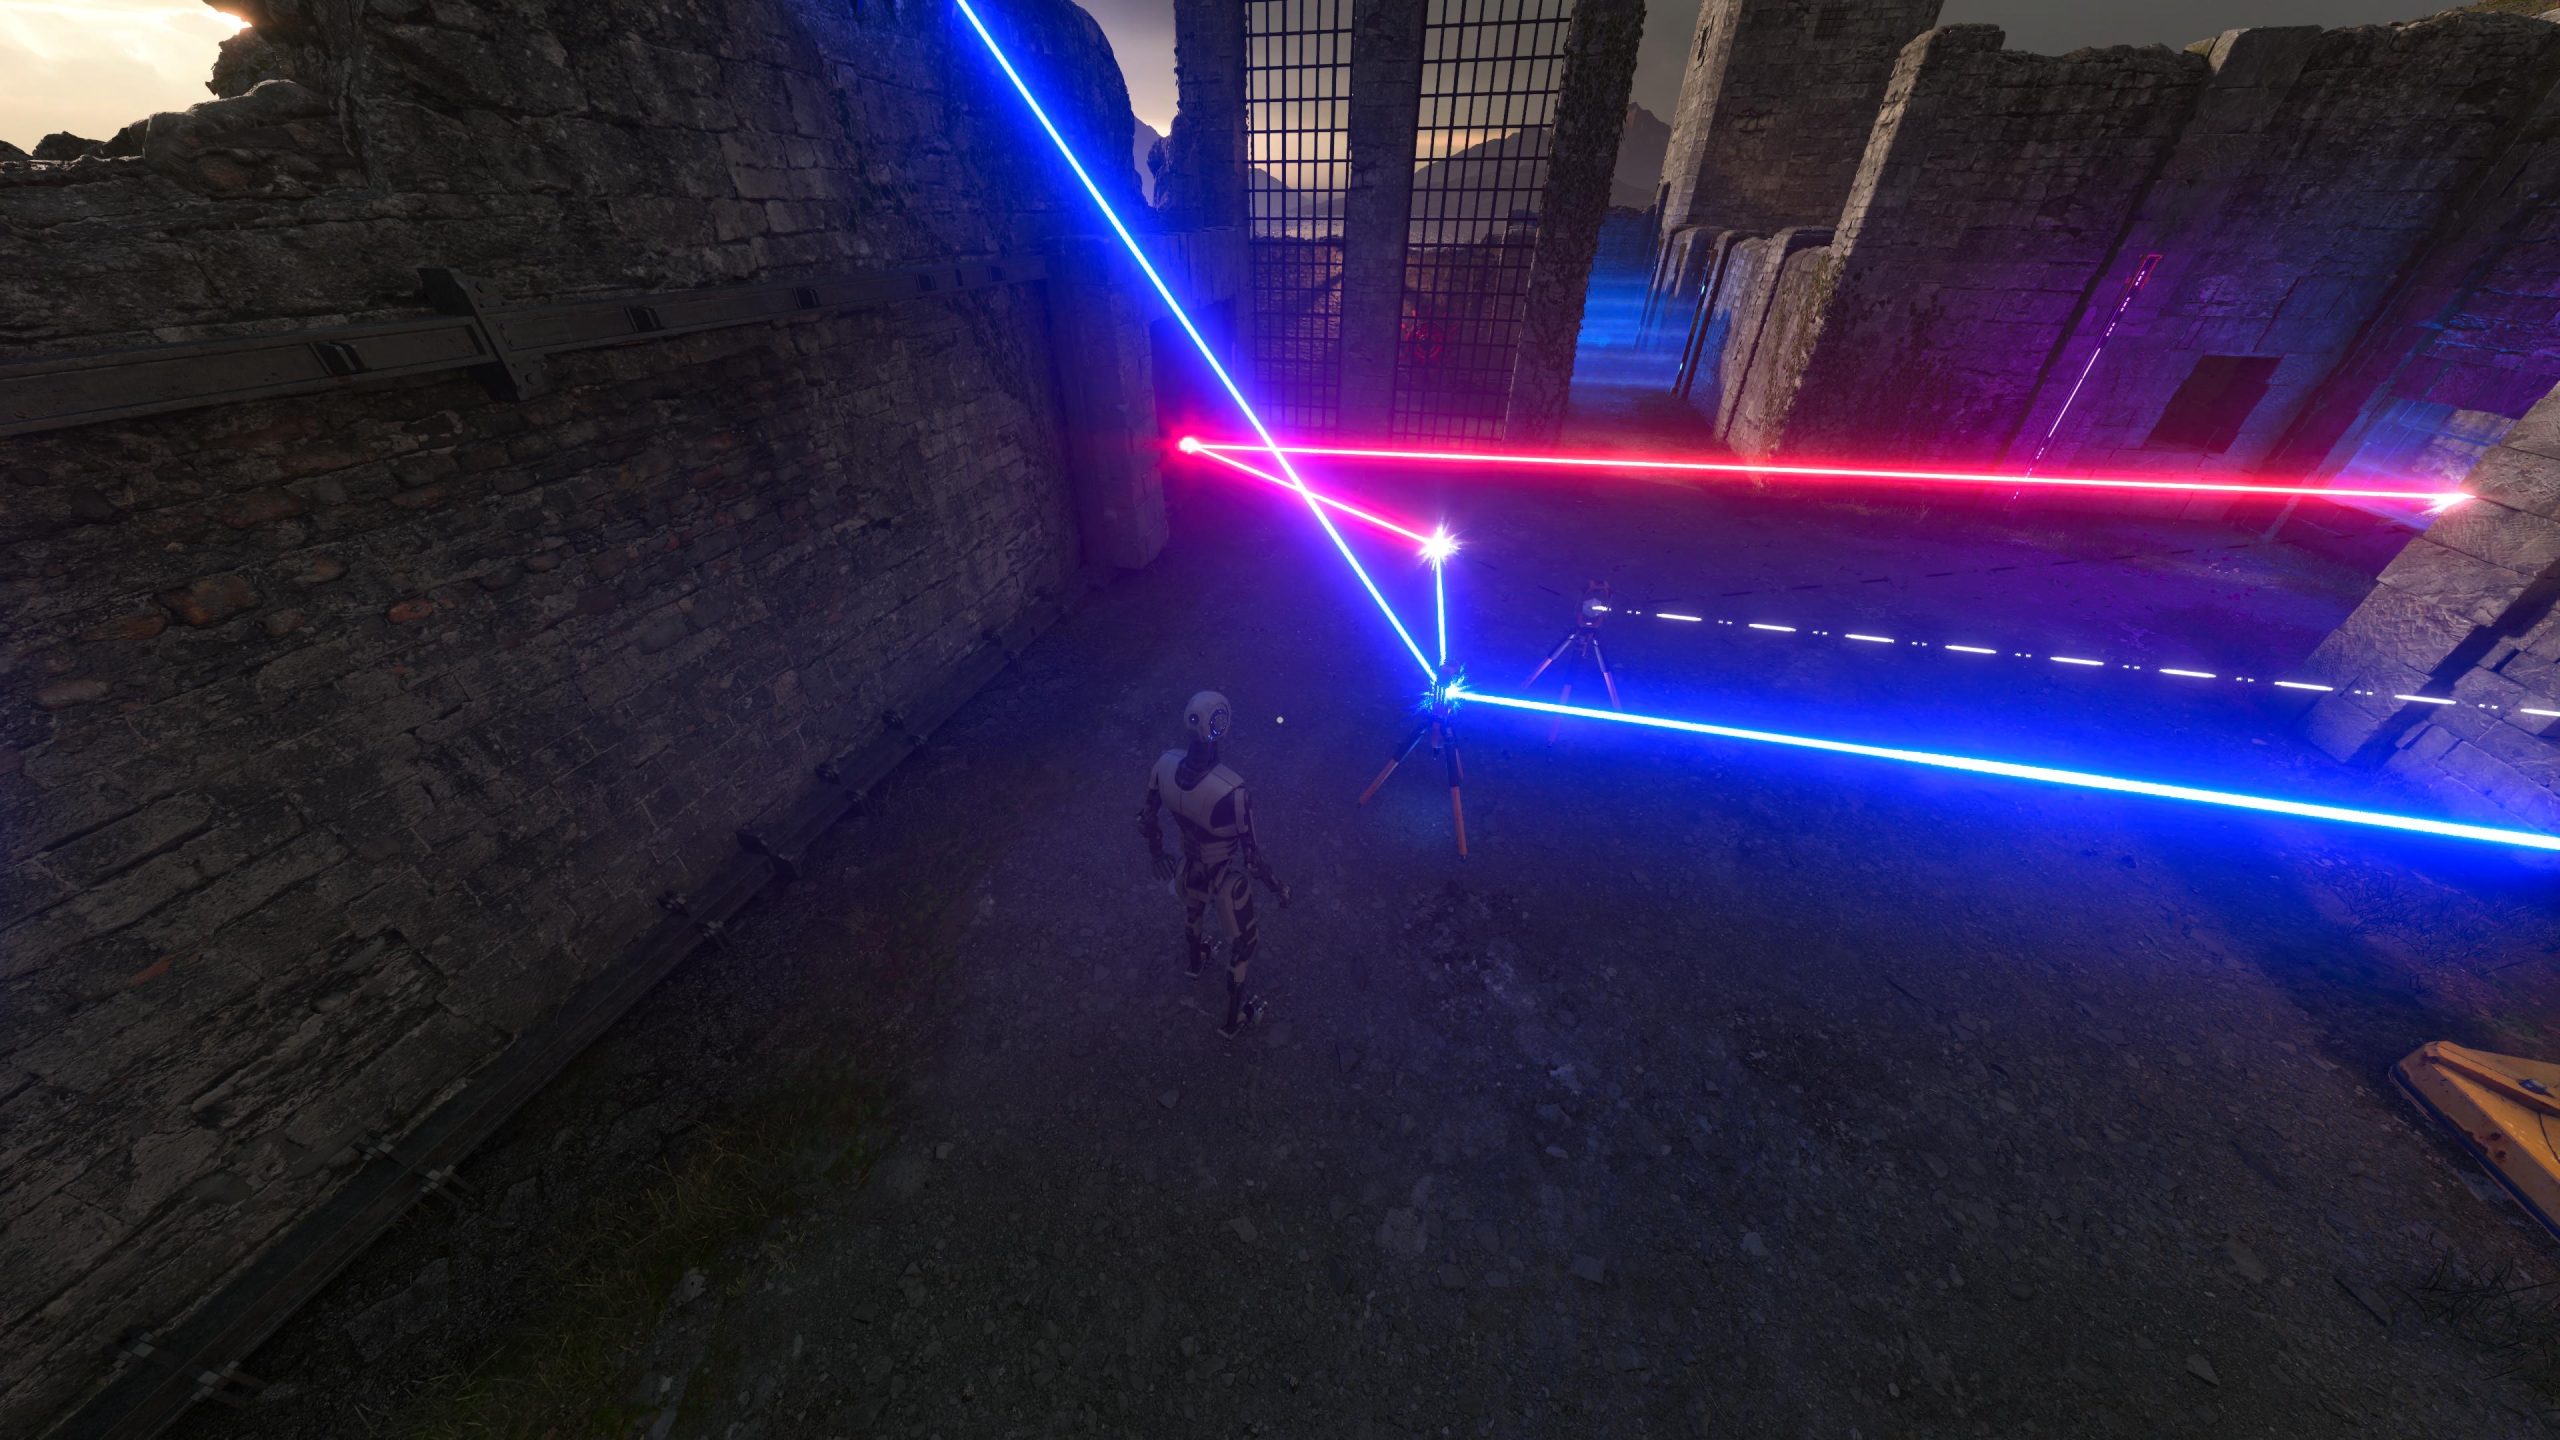
- Connect C2 to the red node that deactivates one of the shields. This will disrupt the red laser triangle you created earlier.
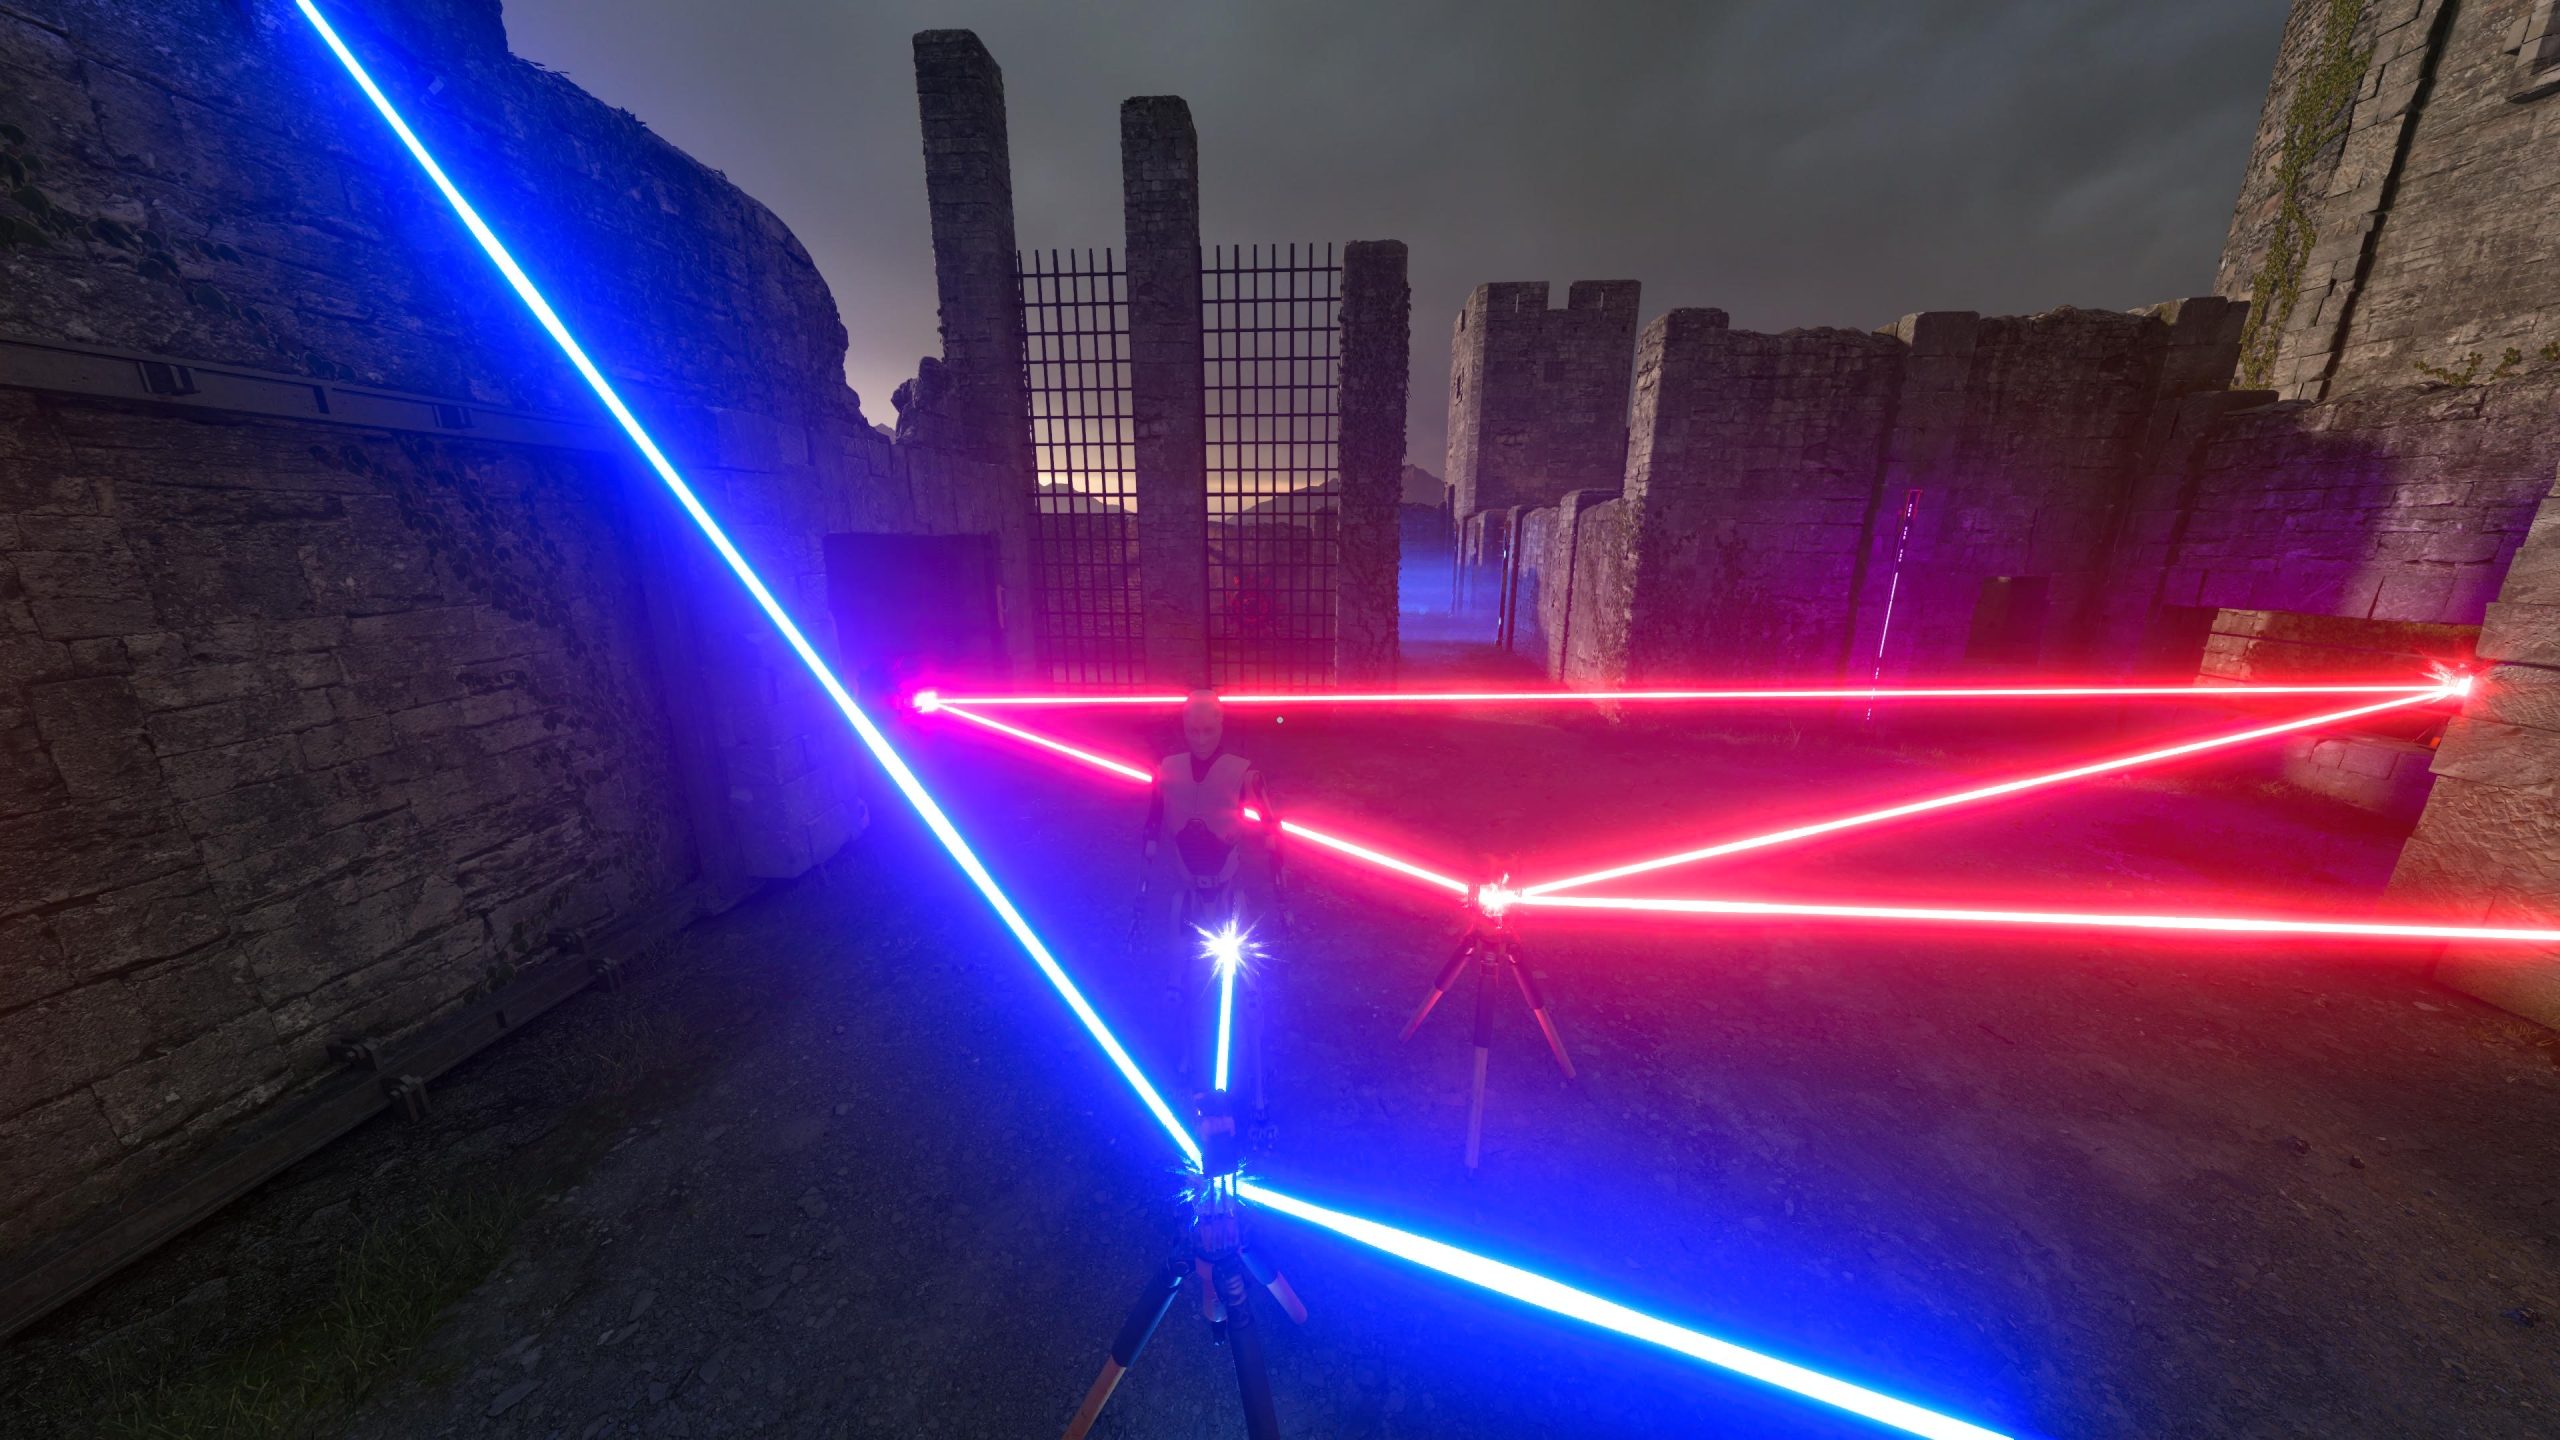
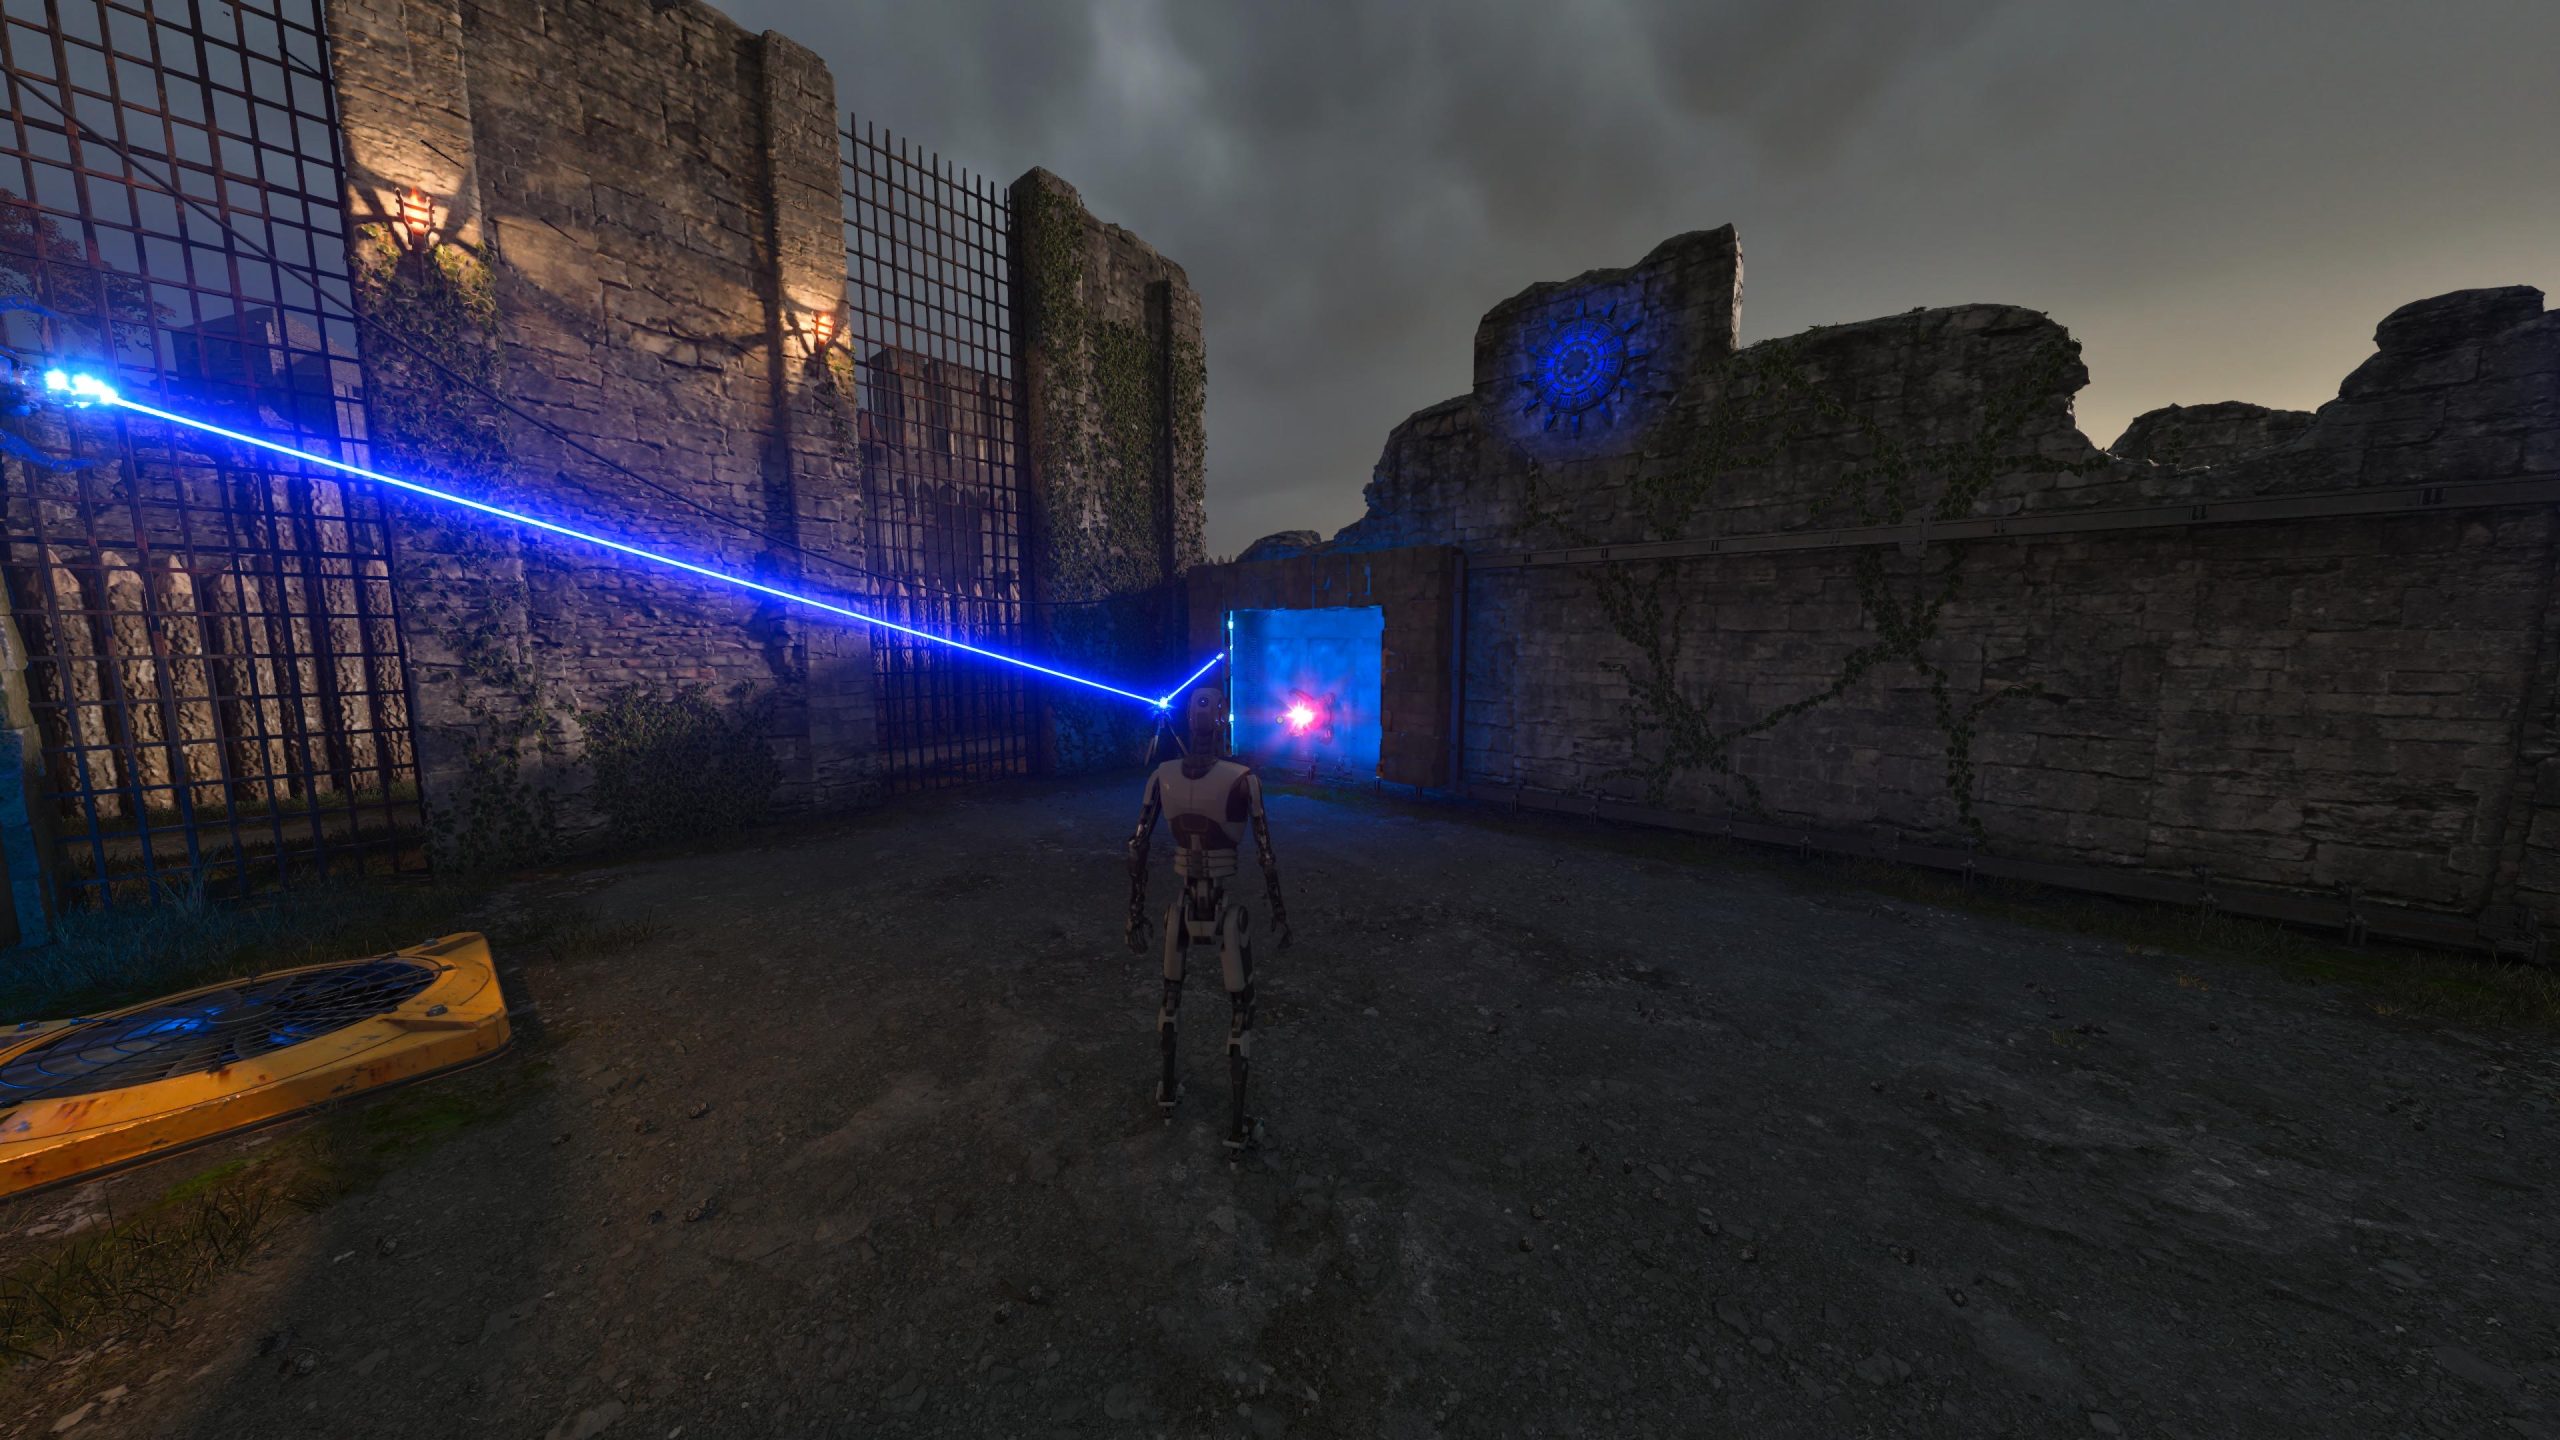
- Stand in front of the blue laser targeting the red node until the red laser reactivates. Then step out of the way of the blue laser.
- When you move out of the way, the blue laser’s path will be blocked by the red laser instead.
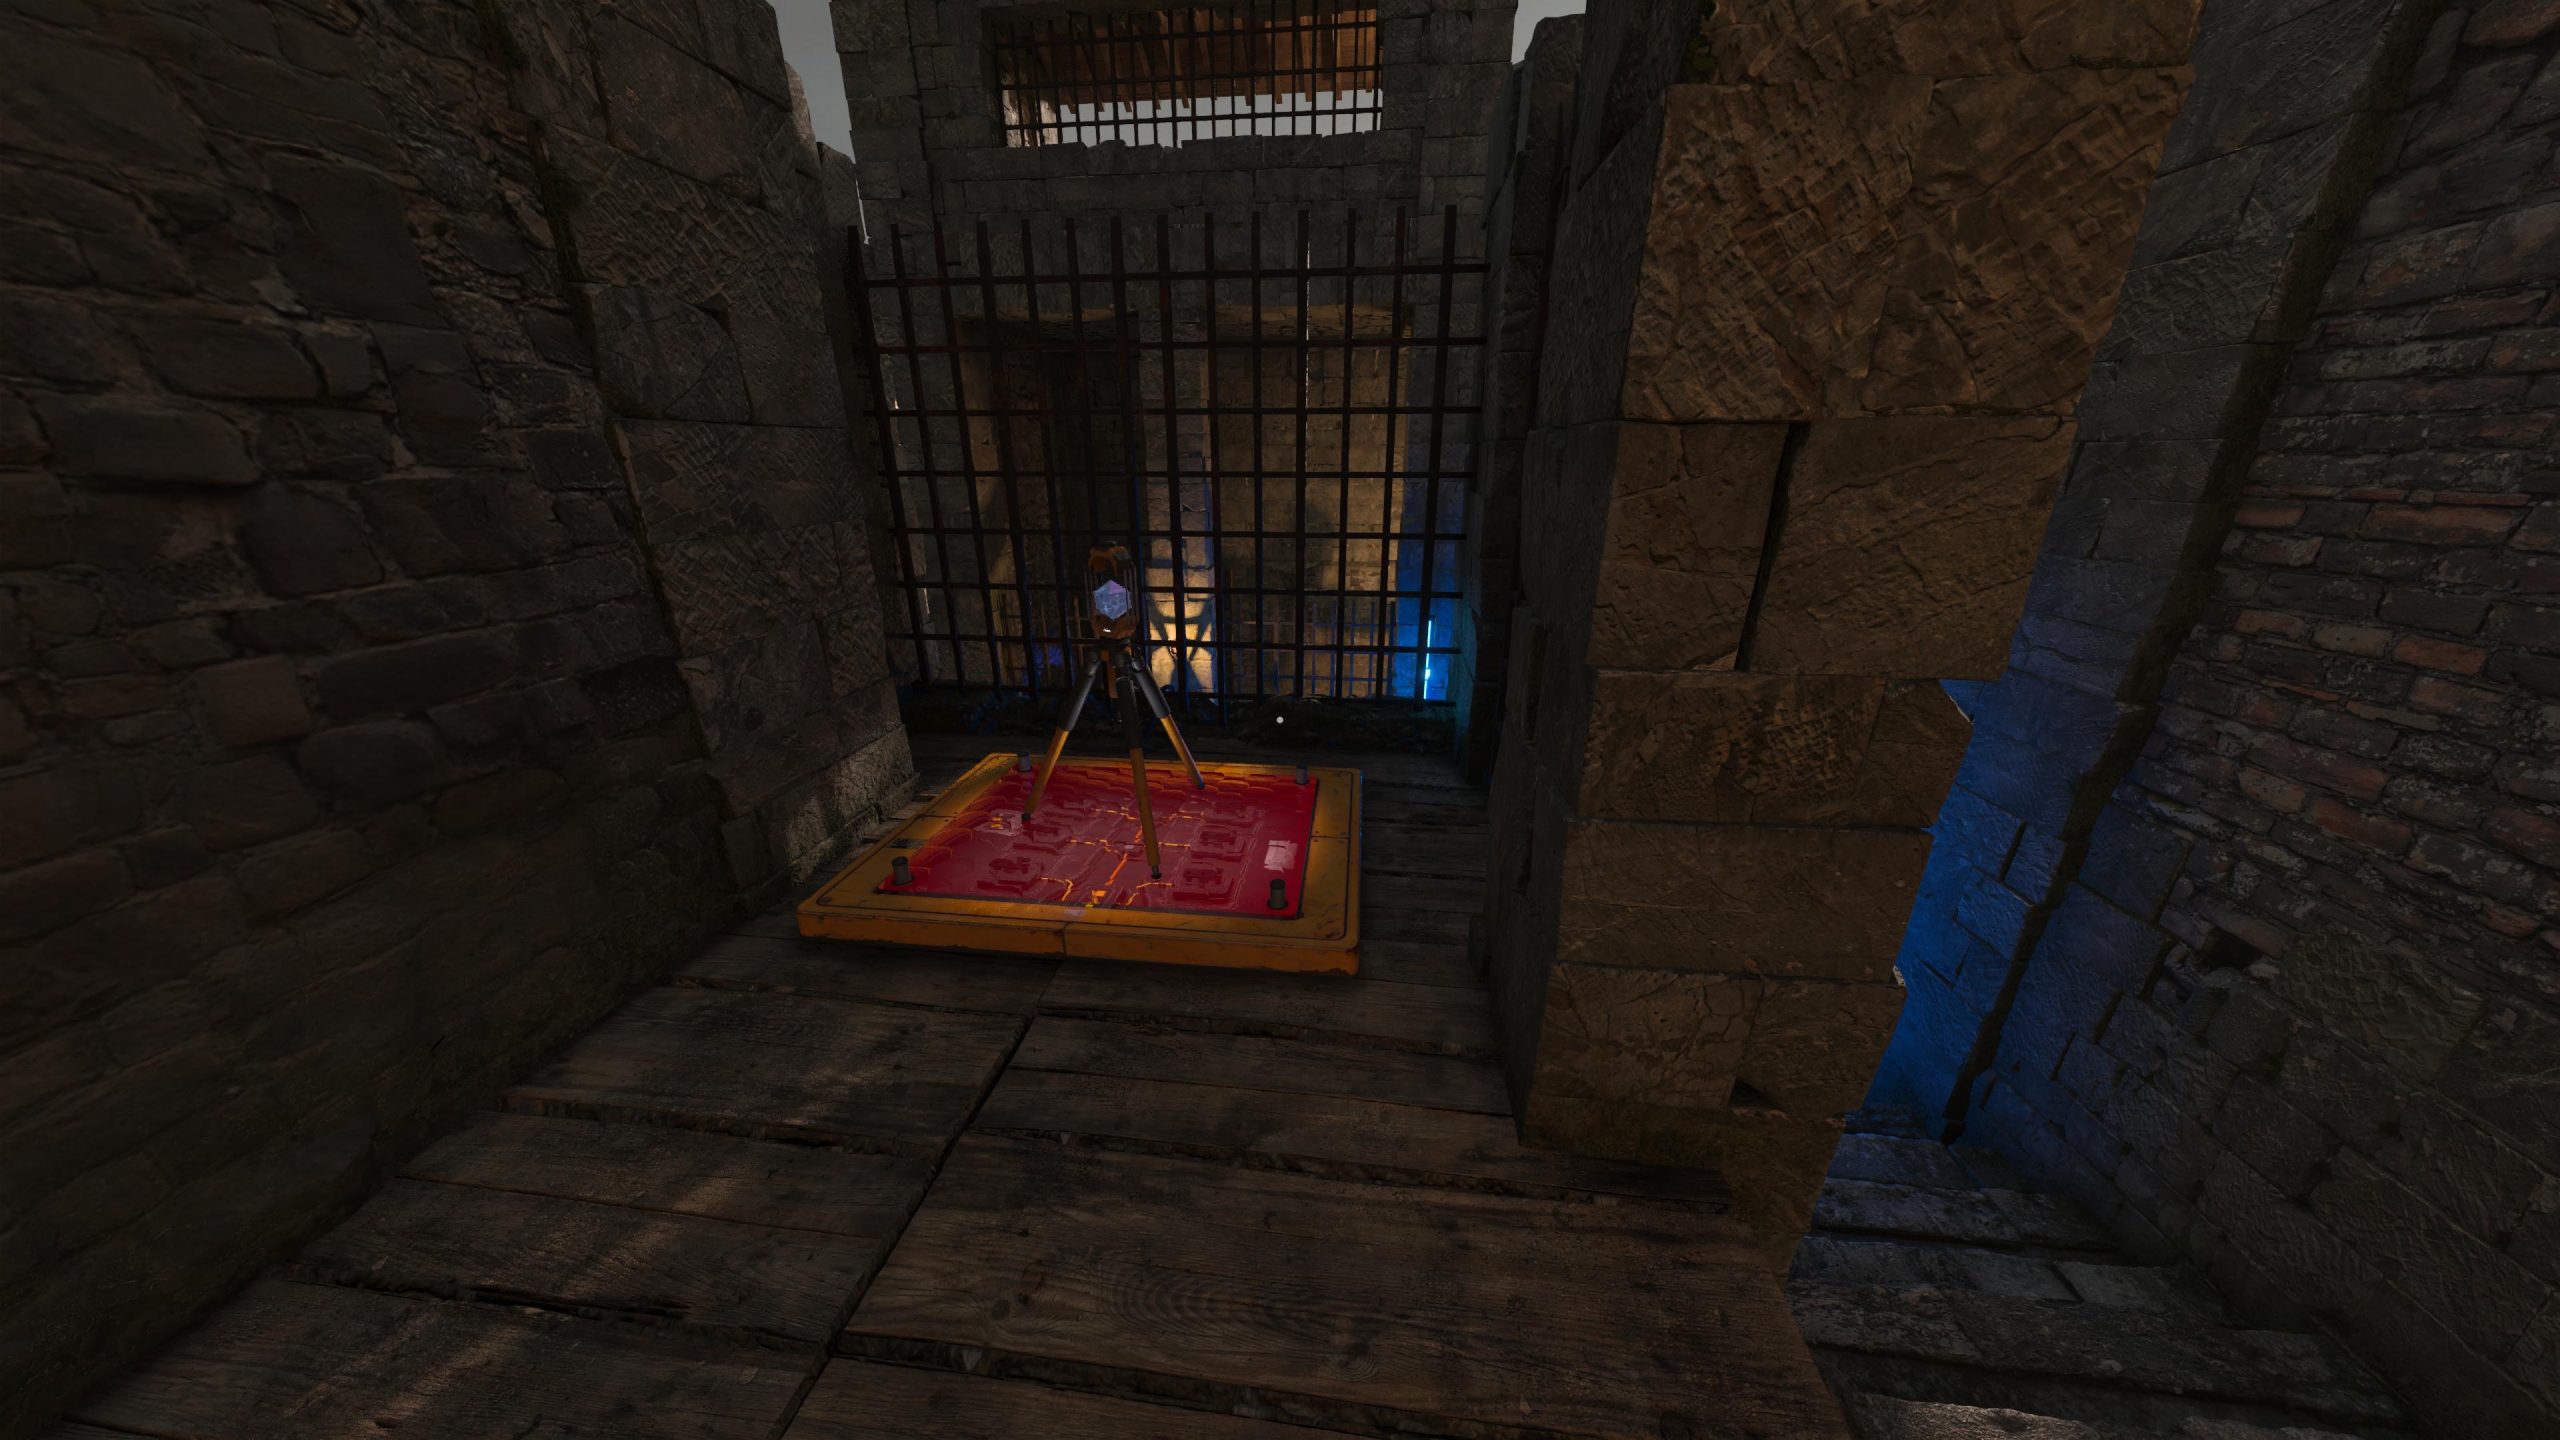
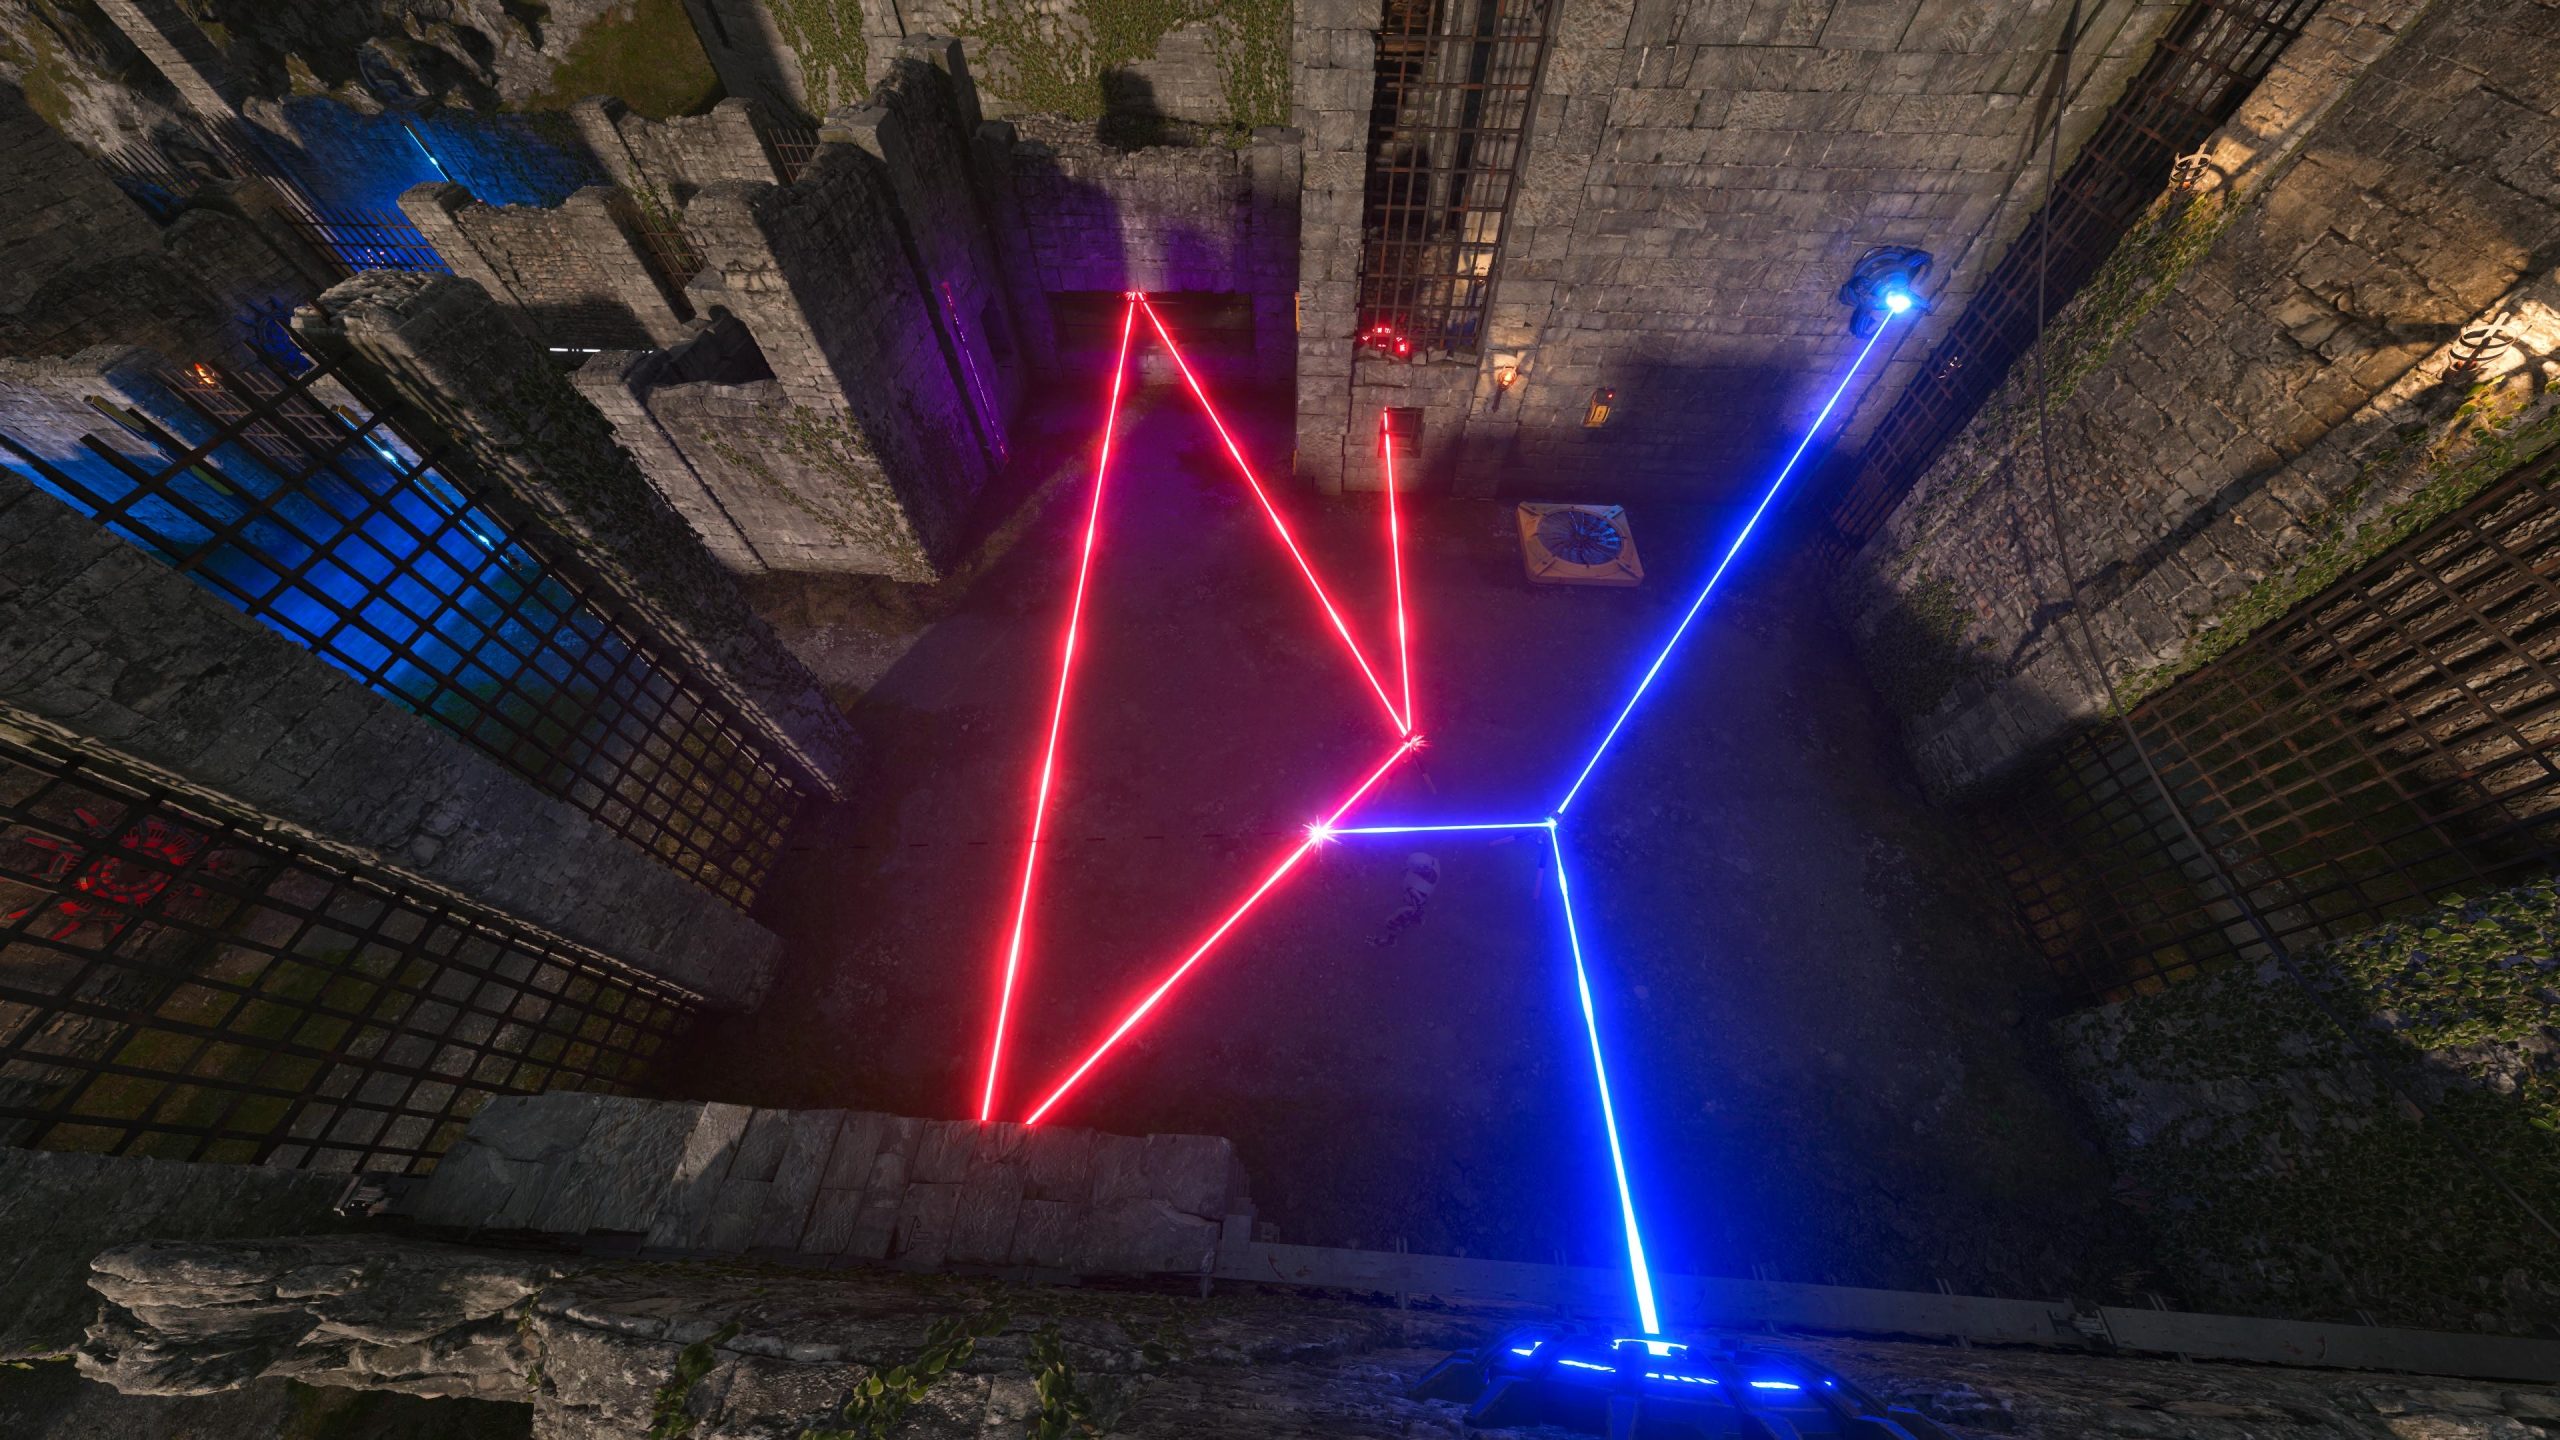
- Pick up C3 and place it on the pressure switch at the top of the stairs behind you.
- The blue laser should now reach the blue node, deactivating the final shield. Walk to the tetromino to complete the puzzle.