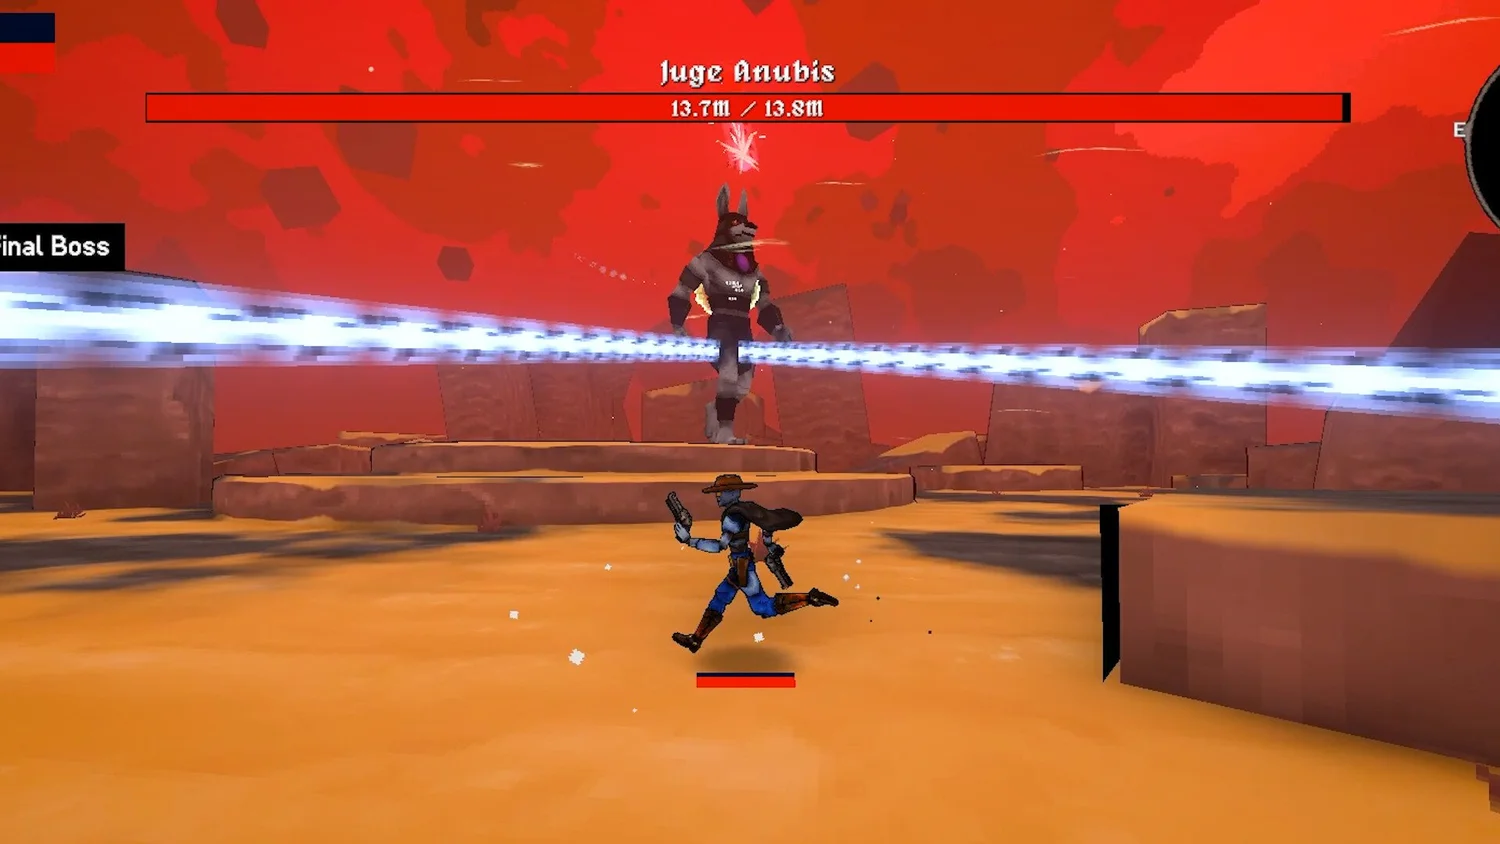
In MegaBonk, survival hinges on strategic upgrades during relentless enemy waves. Choosing ineffective tomes or stats can doom your run, but optimal builds turn you into an unstoppable force. This guide outlines upgrade paths, tome mechanics, and strategies to maximize the Knight’s potential.
Focus on Attack Speed
Attack speed is king. Faster strikes let you clear hordes swiftly and gather XP before getting overwhelmed. Prioritize attack speed tomes early, then supplement with critical chance later if your build supports it.
Tome Priorities
- Essential Tomes: Start with attack speed, then choose luck (for better upgrades) or XP gain (to accelerate progression).
- Difficulty Tomes: Grab these once you’re durable enough, as they unlock superior rewards.
- Movement Speed: Acquire through regular upgrades or items—only use a tome slot for it if pairing with speed-enhancing gear like Dash Boots.
Weapon and Character Tips
The Knight (Sir Oofie) relies on synergy:
- Boost attack speed and strike radius to compensate for his slow sword.
- Avoid over-investing in raw damage; focus on area coverage.
- Alternate weapons like the revolver or aura (if unlocked) require less micromanagement and scale more smoothly.
Movement and Positioning
- Never stop moving: Collect XP gems and evade enemy clusters.
- Pause briefly only when surrounded by dense groups.
- Combine high movement speed with Dash Boots for a devastating speed/damage feedback loop.
FAQ
What is the best tome to upgrade in MegaBonk?
Attack Speed Tome—it’s essential for early survival.
Should I prioritize weapon damage or tomes?
Tomes provide more consistent scaling. Weapon damage alone can’t offset poor attack speed or survivability.
Is the Knight a good starting character?
He’s challenging initially. Focus on attack speed and strike size to unlock his potential.
How do I survive longer in MegaBonk?
Keep moving, prioritize attack speed, and build synergies (e.g., Dash Boots + movement speed). Survival depends on crowd control and avoiding entrapment.

