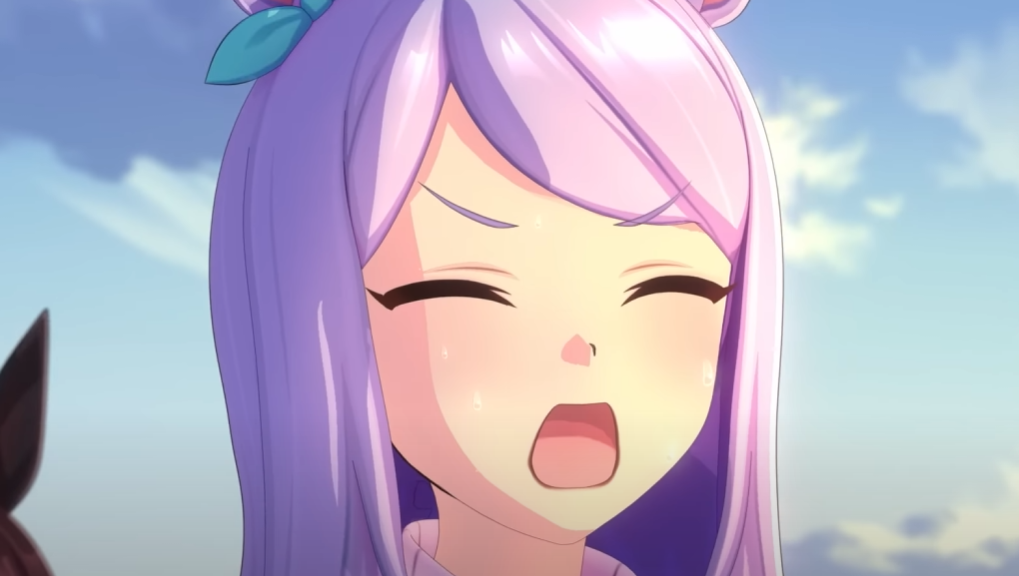
In *Umamusume: Pretty Derby*, a character’s **Mood** significantly impacts training efficiency, skill activation rates, and vulnerability to negative race effects. Poor mood states reduce stat gains, increase skill failures, and heighten the risk of performance penalties during competitions.
Understanding Mood Tiers and Their Effects
- Great Mood (1.2× multiplier): Maximizes training results and skill reliability. Always prioritize maintaining this state.
- Good Mood (1.1× multiplier): Provides solid benefits but falls short of peak performance. Ideal when recovery options are limited.
- Normal Mood (0.9× penalty): Reduces training effectiveness. Only train here as a last resort.
- Bad Mood (0.8× penalty): Severely hampers stats and skill consistency. Avoid training at all costs.
Optimal Mood Management Strategies
Address mood issues immediately if starting at Normal or lower. Training under penalties wastes energy and yields subpar results. Key methods include:
- Using the Outing feature (Karaoke offers potential two-stage boosts)
- Avoiding training when both mood and stamina are low
- Choosing event options that preserve or enhance mood
Mood’s Hidden Combat Advantages
Beyond training, Great Mood:
- Increases skill activation likelihood
- Reduces Late Start and Rushed debuff chances
- Synergizes with high Wit stats for maximum effectiveness
Pro Maintenance Tips
- Pair mood management with Wit training during low-stamina phases
- Abandon training sessions if recovery isn’t feasible
- Monitor mood transitions between turns
Essential Summary
-
Prioritize Great Mood (1.2×) for peak performance
-
Negative moods cripple stats and race RNG
-
Use Outing/Karaoke early for mood recovery
-
Combine high Mood with Wit training for synergy
-
Abandon training in Normal/Bad Mood states

