
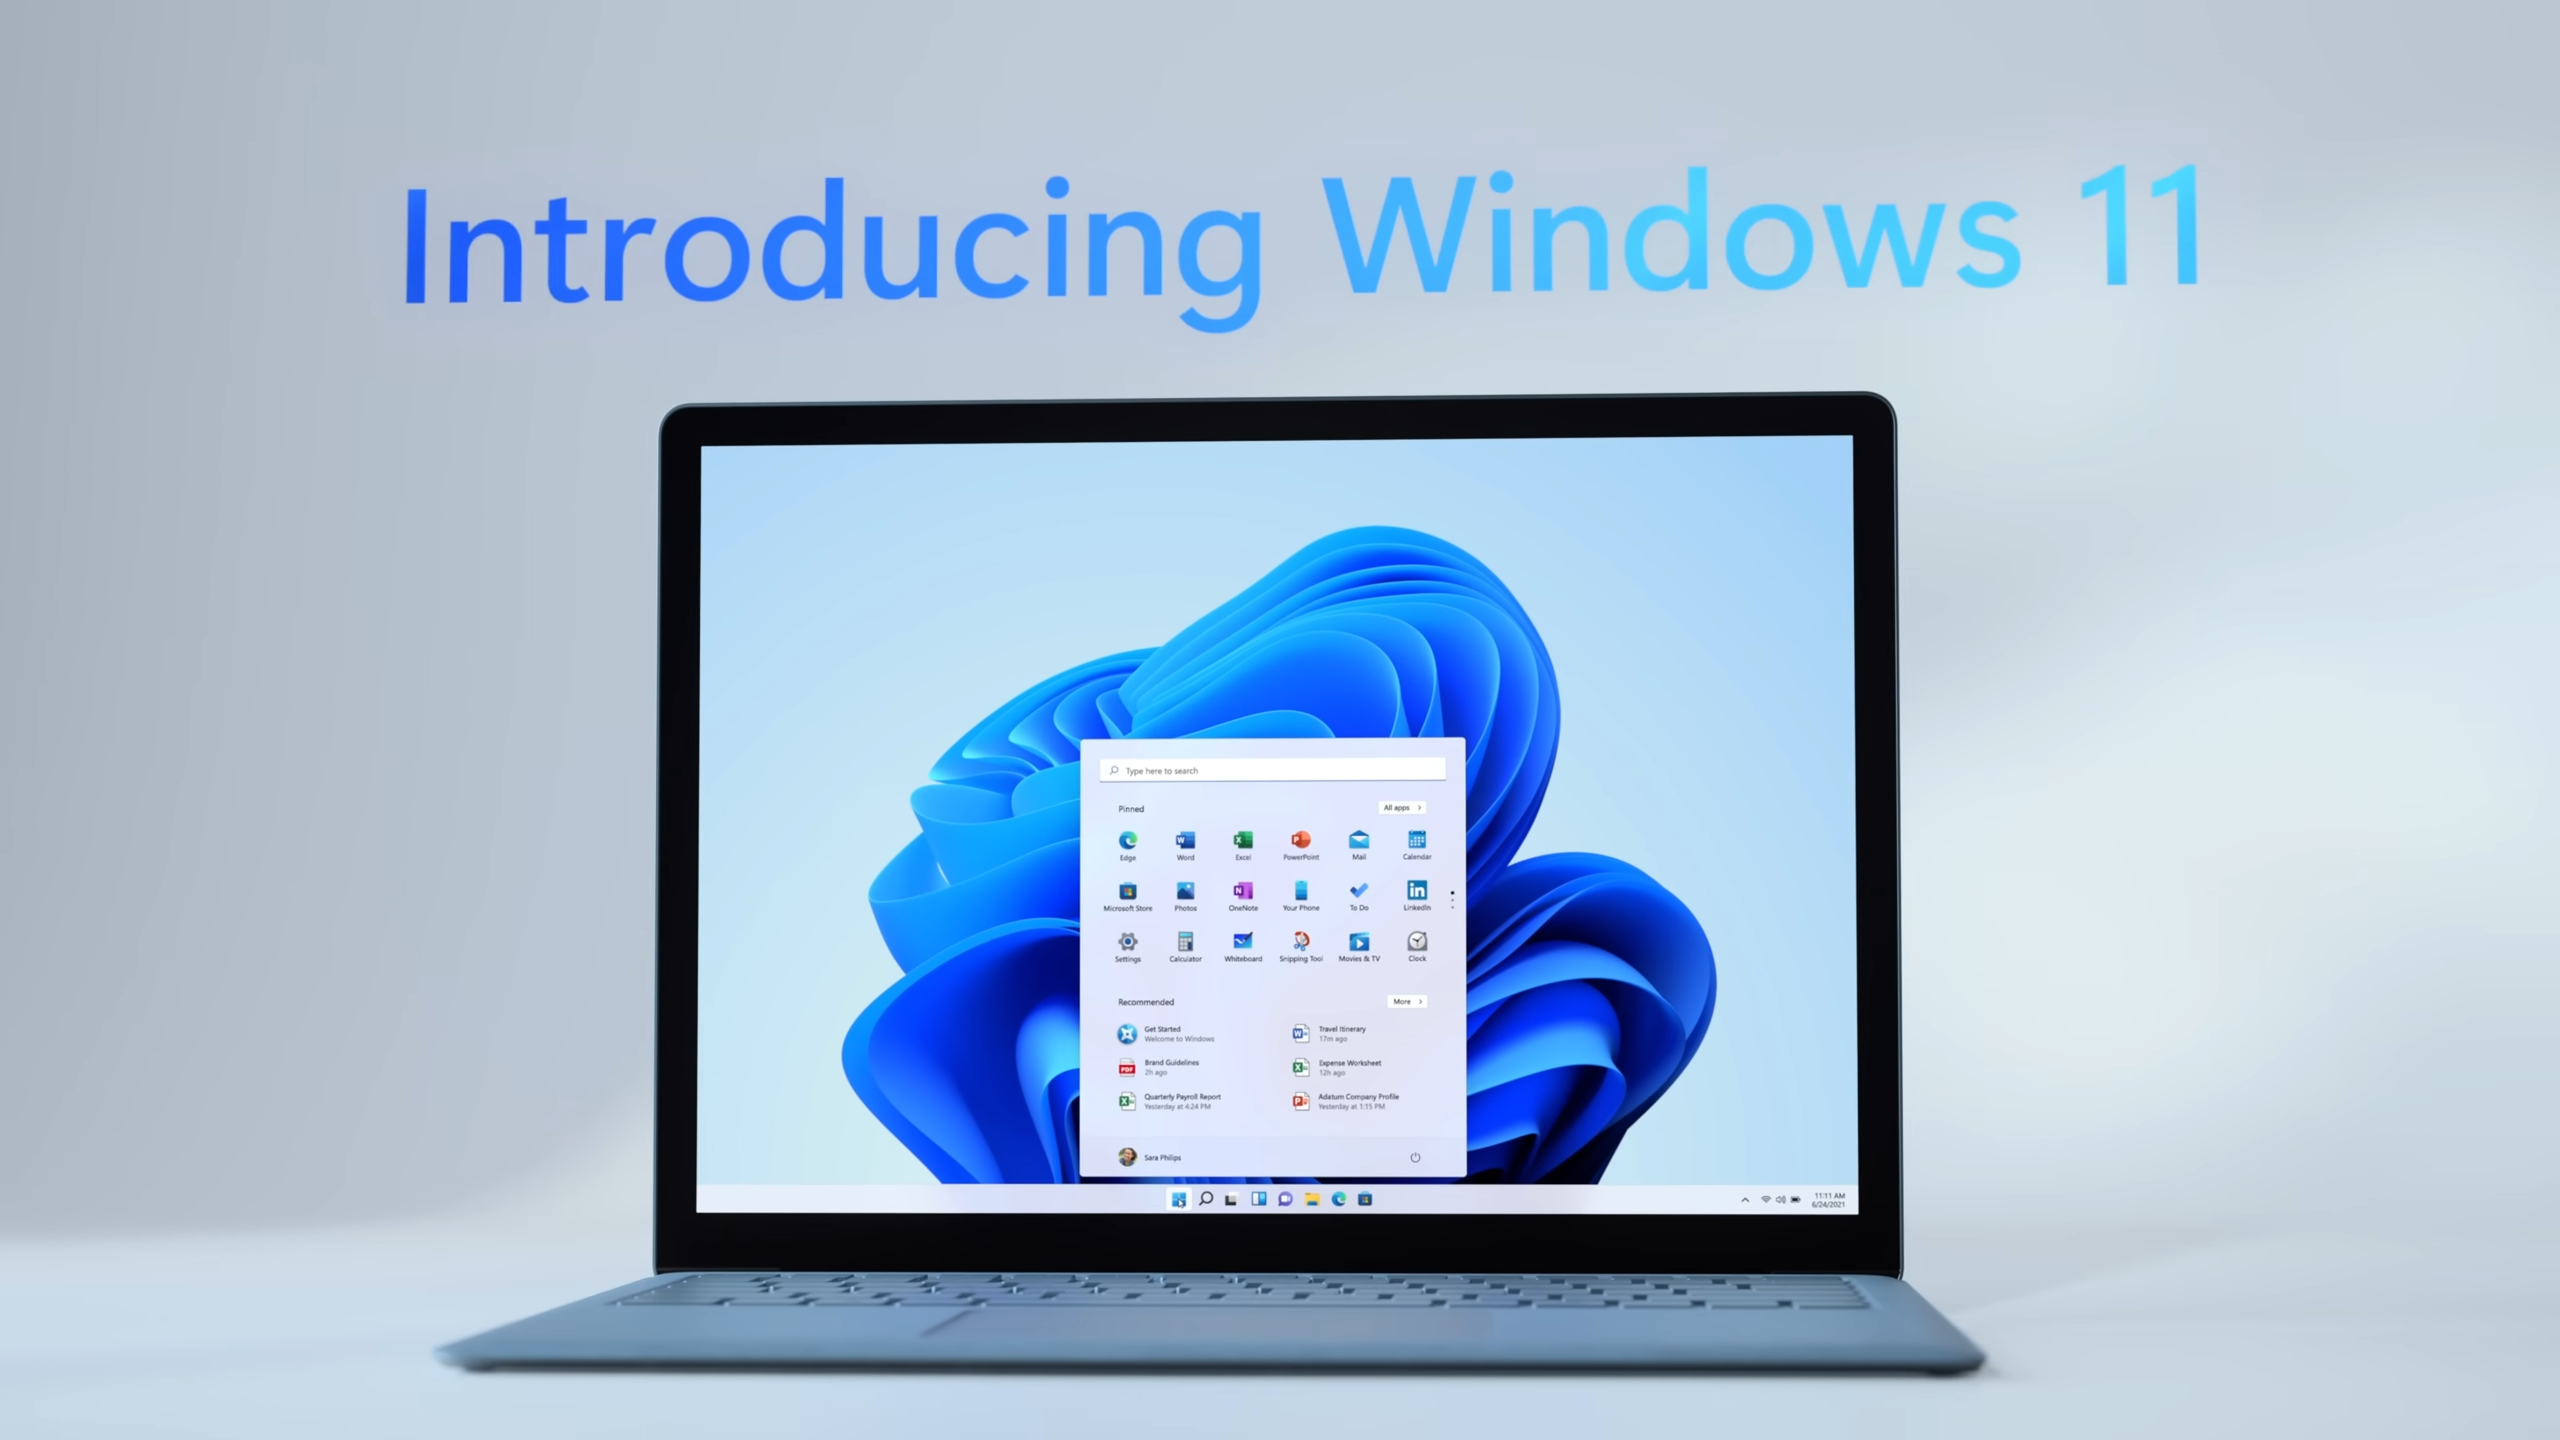
With the imminent end of support for Windows 10, transitioning to Windows 11 has become essential. This newer OS guarantees security updates through at least 2027, offering free installation for eligible Windows 10 devices—though compatibility checks are crucial beforehand.
This guide outlines system requirements and walks through the upgrade process step by step.
Disclaimer: Opinions expressed are the author’s own. Pricing details may vary over time.
System Requirements for Windows 11

Windows 11 enforces stricter hardware criteria than its predecessor. Three primary components determine eligibility:
- Processor: Compatible CPUs include Intel’s 8th generation chips (Coffee Lake onward) or AMD Ryzen 2000 series and newer.
- TPM 2.0: Mandatory security hardware integrated into qualifying processors.
- Secure Boot: A UEFI-based feature first standardized in 2012, verifying boot software integrity.
Verify compatibility using Microsoft’s PC Health Check tool—this scans hardware and provides upgrade readiness status.
Pre-Upgrade Preparations

Optimize your system before upgrading:
- Uninstall non-essential software to prevent upgrade conflicts
- Disconnect peripherals beyond keyboard/mouse
- Close background applications and save active files
- Install pending Windows 10 updates via Settings
Upgrade Process Walkthrough
Follow these steps for a seamless transition:
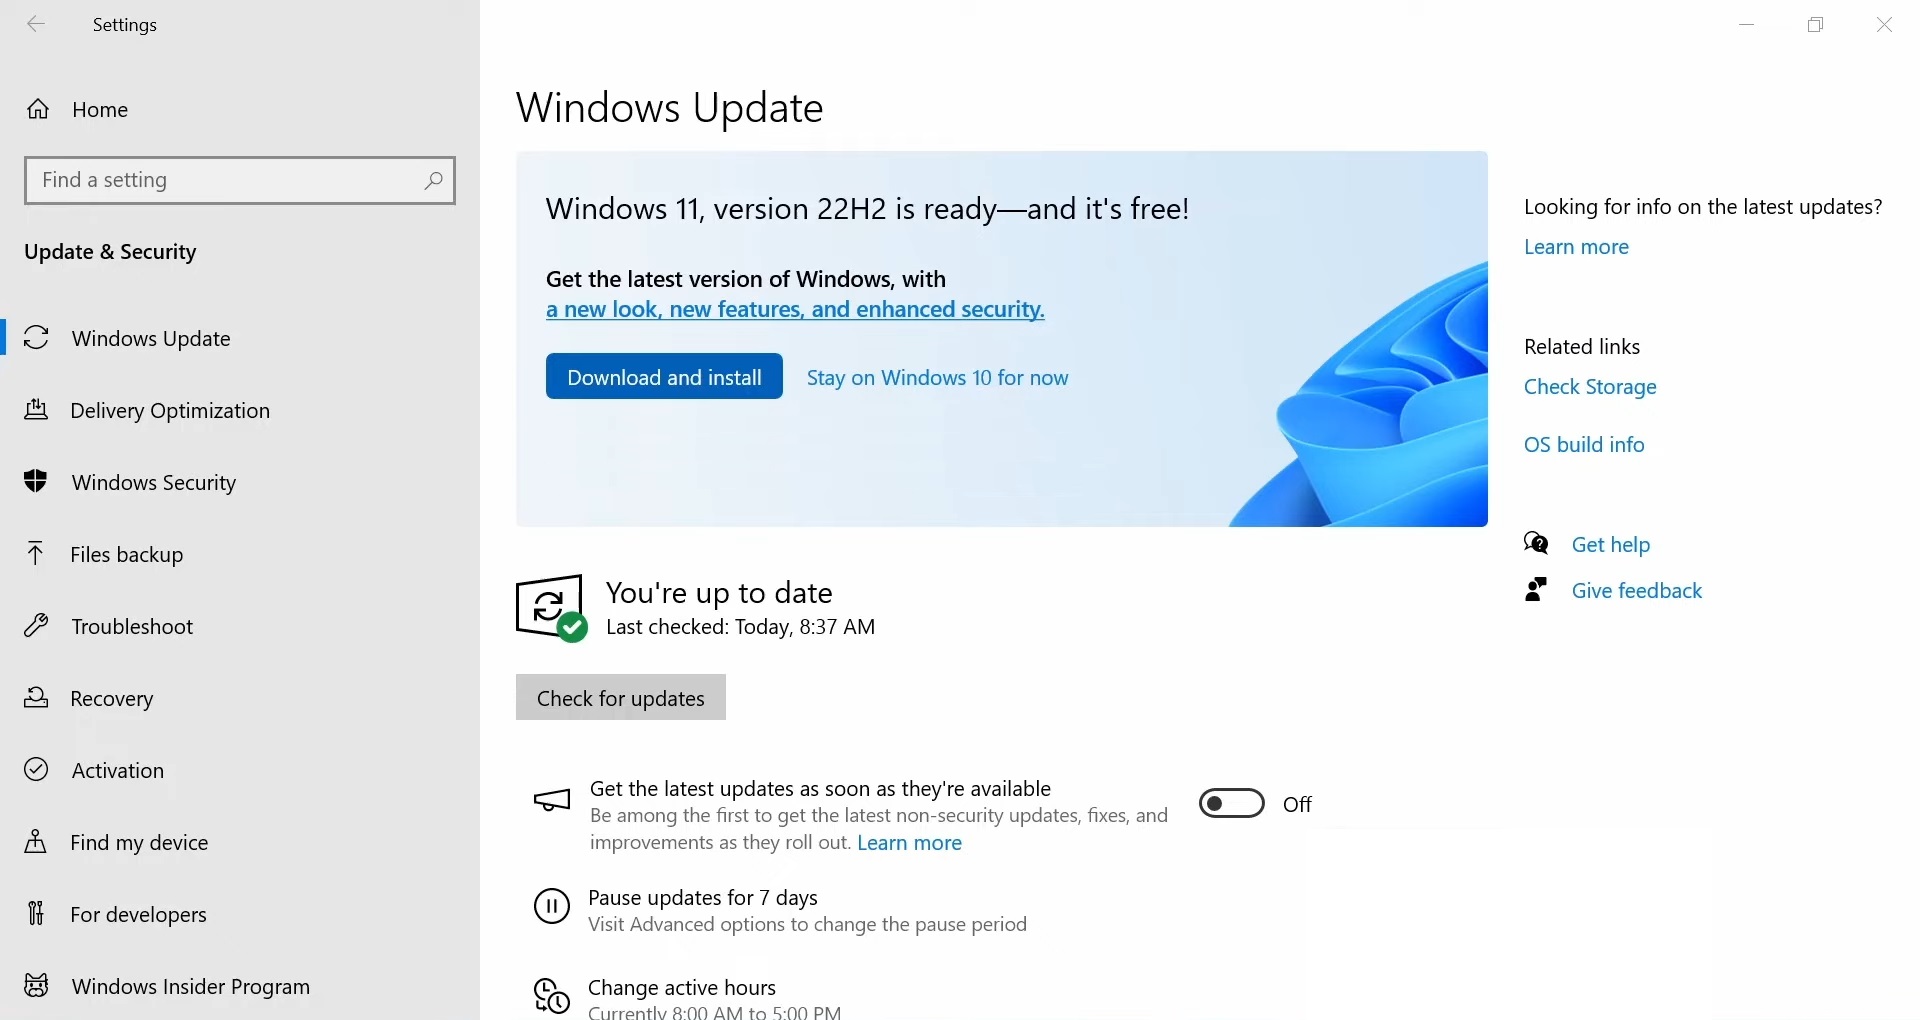
- Open Settings > Navigate to Windows Update
- Locate the Windows 11 promotion banner
- Select Download and install to initiate the process
If the banner isn’t visible, reboot and retry. Persistent issues require the Windows 11 Installation Assistant to manually trigger the upgrade.