
Customizing your experience in Escape From Duckov becomes even more engaging with community-created modifications. The game’s Steam Workshop integration simplifies accessing various add-ons, though newcomers might find the process daunting initially.
Below is a guide to integrating custom content into your gameplay.
How To Use Mods in Escape From Duckov
Players can enhance their sessions via official Steam tools or third-party platforms for mod integration. Caution is advised, as updates might disrupt compatibility during the game’s active development phase. Two approaches are outlined below:
Through Steam
Steam Workshop provides the simplest method for mod installation:
- Navigate to the game’s Steam Workshop hub and browse available modifications.
- After selecting desired content, confirm installation through your Steam client under Library updates.
- Launch the title and allow initial setup processes to complete.
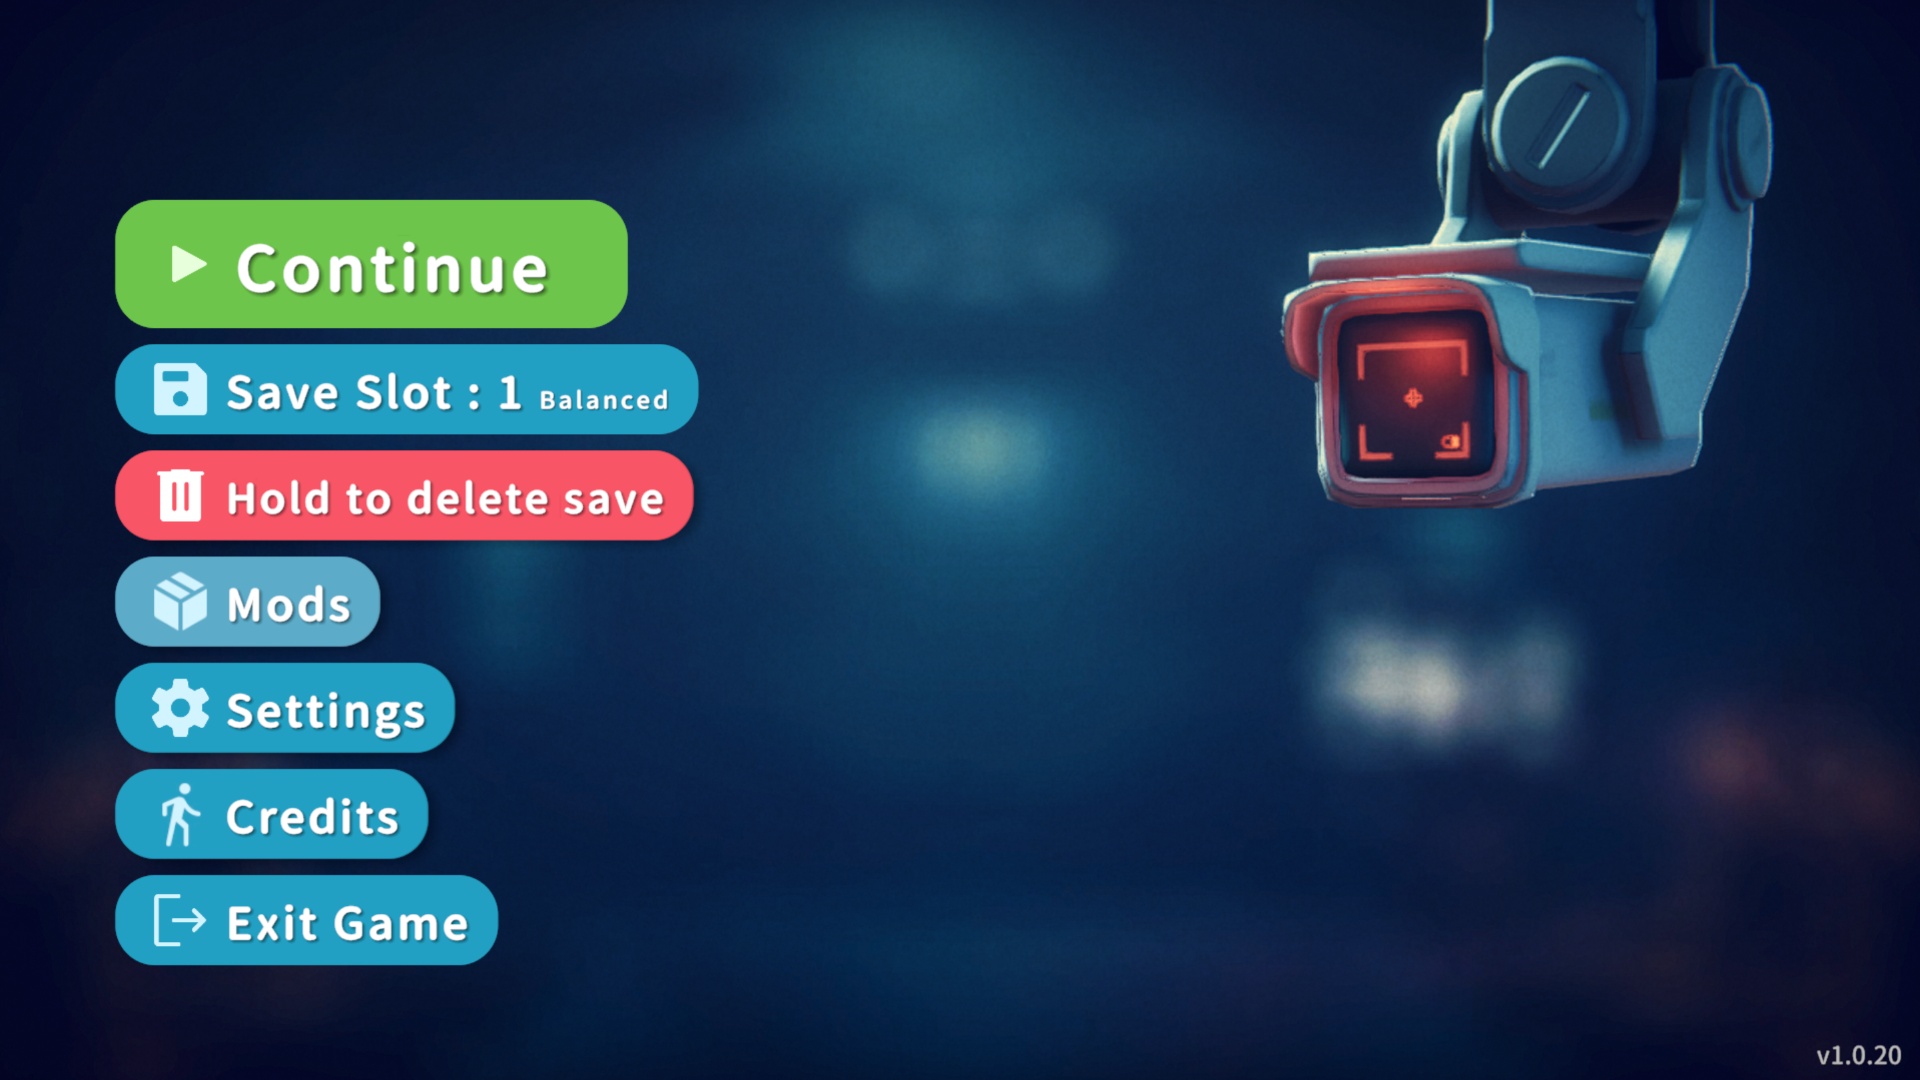
- Access the Mods interface from the main menu to activate chosen enhancements.
- Modifications can be applied to existing saves or fresh playthroughs after activation.
Deactivation follows similar steps for undesired content removal.
Through External Sources
For non-Steam users, manual installation requires these steps:
- Acquire modification files from trusted repositories like NexusMods.
- Locate the Duckov_Data directory within the game’s installation folder.
- Generate a new Mods subfolder within this directory if nonexistent.
- Transfer downloaded modification archives into the created folder.
- Initialize the title and enable modifications via the main menu’s Mods section.