

Elden Ring Nightreign’s steep learning curve demands rapid mastery of its systems. Early success hinges on adapting to combat mechanics and environmental strategies, insights gleaned from thorough exploration and experimentation.
Within Round Table Hold, utilize the combat simulator to refine techniques and weapon proficiency. This sandbox environment proves invaluable for reacquainting veterans with controls while introducing new players to intricate move sets. Teleportation between training grounds and key locations streamlines navigation without requiring memorization of the hub’s layout.

Matchmaking Strategy
Customize multiplayer parameters carefully—disable cross-region connections unless coordinating internationally. Password systems enable controlled team assembly while shared group codes reveal valuable environmental markers from allies. Adjust player slots to balance premade groups and fill vacancies with matchmaking candidates.
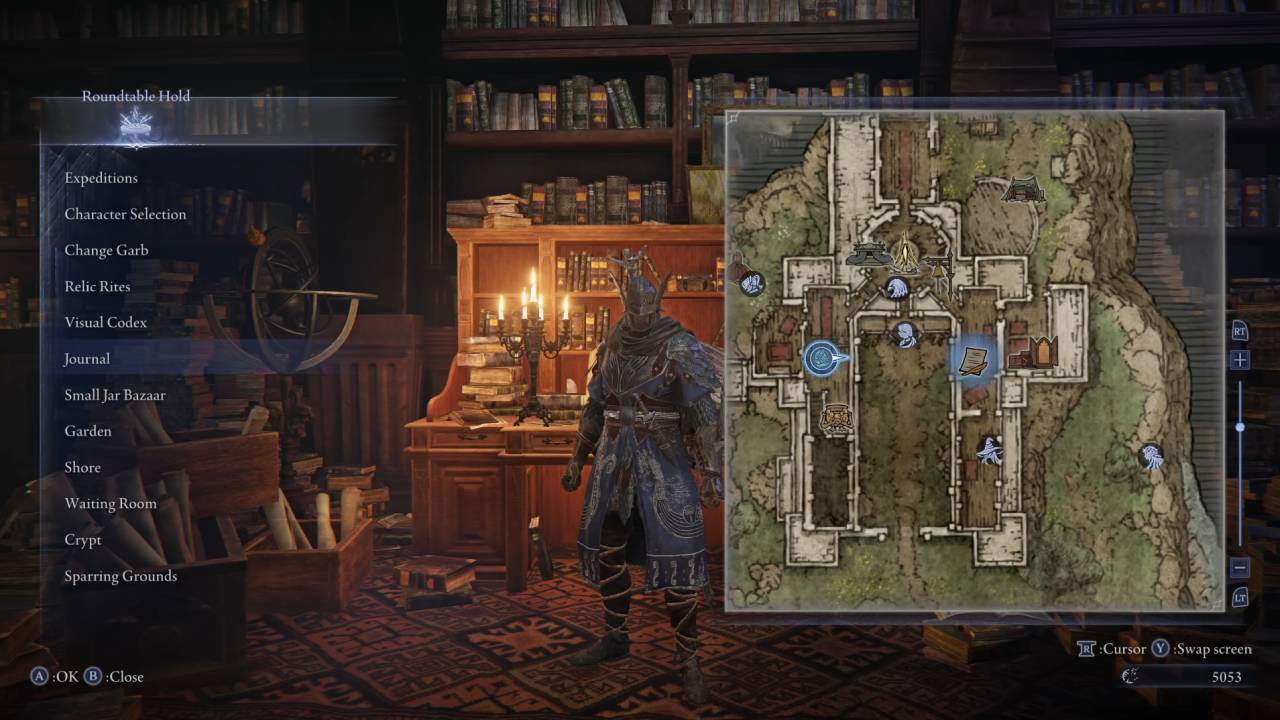
Cartographic Prioritization
Analyze map layers to identify resource nodes and battlefield objectives. Elemental sigils denote weapon types within structures, with fire and hemorrhage indicators offering tactical previews. Collaborative pinning creates highlighted paths through consensus, ensuring coordinated team movement regardless of communication methods.

Collective Survival
Maintain team cohesion—solo pursuits often prove fatal against enemies scaled for group encounters. The multiplayer balance framework disproportionately rewards coordinated assaults over individual heroics.
Relic Mechanics
Persistent progression comes through relic acquisition post-match. Color-coded equipment slots enable strategic loadouts combining stat boosts and elemental enhancements. Defeating initial Night Lords unlocks additional customization options through purchasable relic slots.
Progression Optimization
Early level investments dramatically improve survivability—initial upgrades may double health pools. Frequent Grace Site visits maintain flask reserves while enabling rapid stat allocation after encounters.

Sacred Architecture
Prioritize ecclesiastical structures for flask upgrades. When routing objectives, balance proximity with strategic healing capacity enhancements.
Efficient Combat
Minimize engagement with low-threat enemies except during early leveling phases. Reserve powerful abilities for clustered foes, focusing progression on boss encounters and strategic targets.
Peripheral Focus
Clear outer map sectors before the contraction sequence eliminates access. Maintain spatial awareness of the collapsing boundary to avoid isolation during late-stage engagements.
Status Effect Dominance
Weapons inducing hemorrhage, toxin, and rot prove disproportionately effective. These persistent damage sources enable safer engagement patterns during critical encounters, particularly against high-health adversaries.
Team Synergy
Compose squads addressing multiple combat ranges. Pure melee compositions falter against area-effect adversaries—integrate ranged specialists for revival support and tactical flexibility.
Talisman Acquisition
Forest-dwelling scarabs yield rare talismans, while central map vaults offer curated choices. Prioritize these guaranteed sources over merchant inventories for consistent power progression.
Boss Preparation
Study enemy resilience profiles pre-engagement through pre-match intel and external resources. Align weapon selections with vulnerability profiles for optimized combat efficiency.

Inventory Management
Prioritize consumables offering sustain (warming stones), defense (boiled crustacean armor), and resource regeneration. Situational items prove less valuable than universal enhancements aligning with core builds.