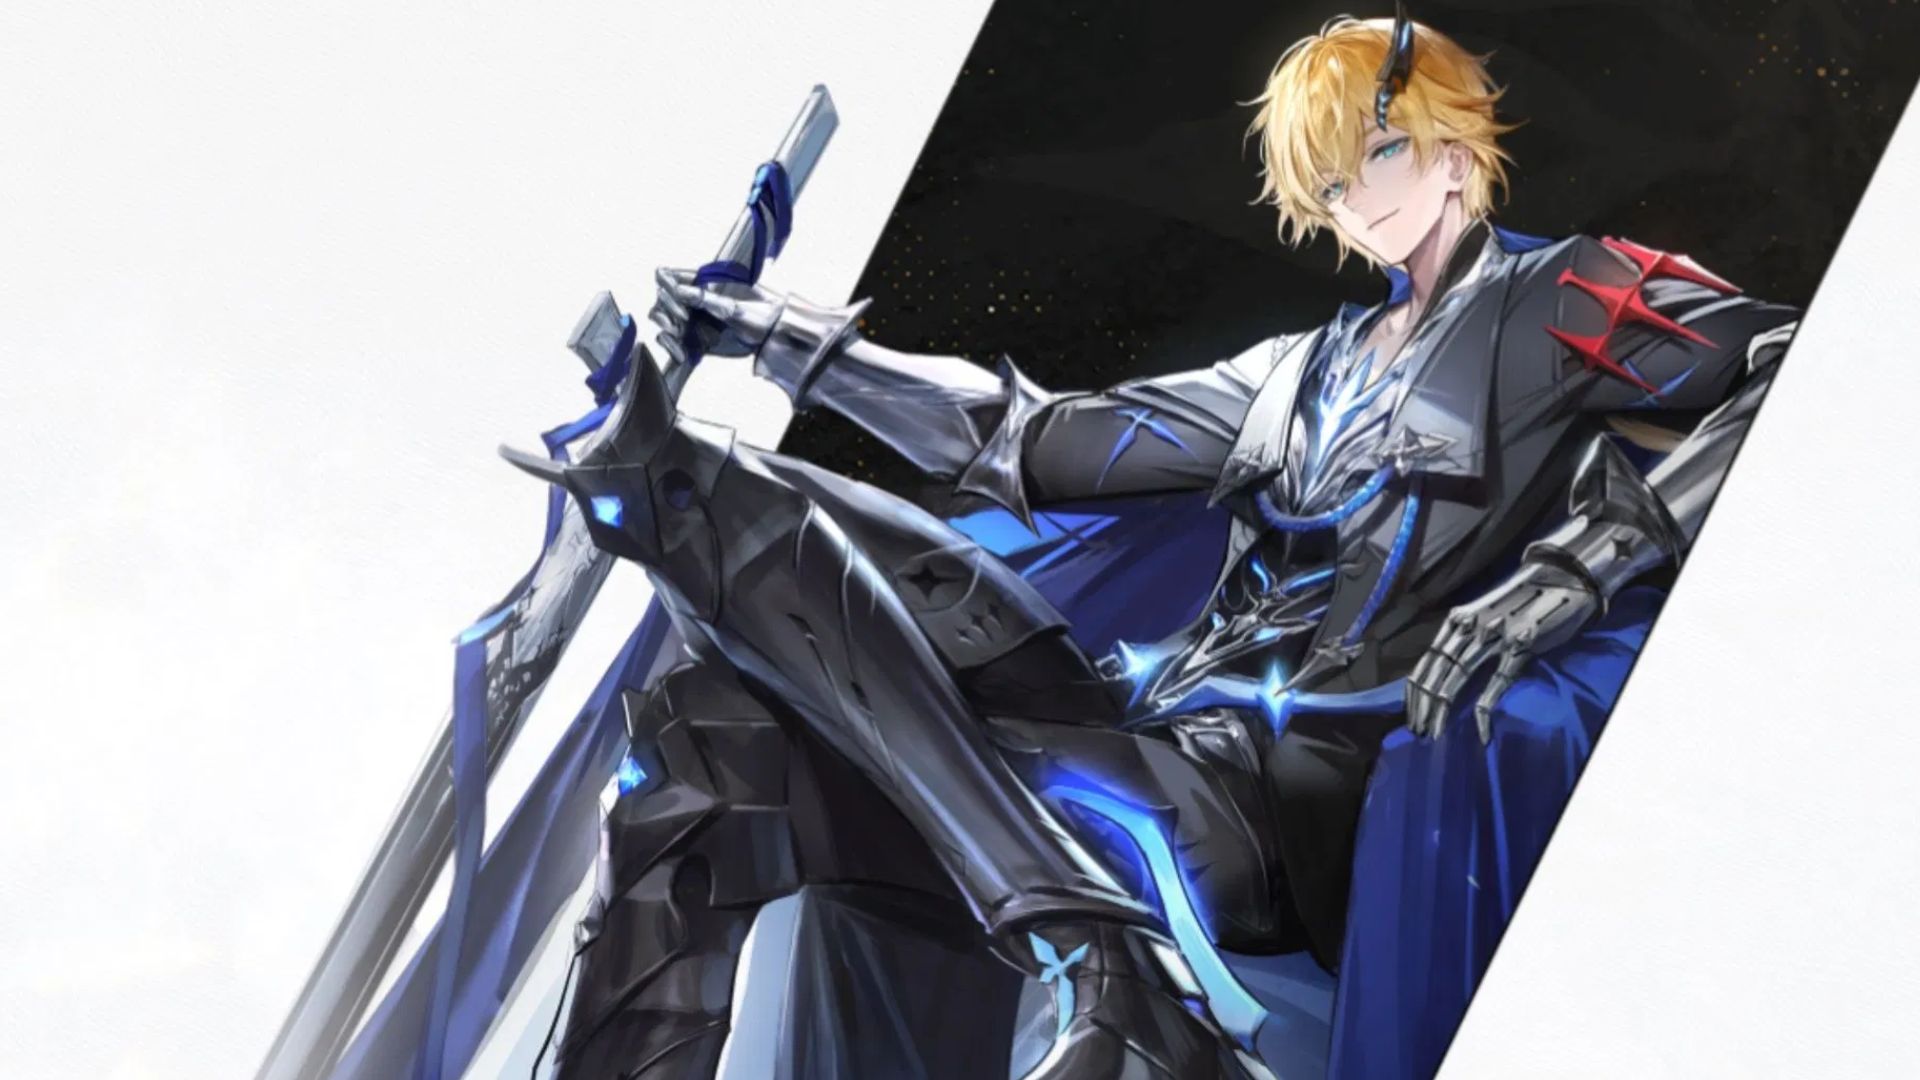
As a strategic support specialist in Duet Night Abyss, Randy excels at empowering allies through Electro-based enhancements. His toolkit focuses on amplifying team resilience while maintaining battlefield control. Mastering this guardian requires careful skill prioritization and equipment synergy to unlock his full utility.
New players often struggle with Randy’s multifaceted abilities and gear optimization challenges. This analysis explores optimal configurations, strategic loadouts, and team synergies that transform Randy from defensive specialist to combat multiplier.
Optimizing Randy’s Combat Effectiveness
Specializing in electrical support, Randy thrives when enhancing party durability while maintaining offensive pressure. Balancing defensive investments with supplementary damage output proves crucial for maximizing his combat contributions. Pairing him with high-risk damage dealers creates devastating combinations, as his shielding mechanics mitigate glass cannon weaknesses.
Strategic Loadout Configuration
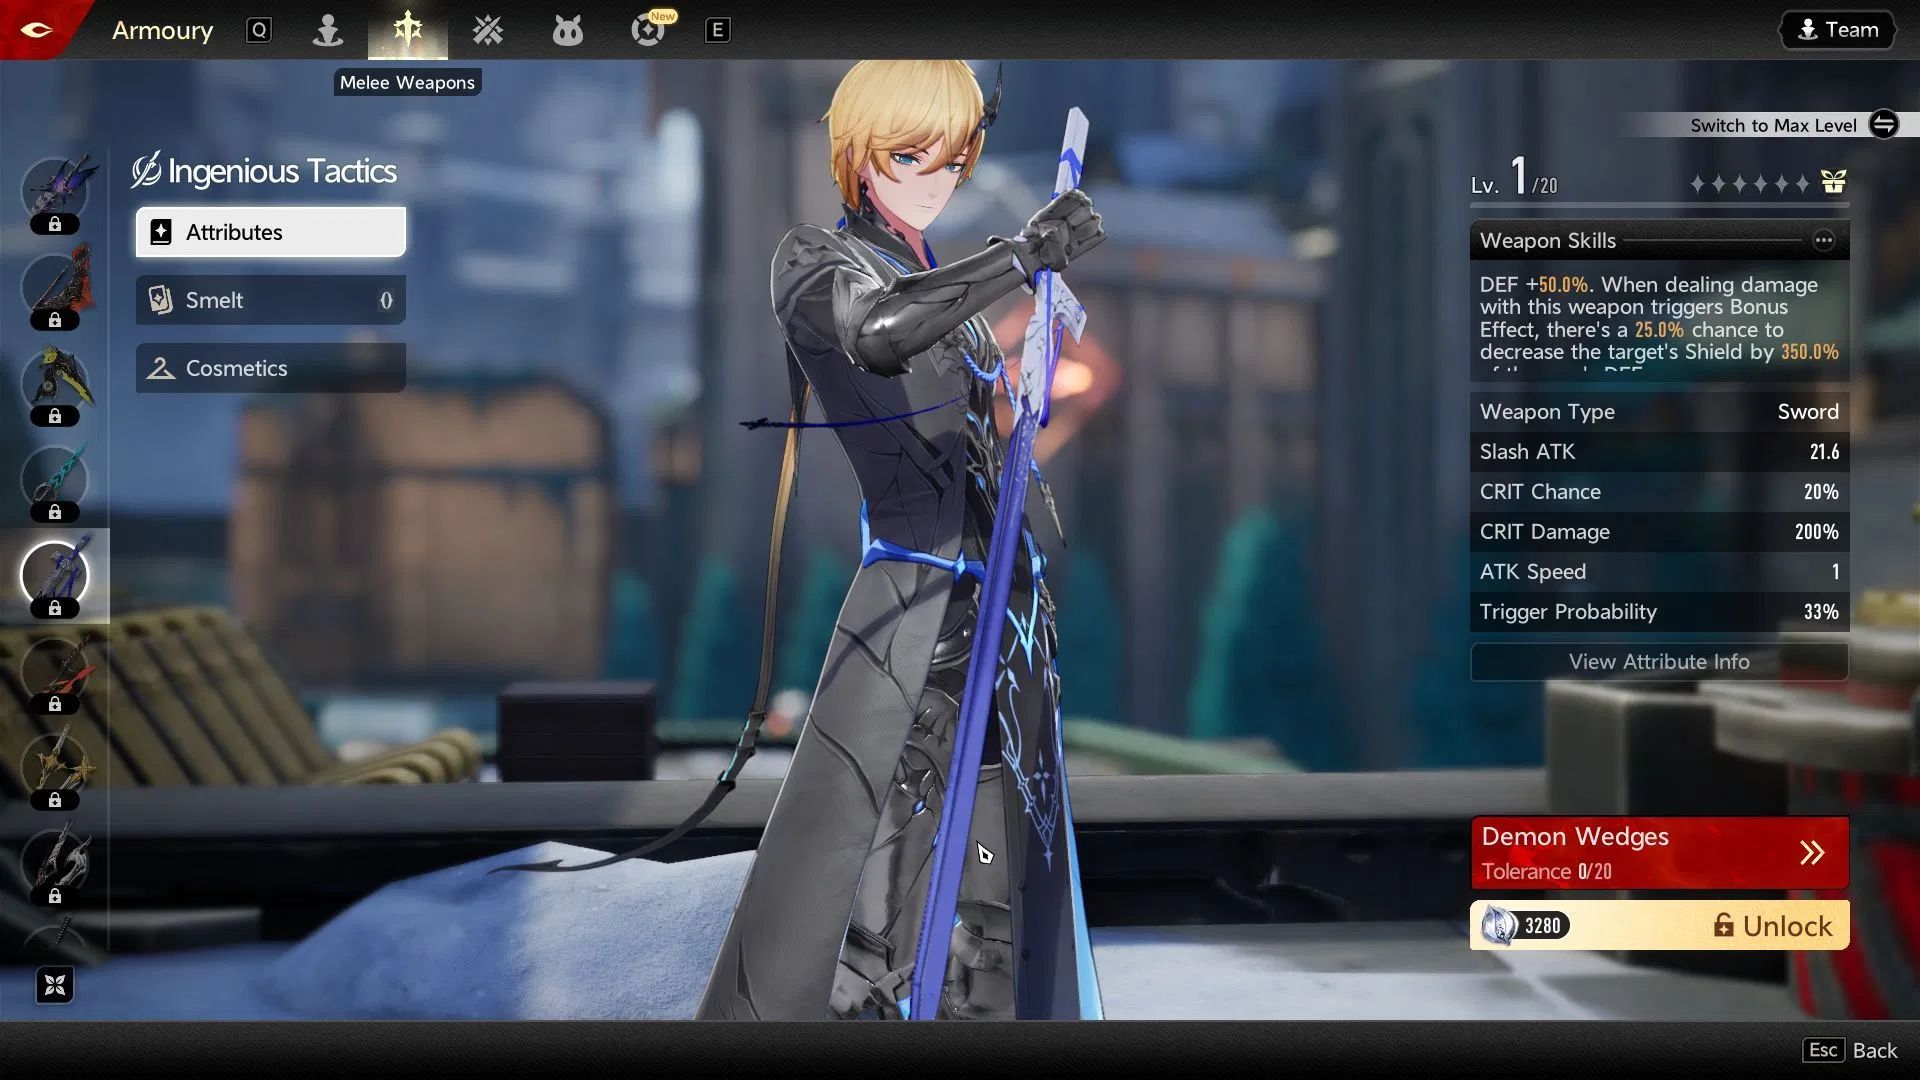
Recommended combat configurations:
Primary Armament – Ingenious Tactics: This defensive melee option synergizes perfectly with Randy’s bulk, doubling DEF while applying shield-reduction debuffs. For prolonged engagements, Pyrothirst extends buff durations significantly.
Ranged Option – Arclight Apocalypses: This precision tool enhances team performance through crit-activated party buffs. Its skill extension passive complements defensive rotations when paired with Pyrothirst.
Enhanced Wedge Configuration
Optimal Demon Wedge arrangement:
- Core: Standfast – Eternity
- Slot 6: Standfast – Eternity
- Slot 8: Wings
- Slot 7: Wings – Inspo
- Slot 5: Thunder – Midnight Sun
- Slot 2: Trapped
- Slot 4: Standfast
- Slot 3: Prime – Uplift
- Slot 1: Prime – Uplift
Synergistic Team Building
Randy shines when supporting aggressive damage dealers like Outsider, counterbalancing their fragility with persistent shielding. Combined with Sibylle’s balanced offense, this forms an adaptable core. Electrelf Geniemon boosts electrical synergy while providing sanity recovery and damage amplification.
Combatant Profile Analysis
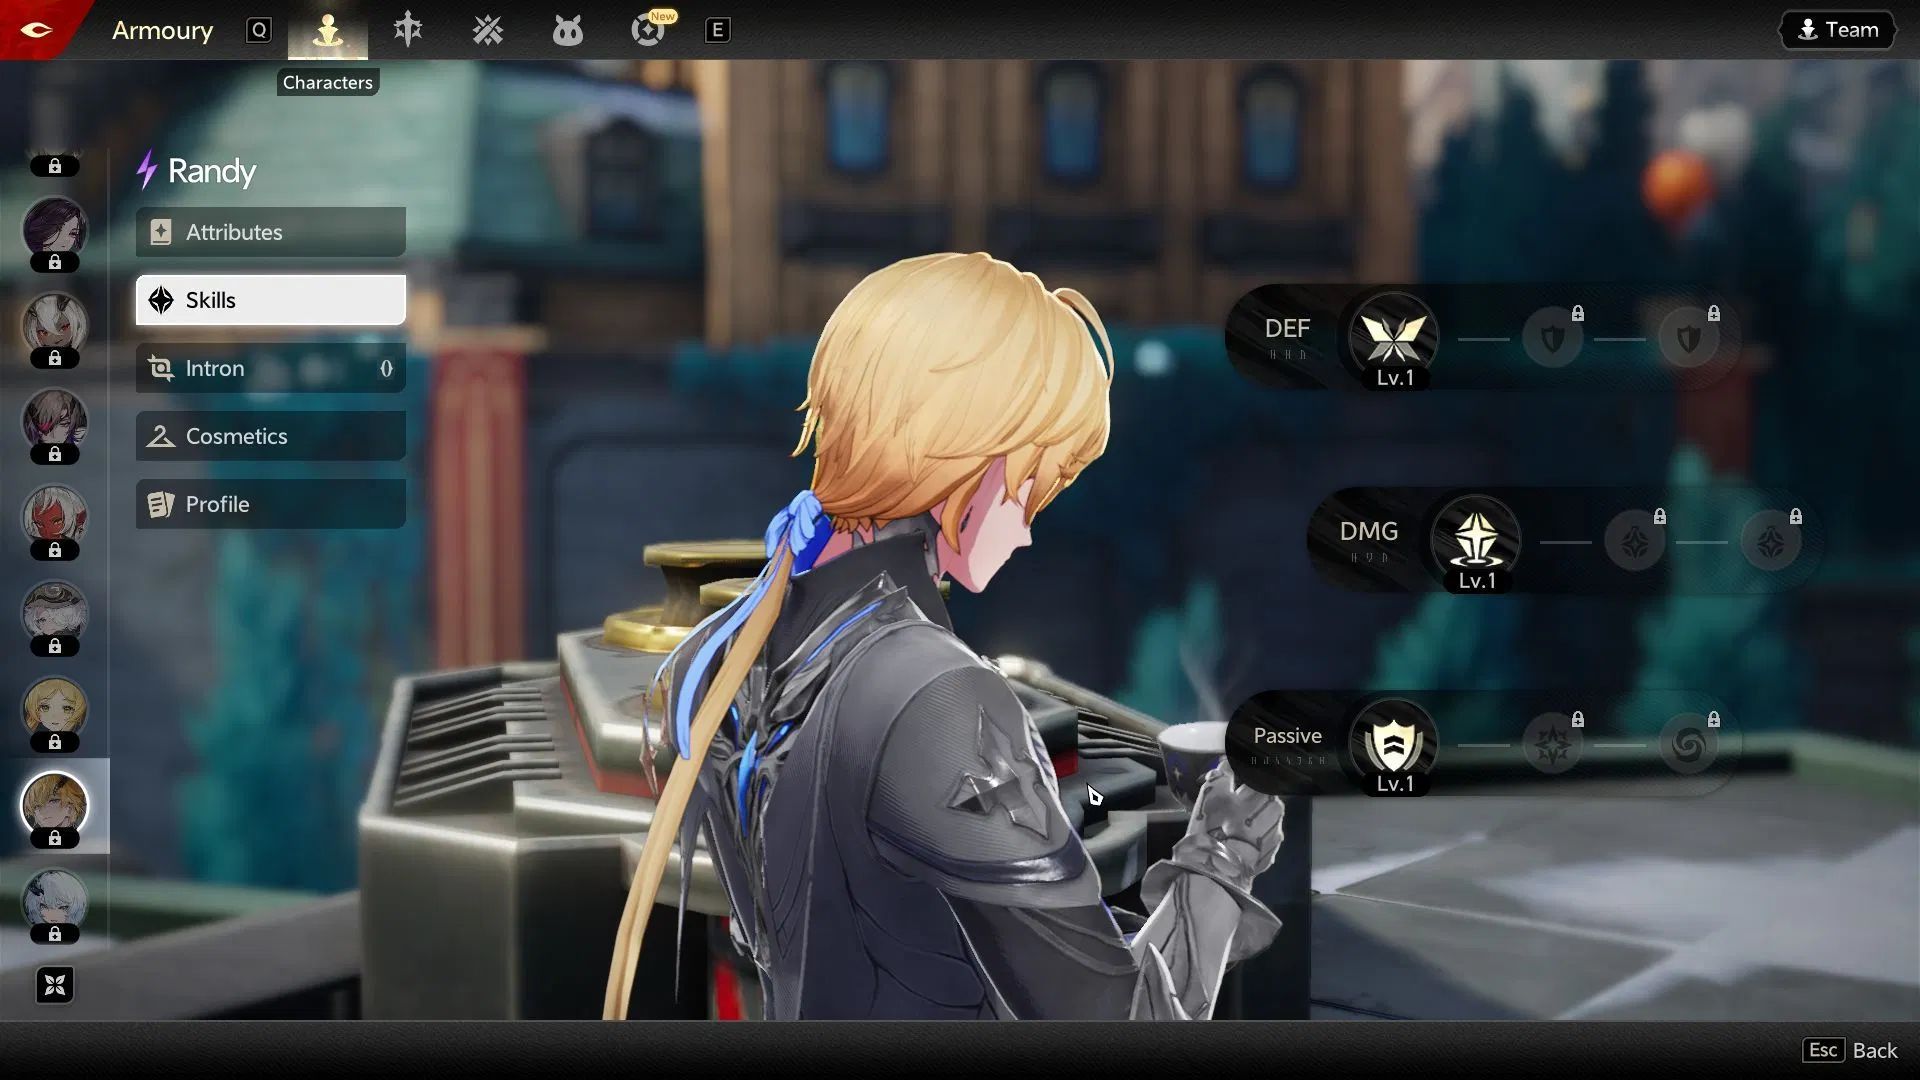


Combat Statistics Overview
| Attribute | Level 80 Cap |
|---|---|
| Morale | 0% |
| Skill Efficiency | 0% |
| Skill Duration | 115% |
| Skill Range | 100% |
| Skill DMG | 100% |
| Max Sanity | 120 |
| DEF | 765 |
| Shield | 1,317.98 |
| HP | 1,317.98 |
| ATK | 175.73 |
Ability Breakdown
| Ability | Effect | Priority |
|---|---|---|
| Well-Deserved Break | Resets Barrier after absorbing 70% max HP damage, consuming Sanity for redeployment | Low |
| Shared Shield | Increases ally DEF with successive Ultra Shield applications | Medium |
| Impact | Shield-focused damage with paralysis and DEF-based protection | Medium |
| Overwork Grudge | ATK reduction with periodic Electro damage | Medium |
| Holdfast | Team DEF enhancement when deployed | High |
| Special Gift | Deploys multi-impact defensive projectiles | High |
| Barrier | Frontal damage absorption field | Highest |
| Legitimate Slackness | Electro barrier with crowd control | Highest |
Intron Progression
| Rank | Enhancement |
|---|---|
| I6 | Adds Electro damage scaling with shield capacity |
| I5 | Upgrades Special Gift and Shared Shield |
| I4 | Triggers Overwork Grudge via Impact |
| I3 | Enhances key abilities |
| I2 | Scales Ultra Shield capacity |
| I1 | Applies debuffs through Barrier absorption |
Advanced Tactics



- Position barrier deployments near chokepoints or environmental cover to maximize area denial
- Coordinate Overwork Grudge applications with team burst phases for maximum impact

