DOOM: The Dark Ages’ fifth mission, The Holy City of Aratum, introduces players to aerial dragon combat. Though divisive among fans, these flying sequences offer a fresh dynamic to gameplay. Control preferences require adjustment here, with distinct inversion settings available for aerial maneuvers.
Navigation relies on dual-stick input: left stick for movement, right for targeting. Ascend/descend with shoulder buttons, fire with the right trigger, and enable assault mode via the left. Precision evasions amplify weapon power, with directional accuracy crucial for breaching shielded defenses.

Aerial Combat Dynamics
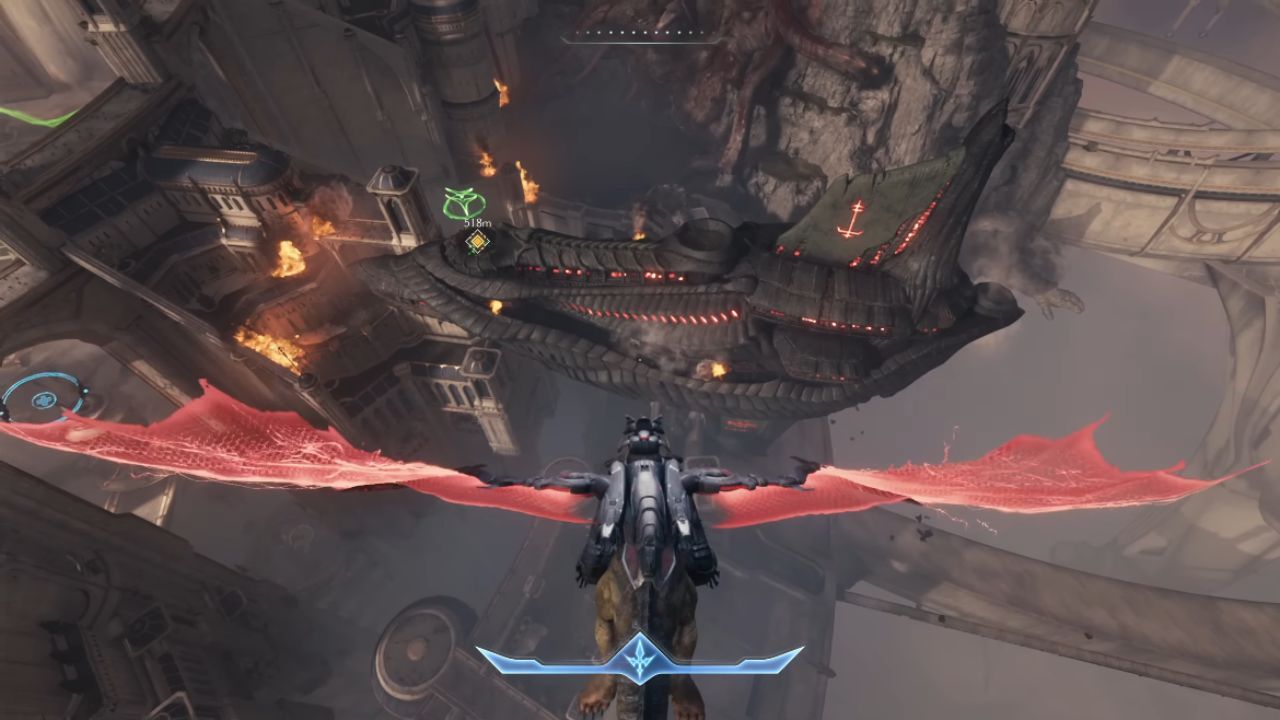
Initial encounters feature automated turrets demanding timed evasive actions to power weapons. Later sequences layer complexity with shielded towers requiring directional mastery – upward, downward, or lateral dodges neutralize specific projectile types. Post-destruction phases reward navigation through regenerative rings while deploying autocannons against hostile aircraft.
Touchdown zones marked by hovering indicators appear recurrently, with landing mechanics activated via right analog input.
Surface Mission Preparation
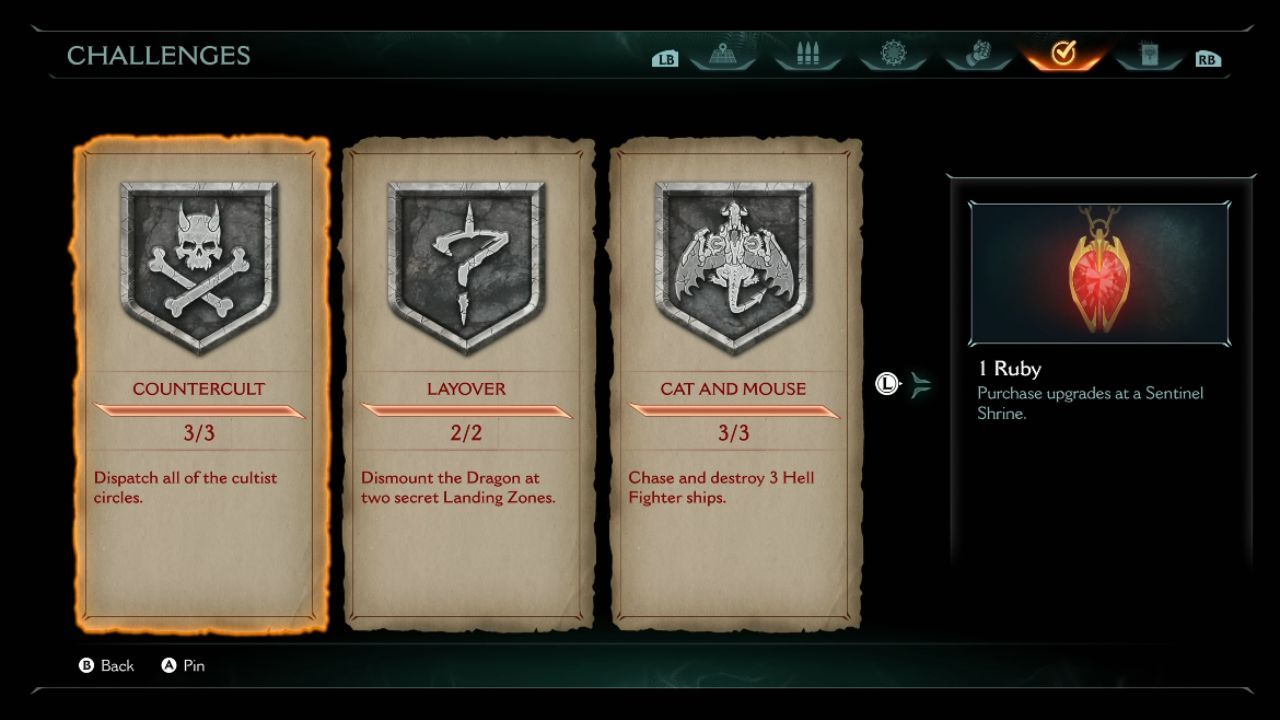
Ground operations commence after shield-sawing through magical barriers, unlocking new flight paths. This expansive mission hosts numerous rewards: 240 currency units, two rare gems, nine hidden items, and two demonic upgrades. Optional objectives include obliterating ritual circles, accessing covert landing sites, and downing three demonic fighters in open-world fashion.
First Demonic Vessel Infiltration
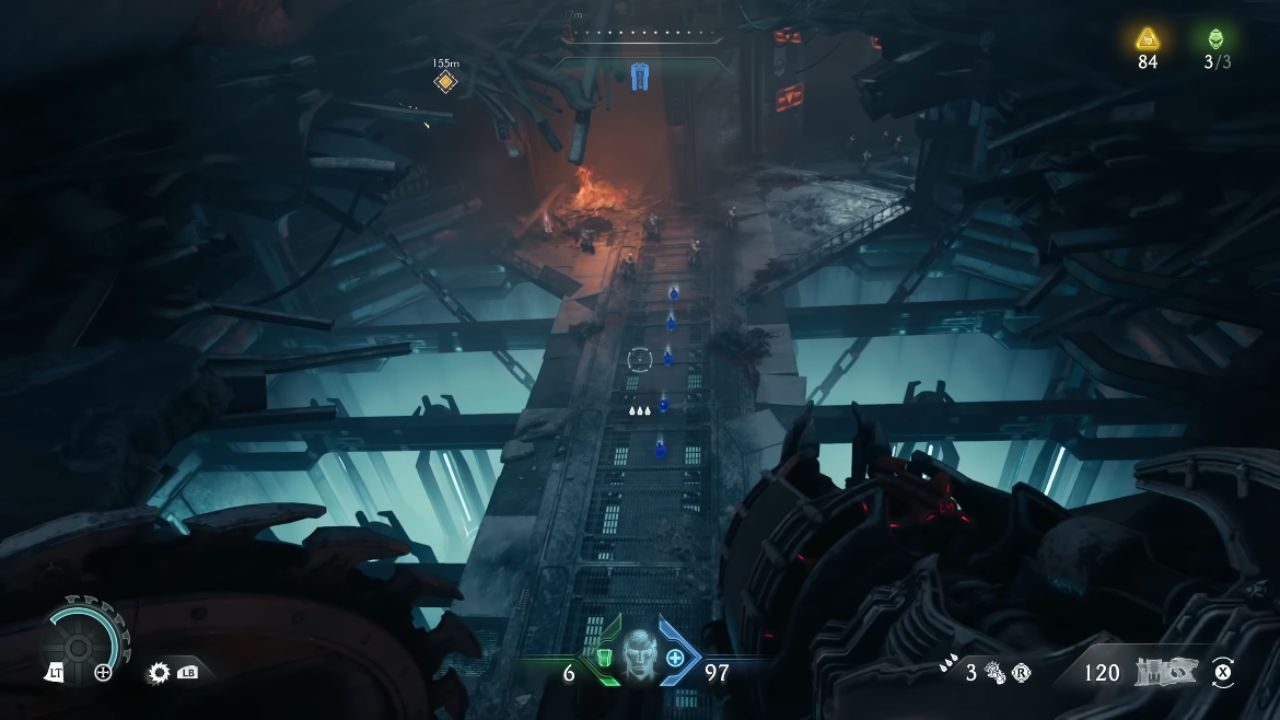
Nearest carrier assaults begin with neutralizing perimeter defenses until core weak points activate. Bring down the vessel by targeting its exposed nucleus. Interior fights against shielded foes benefit from shredder weapons, with labyrinthine layouts presenting varied combat scenarios. Post-battle exploration reveals currency stashes, underwater passages, and ritual sites – backtrack using shield saws to unlock new paths.

Resource Management Strategies
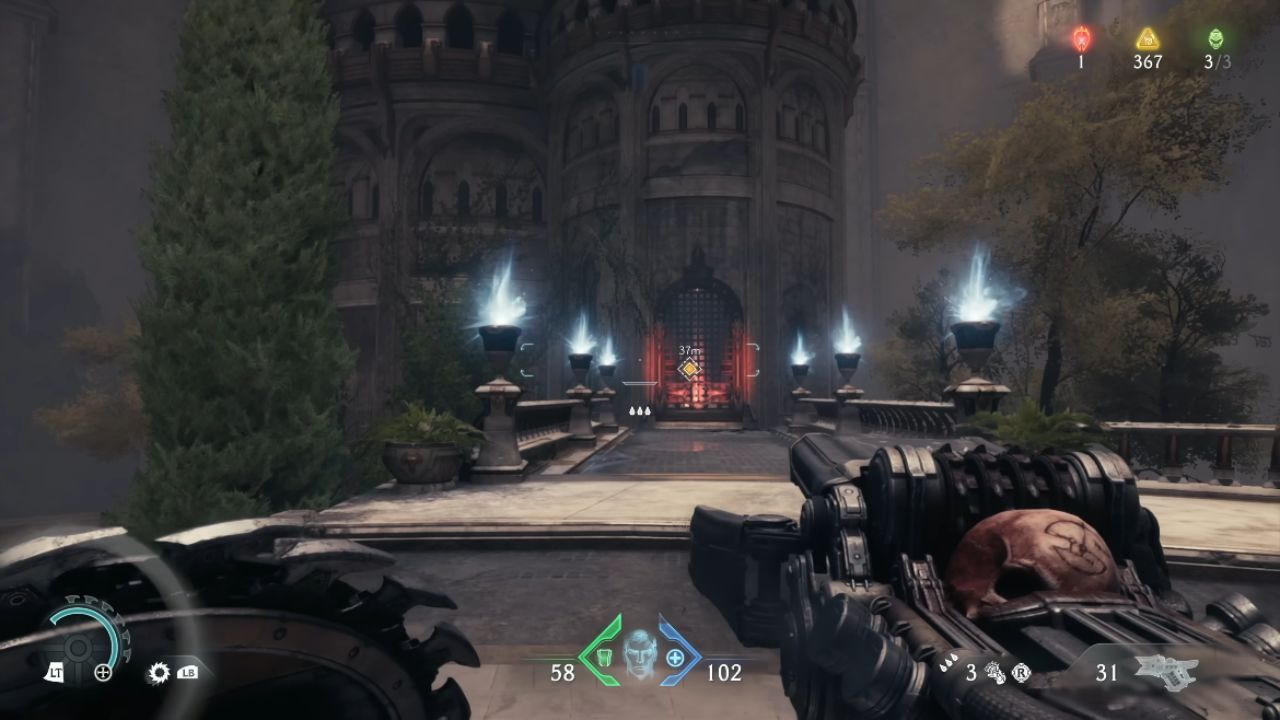
Sentinel Shrines enable weapon enhancement – incendiary shotgun modifications prove particularly devastating, combining high damage outputs with lifesteal properties. Hidden side paths yield access cards unlocking chambers containing vital supplies and shortcut access points.
Initial Carrier Conclusion
Pre-boss preparation involves resource stockpiling followed by tactical engagements combining parrying and shield-based combos. Successful completion unlocks demonic essence and progresses secret tracking metrics.

Secondary Carrier & Hidden Landing Site
Subsequent carrier assaults involve projectile-based wall destruction and aerial skirmishes. Secure the Cycler plasma variant in early chambers before progressing beyond return points. Tower assaults against elite demons reward maximum health increases, while hidden balconies conceal substantial currency reserves.
Third Vessel & Final Collectible Runs
Final carrier engagements introduce enhanced adversaries requiring powerful armaments. Environmental navigation reveals concealed compartments housing rare collectibles. Puzzle-solving elements emerge through chain-breaking mechanics and keycard utilization, culminating in cinematic transitions.
Final Confrontation & Upgrade Utilization
Returning to central hubs allows final upgrades – prioritize impaler mods, shield enhancements, and cycler improvements. Endgame arenas test combat mastery against hybrid enemies and multi-phase bosses, with sustained aggression and strategic positioning proving crucial for survival. Post-victory sweeps confirm 100% completion before narrative advancement.