In high-difficulty missions, the Phalanx operates as a defensive anchor and crowd controller through tactical shield deployment and aggro management. Prioritize absorbing enemy focus while creating safe zones for allies through targeted disruptions.
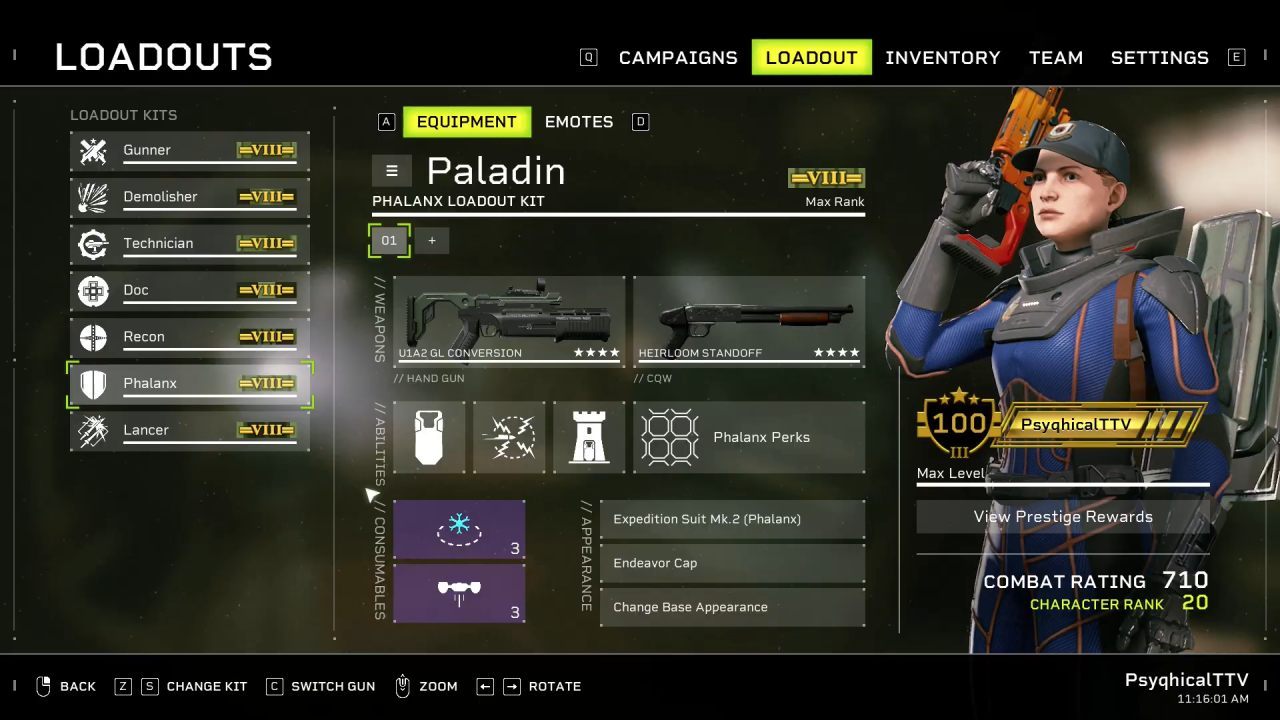
This breakdown explores critical survival tactics and spatial awareness requirements for optimizing Phalanx utility in maximum-intensity engagements.
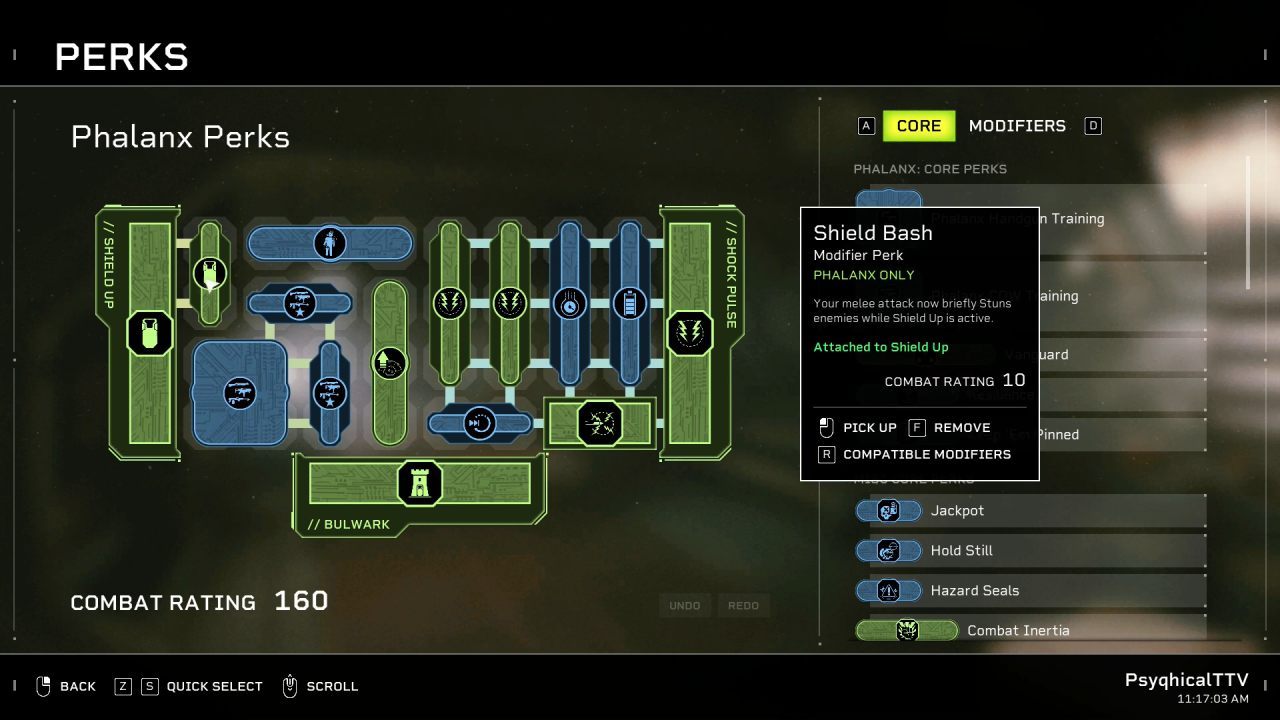
Essential Abilities
Shield Bash interrupts enemy grapples with stunning strikes. Take A Stand amplifies offensive output by 3% per adjacent foe. Aftershock generates temporary movement-impairment zones post-ability activation.
Concussion Pulse expands crowd control with wide-area knockdowns. Batteries Included accelerates ability regeneration by 20%, synergizing with Quick Charge II’s 13% boost. Hazard Seals mitigate acid effects by 25%. Down & Out elevates damage against grounded targets to 20%.
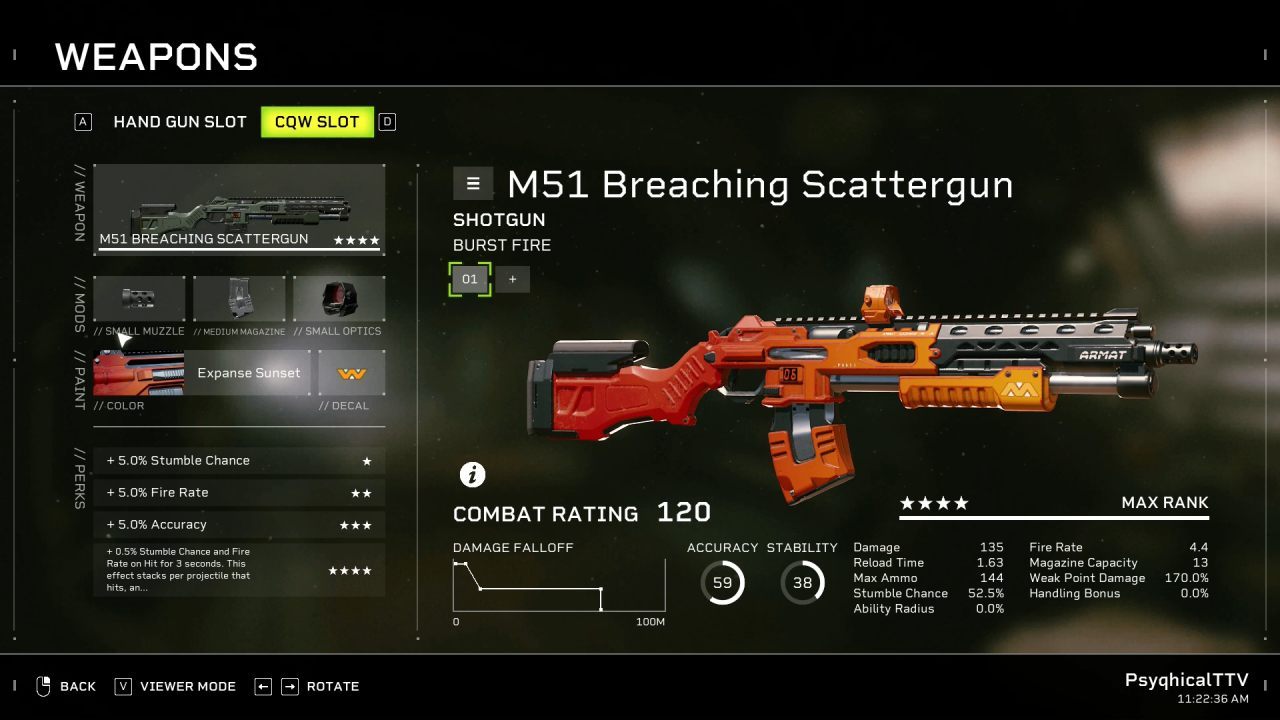
Close-quarters specialization: Tech CQW Training enhances reload efficiency and shot grouping by 15%. Recon CQW Mastery improves precision damage and engagement distance similarly.
Tech CQW Mastery accelerates firing cadence and weapon control. Gunner CQW Mastery heightens shot frequency and accuracy. Lancer CQW Expertise delivers 10% extra damage against vulnerable points.
Tactical Execution
Master visual/auditory tells for enemy grappling preparations, deploying Shield Bash or Shockwave preemptively. Note that shield strikes grant temporary stun immunity – time interventions carefully.
Account for Shockwave’s activation delay when countering agile Drone assaults. Manage proximity to allies to maintain threat priority without obstructing team movement.
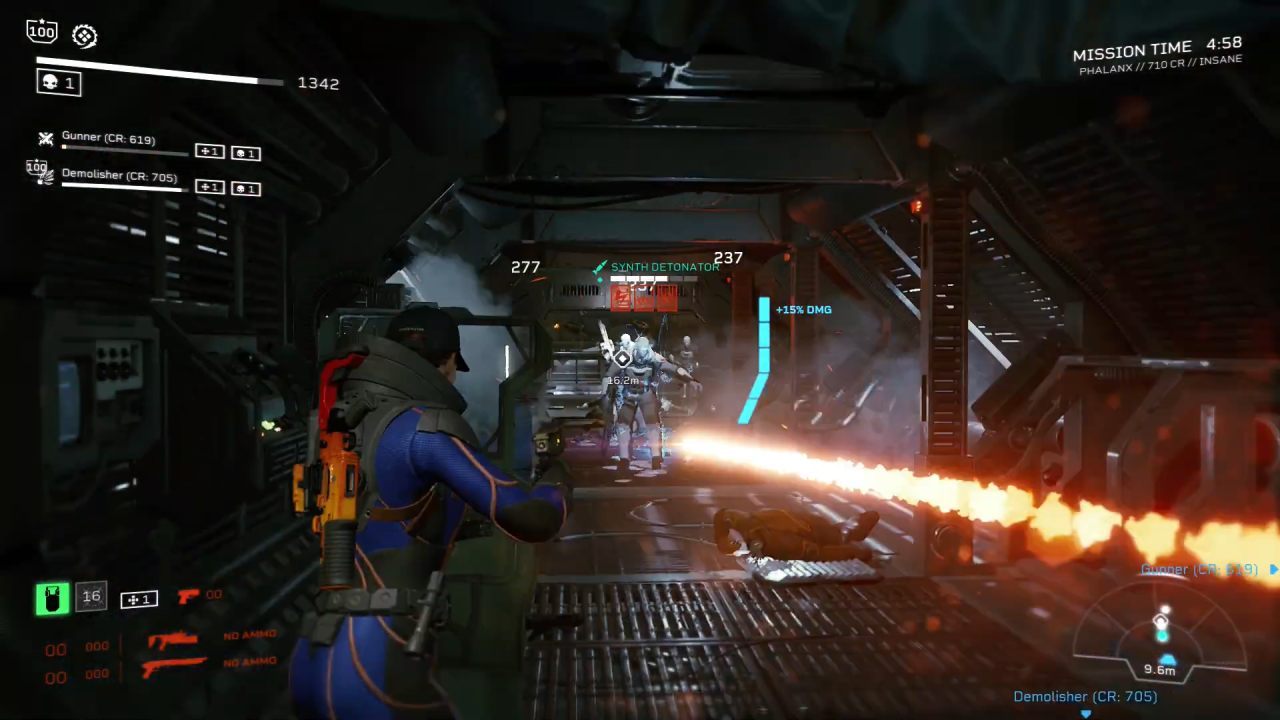
Contain explosive Pathogen units since misdirected detonations can injure entire teams. Utilize your shield’s friendly fire protection to safely deploy area-denial explosives against clustered enemies.