
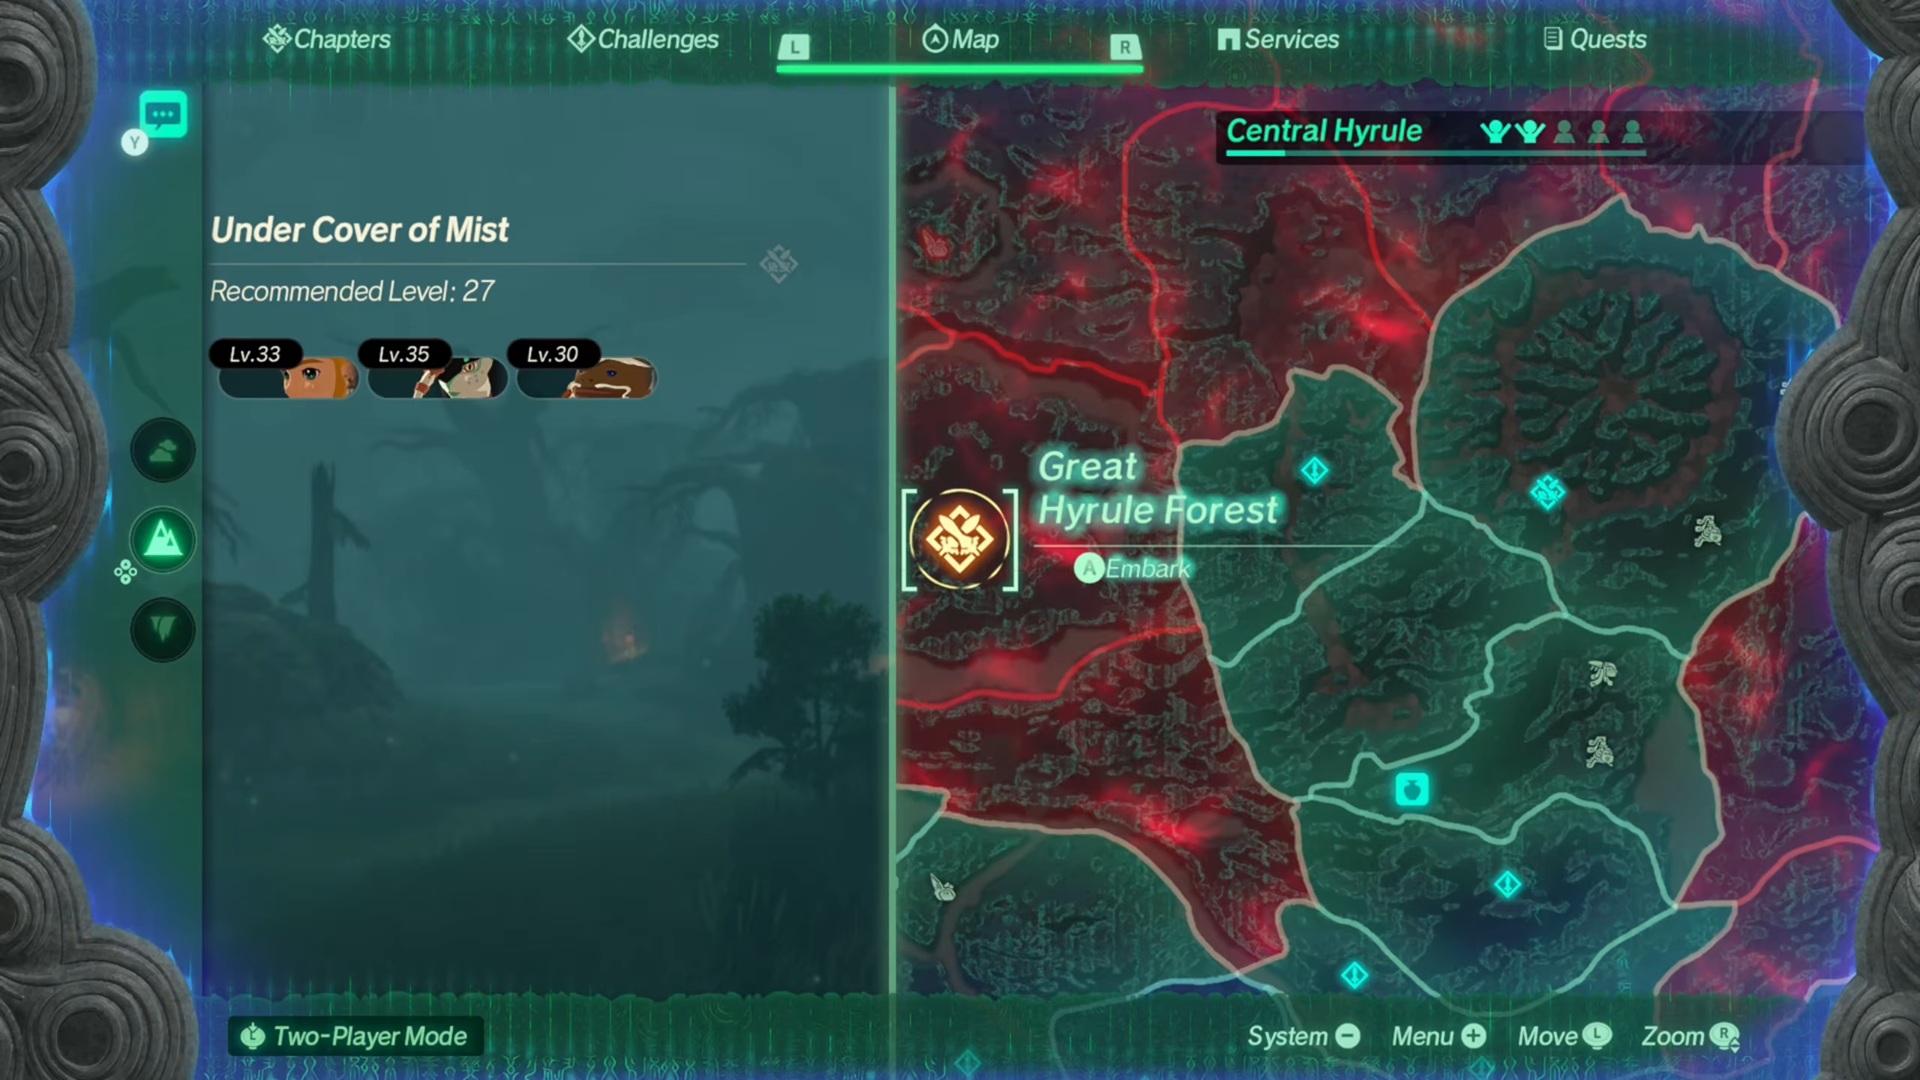
This quest unfolds in Chapter 3, requiring characters to be around level 27 before embarking. Accompanying Princess Zelda are key figures: Agraston of the Gorons, Raphica representing the Rito, and Qia from the Zora. Set within the mist-shrouded Great Hyrule Forest, the mission involves confronting waves of Bokoblins, Stalkoblins, and formidable mini-bosses. Below, we outline strategies for navigating this treacherous scenario.
Objectives and Challenges
Prime Target: Grimgera

Your ultimate foe is Grimgera, the Tempest Archfiend. Before engaging this aerial menace, expect skirmishes against lesser adversaries. Team coordination and tactical positioning are vital to breach his defenses. Note: Grimgera becomes ground-bound after losing 70% health, shifting combat dynamics.


Key adversaries include:
| Fire Aerocuda | Near the northwest outpost, after it is cleared |
| Fire Aerocuda | Near the northeast outpost, after it is cleared |
| Blue Boss Bokoblin | In the northeast outpost |
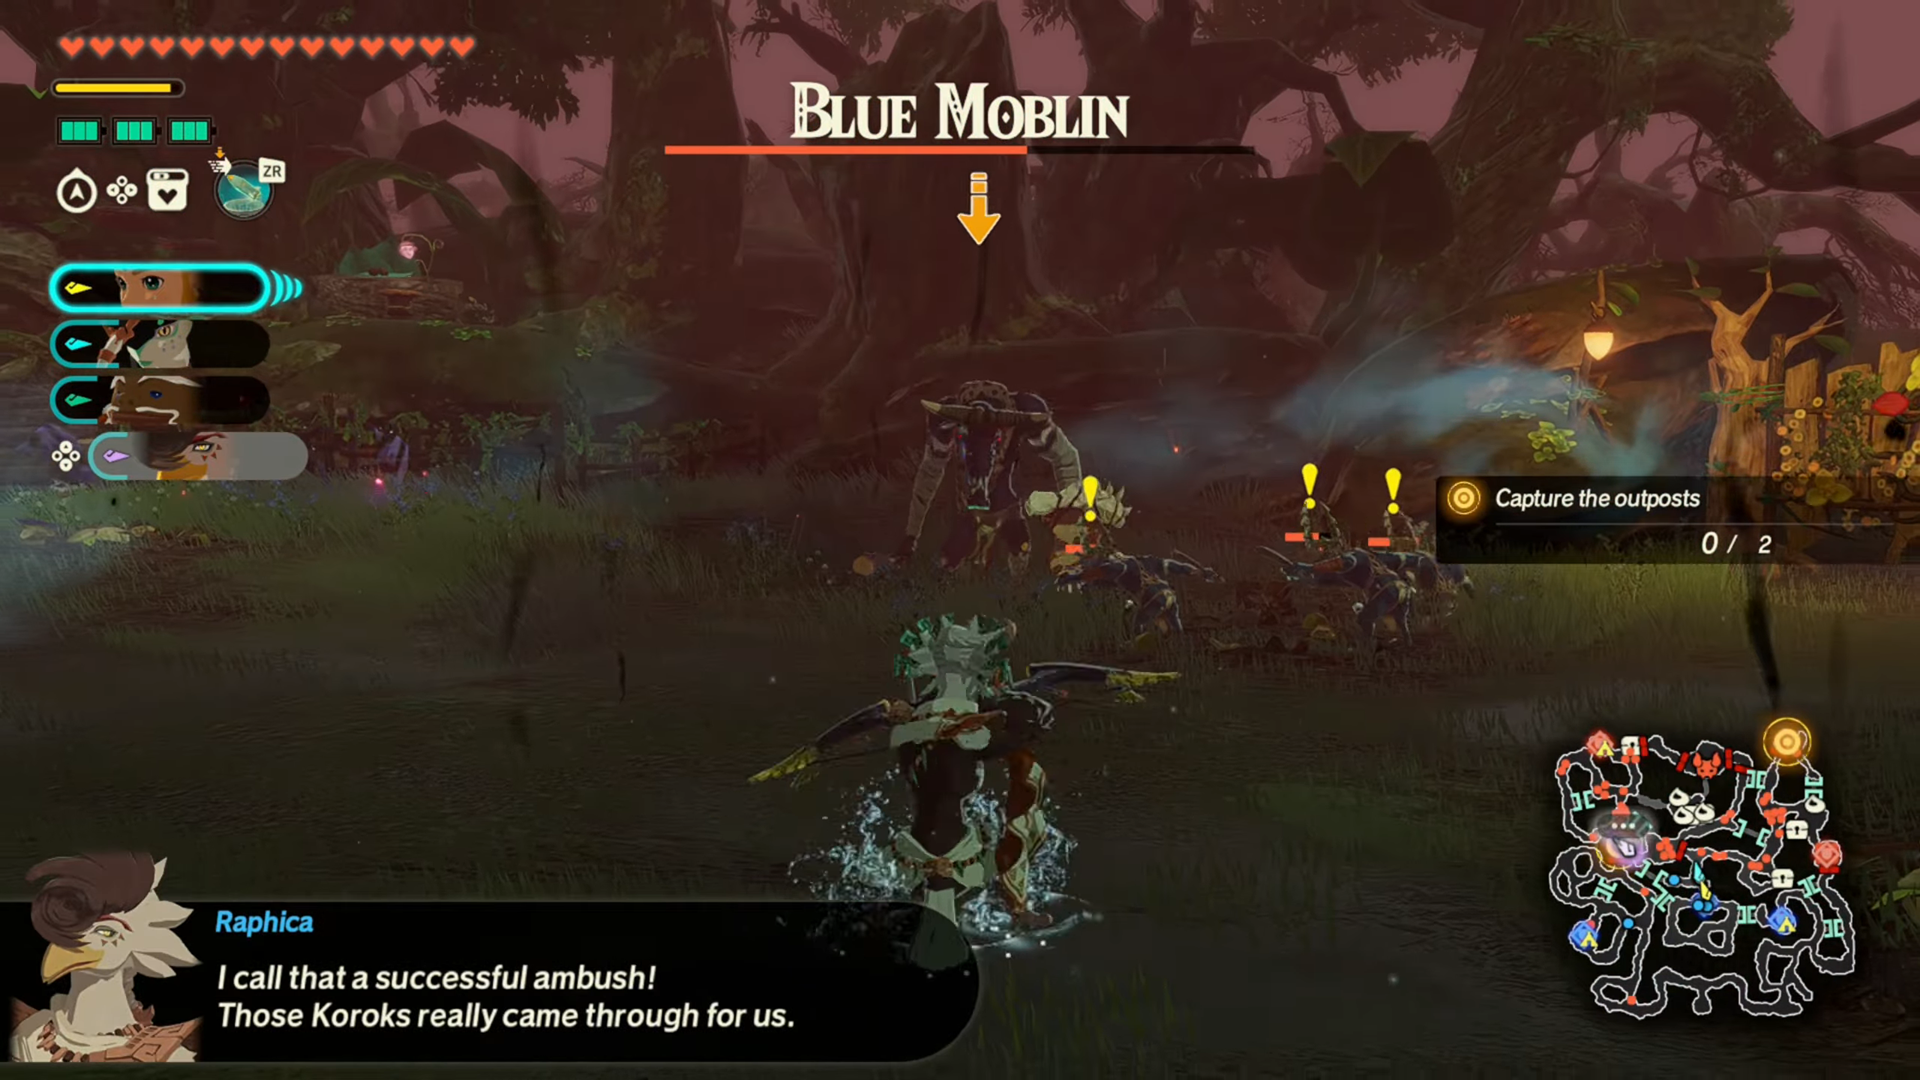
| Blue Moblin | In the northwest outpost |
| Electric Moblin | In the west outpost |
| Electric Boss Bokoblin | In the east outpost |
| Electric Chuchu | Before entering the initial west outpost |
| Stalmoblin | Before entering the initial east outpost |
Strategic Approach
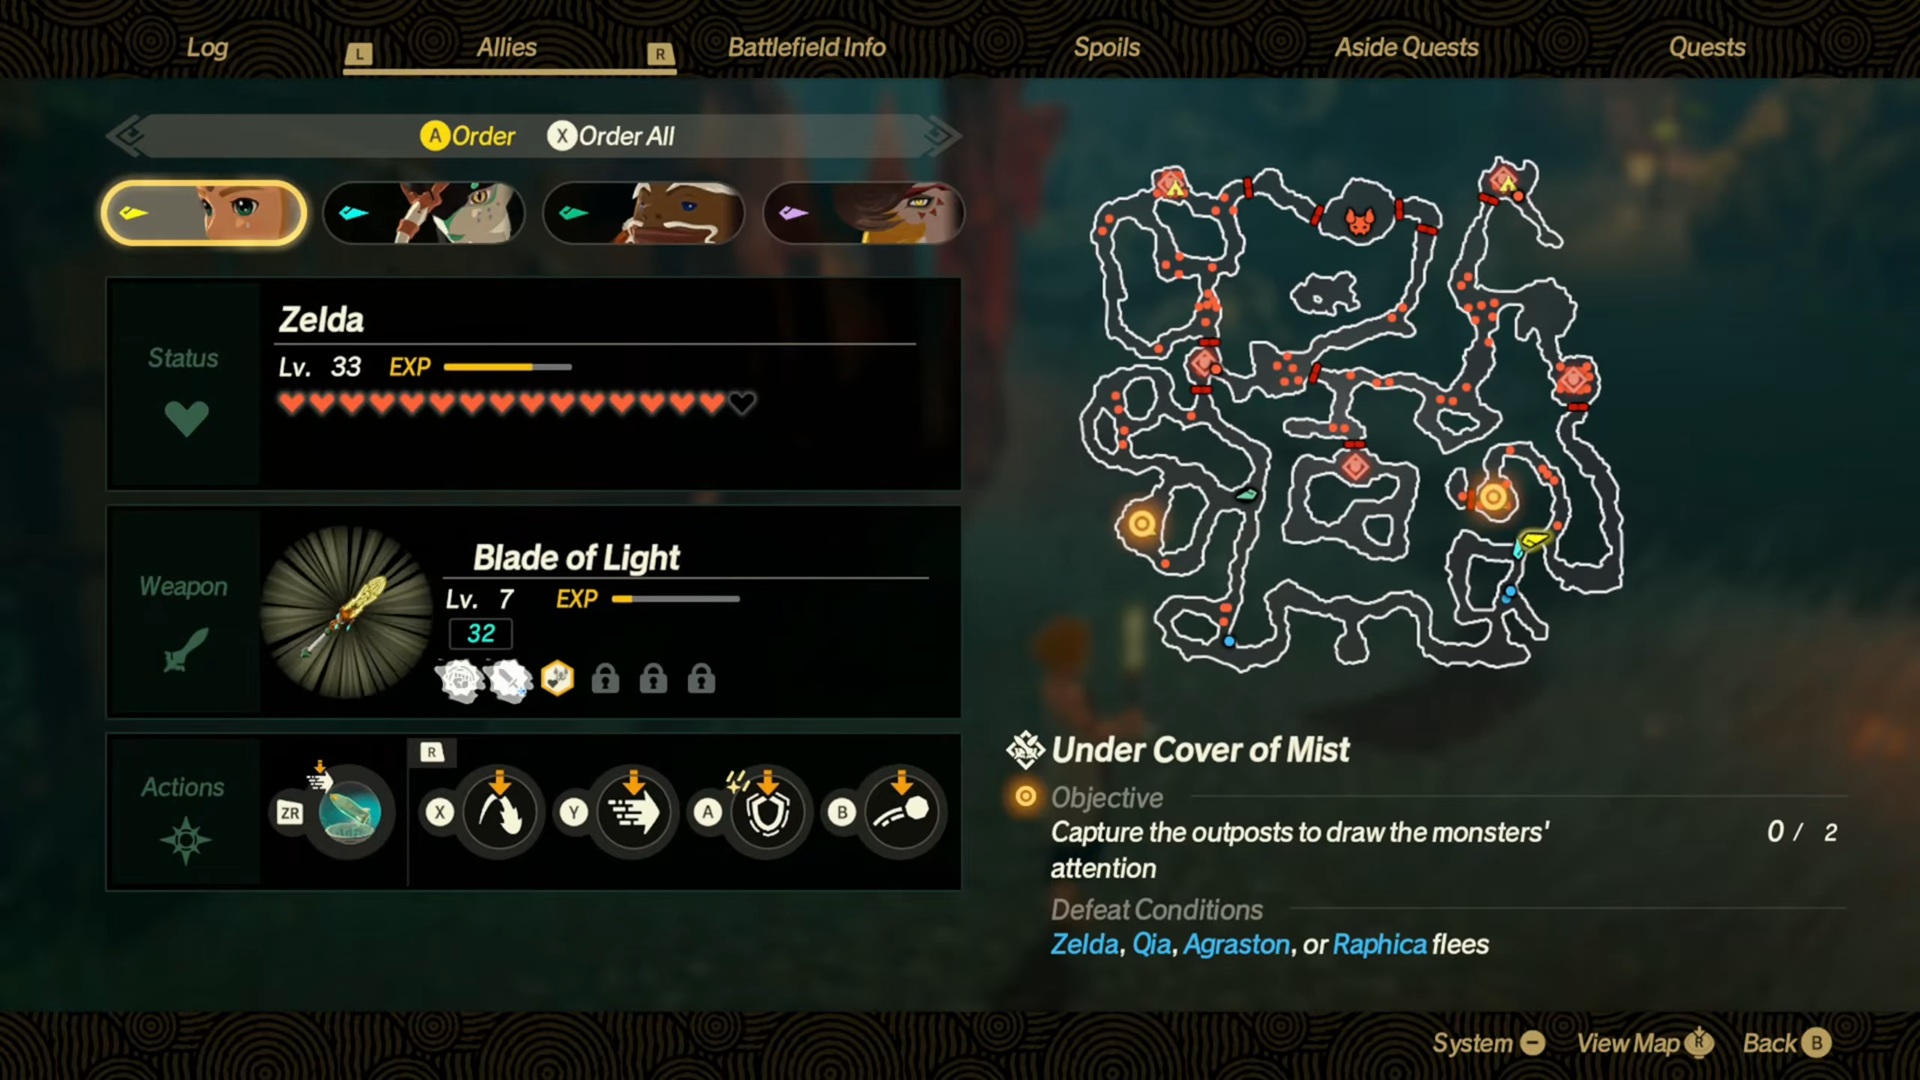
Begin by splitting forces to secure eastern and western outposts. Stockpile AoE devices and Zonai charges to manage enemy clusters efficiently. After capturing these posts, follow revealed paths toward the map’s core. Take caution: the forest’s deceptive fog obscures true paths, mirroring classic series mechanics. Seizing the central outpost unlocks northern gates, leading to remaining outposts in the northwest and northeast. Clear these to trigger the final confrontation.
Grimgera’s Vulnerabilities
Exploit fire-based, anti-air, and shield-breaking attacks to deplete his weak-point gauge. Once grounded, focus on remaining weaknesses. Deploy Agraston’s strength for optimal damage output during this phase.