
Roblox Studio is the primary environment where imaginative digital worlds take shape, offering seamless creation tools for developers of all skill levels. Accessible without financial barriers, this versatile platform enables anyone to design interactive experiences through its streamlined interface. While simpler than professional game engines, new users often benefit from foundational knowledge – let’s explore essential techniques for effective use.
Essential Guidance for New Roblox Creators
Before diving into creation, understand that Roblox Studio requires no subscription fees or purchases. Simply install the software to begin transforming ideas into playable environments. Below we outline critical first steps for smooth onboarding.
Installation Procedures
Obtain the software directly from the official portal after verifying device compatibility:
- Internet connectivity mandatory
- System RAM: Minimum 1GB
- Processor: 1.6 GHz+ capability
- macOS version 10.11+
- Windows 7+ with Internet Explorer 11+
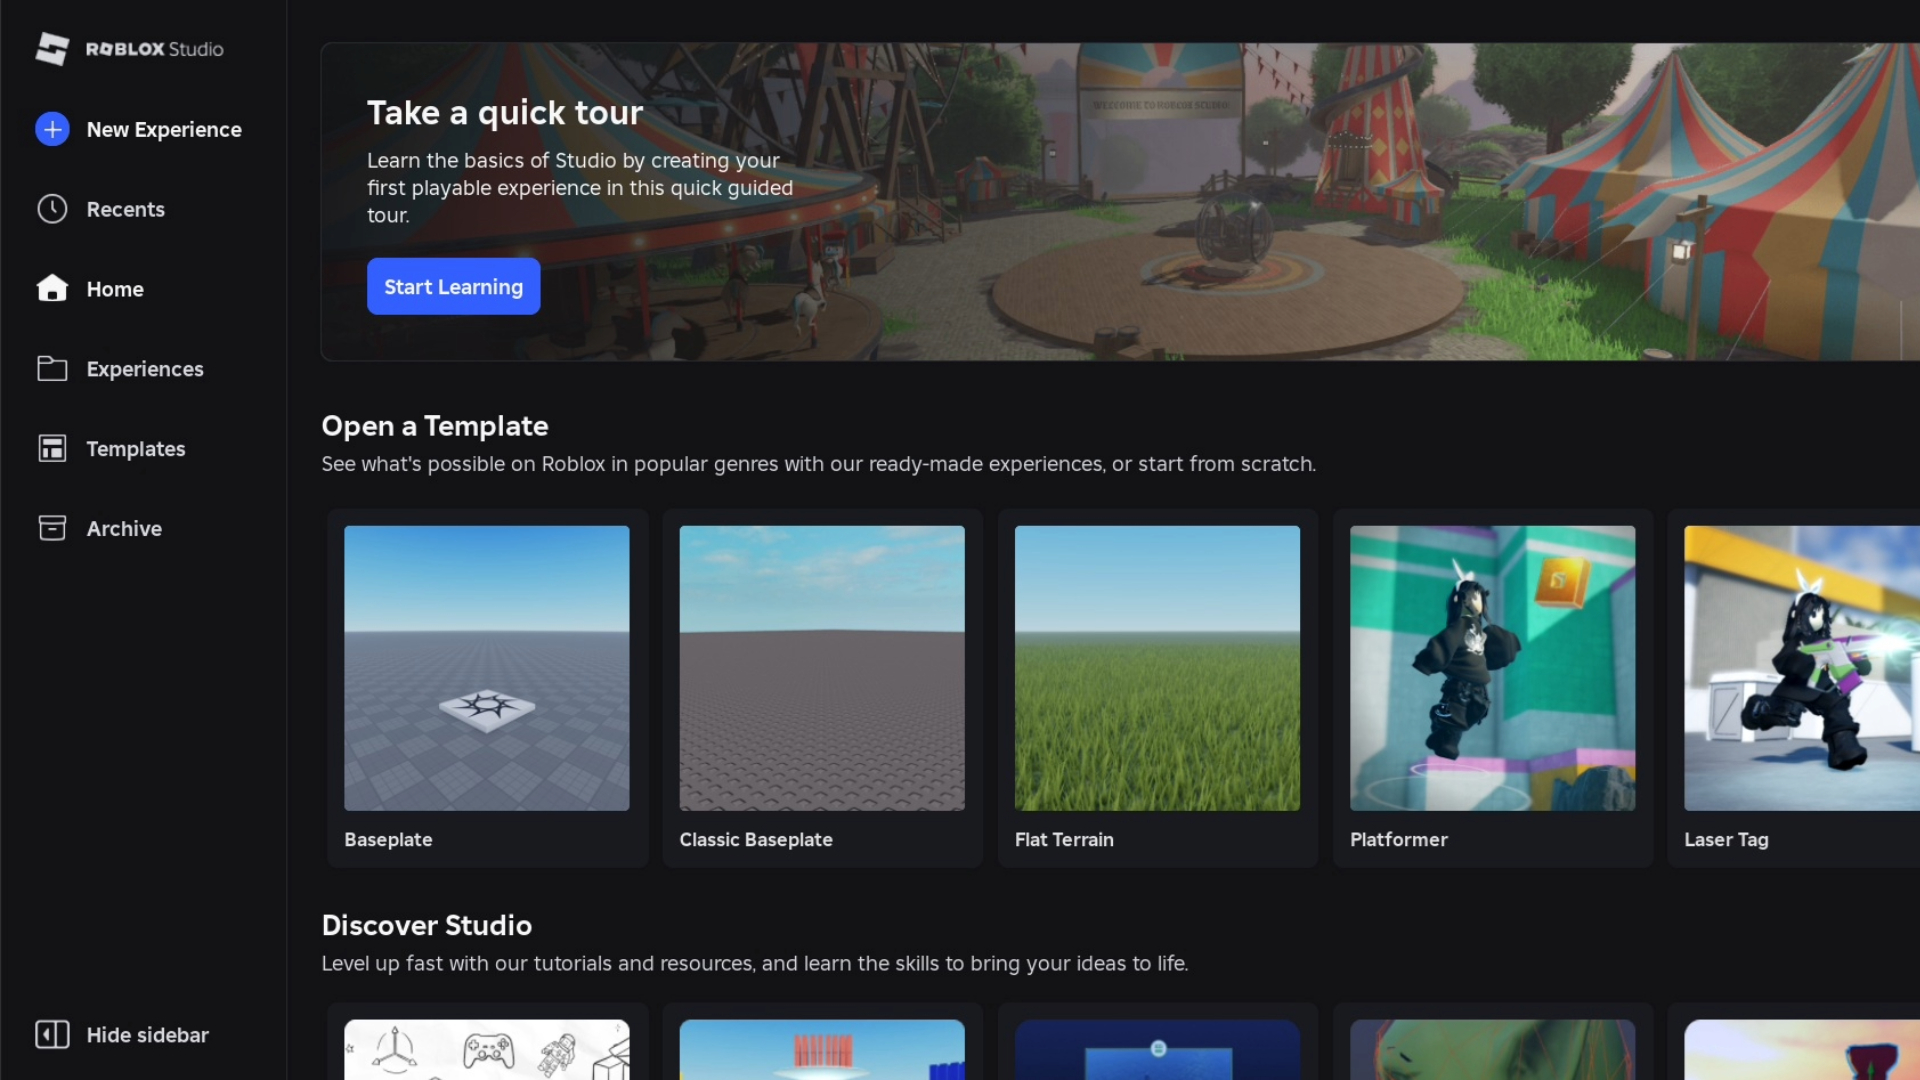
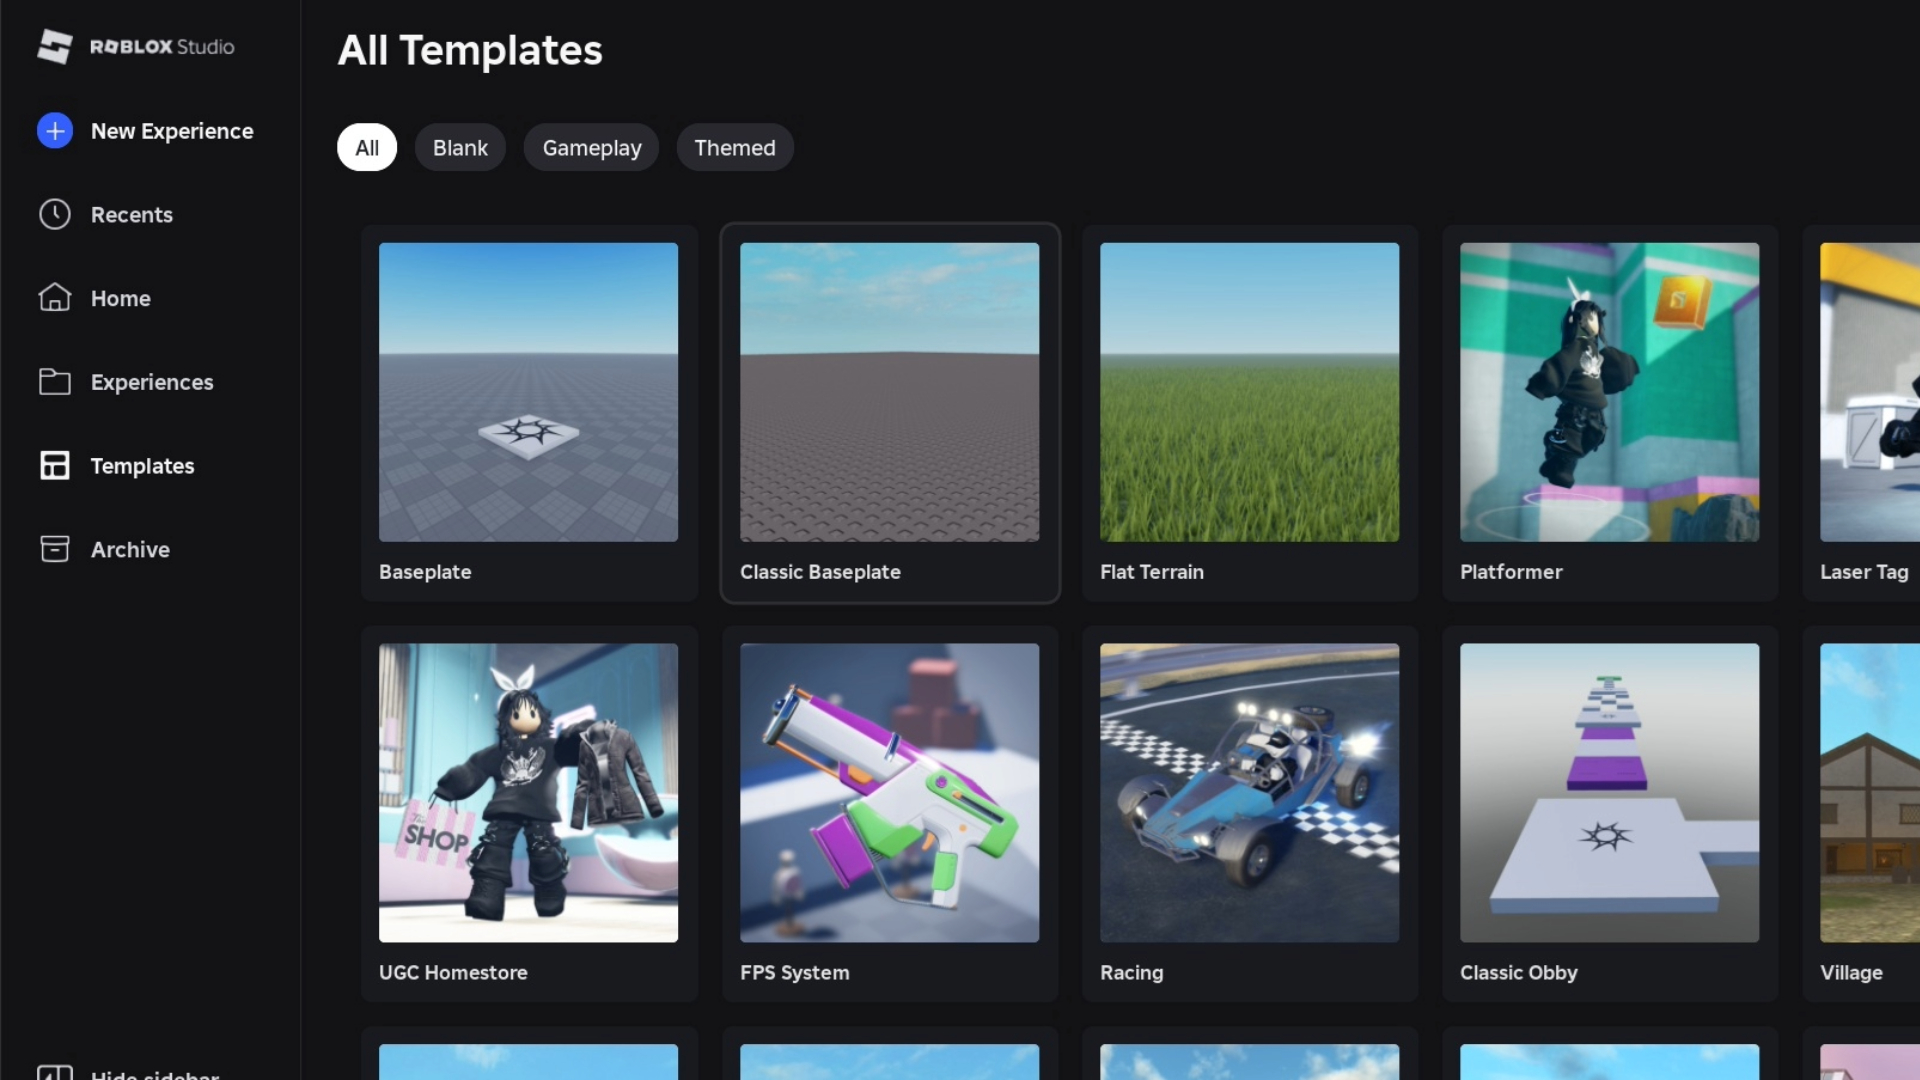
Initial Setup Walkthrough
Launch the application to encounter various pre-configured templates. Beginners should select Baseplate to understand environment basics. This starting point allows immediate interaction with objects, terrain modifications, and structural experiments.
Interface Navigation Basics
Familiarize yourself with these critical input combinations:
- ALT + S: Access camera speed preferences
- F: Center view on selected objects
- Delete: Remove unwanted elements
- CTRL + D: Duplicate selections
- Left click + drag: Multi-select items
- Single left click: Choose individual elements
- Alt key: Lock camera perspective
- Scroll wheel: Adjust zoom levels
- Right-click hold: Free camera movement
- Q/E: Lateral camera shifts
- W/S: Forward/backward navigation
Core Development Utilities
The left-hand panel houses vital creative instruments. Prioritize understanding these functions:
- Color customization
- Material adjustments
- Object insertion
- Asset library access
- Scene editing tools
- Element rotation
- Size modifications
- Positional controls
- Selection mechanisms
Building Initial Environments
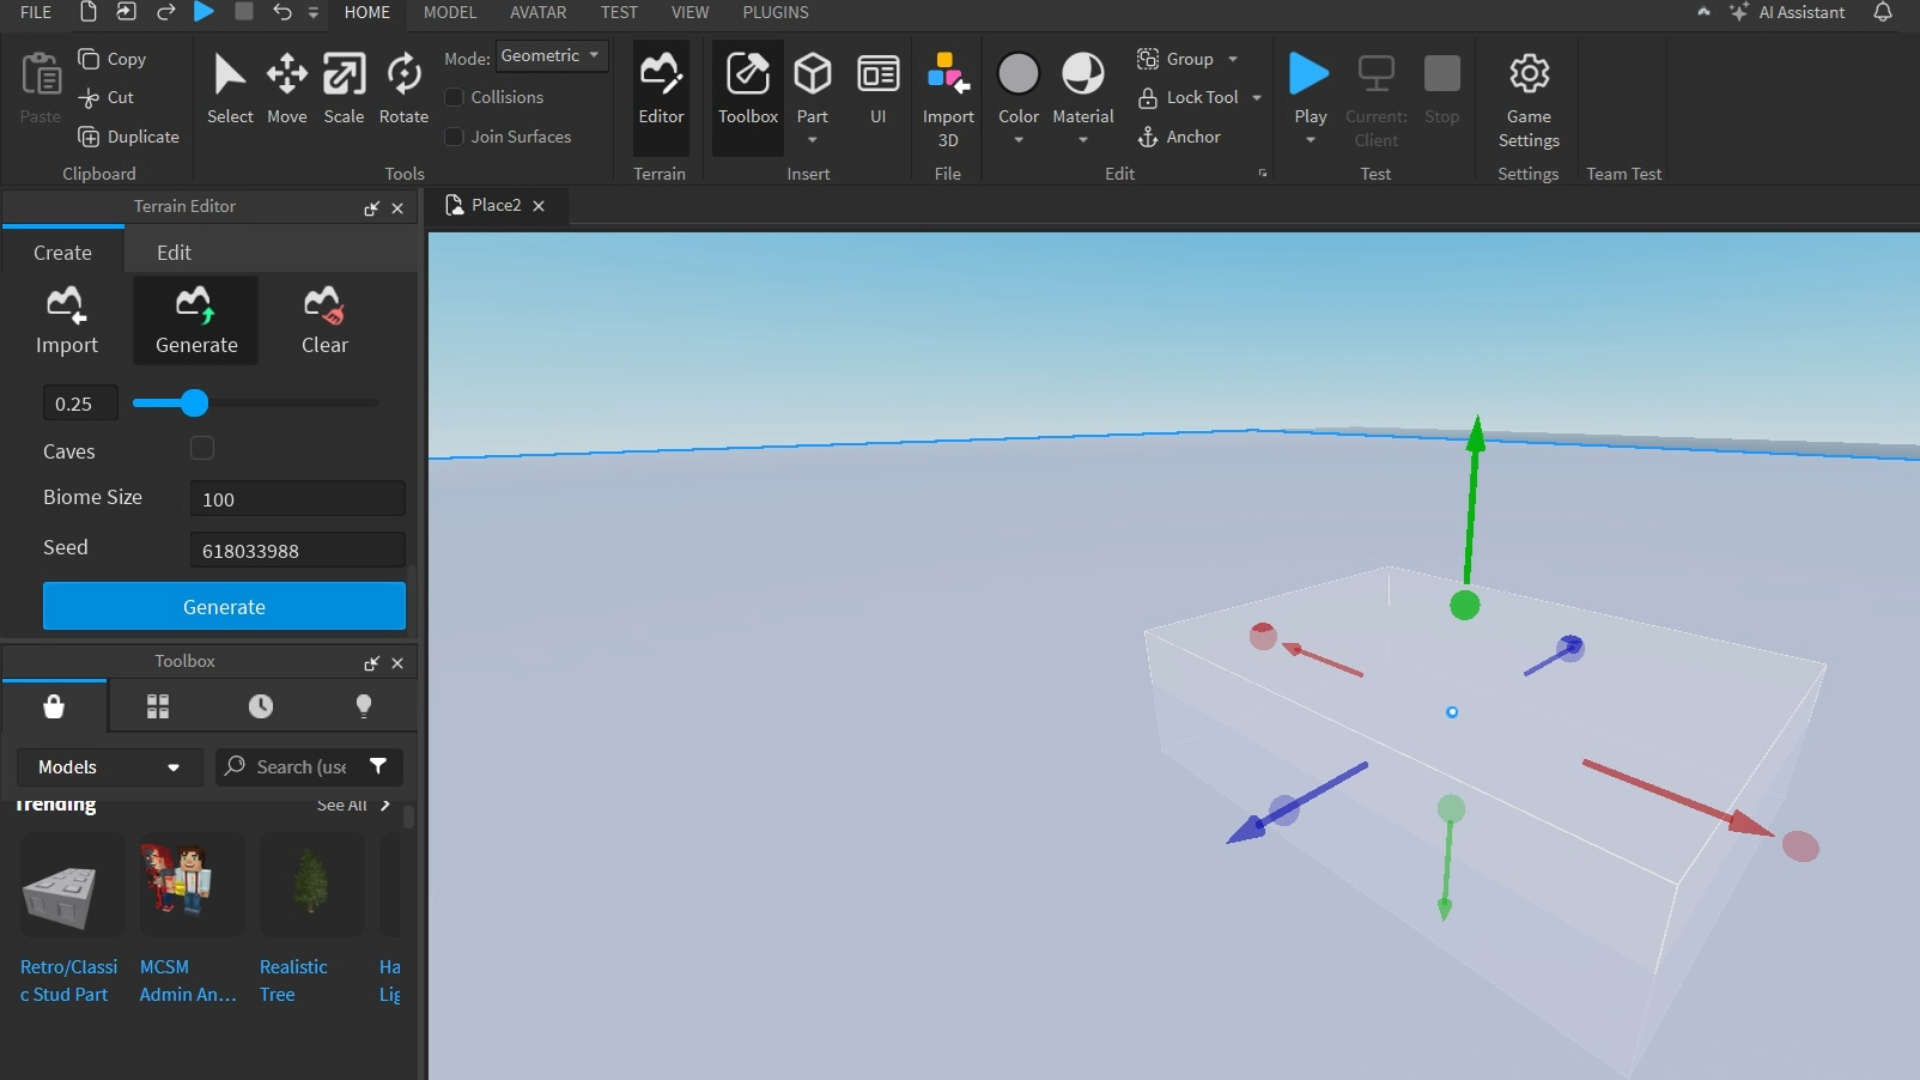
Begin construction by expanding the Part menu’s dropdown and selecting Block. Use scaling controls (hold Control while adjusting points) to shape your terrain foundation. Position blocks slightly above grid lines for proper alignment. Enhance visual appeal through color palettes or imported textures from the Toolbox. For advanced terrain generation:
- Enable Editor > Import function
- Select Material Settings
- Add preferred textures
- Activate Generate tool
- Choose biome characteristics
- Finalize with secondary generation
Test implementations using the Play button’s avatar simulation feature to evaluate spatial flow and design integrity.