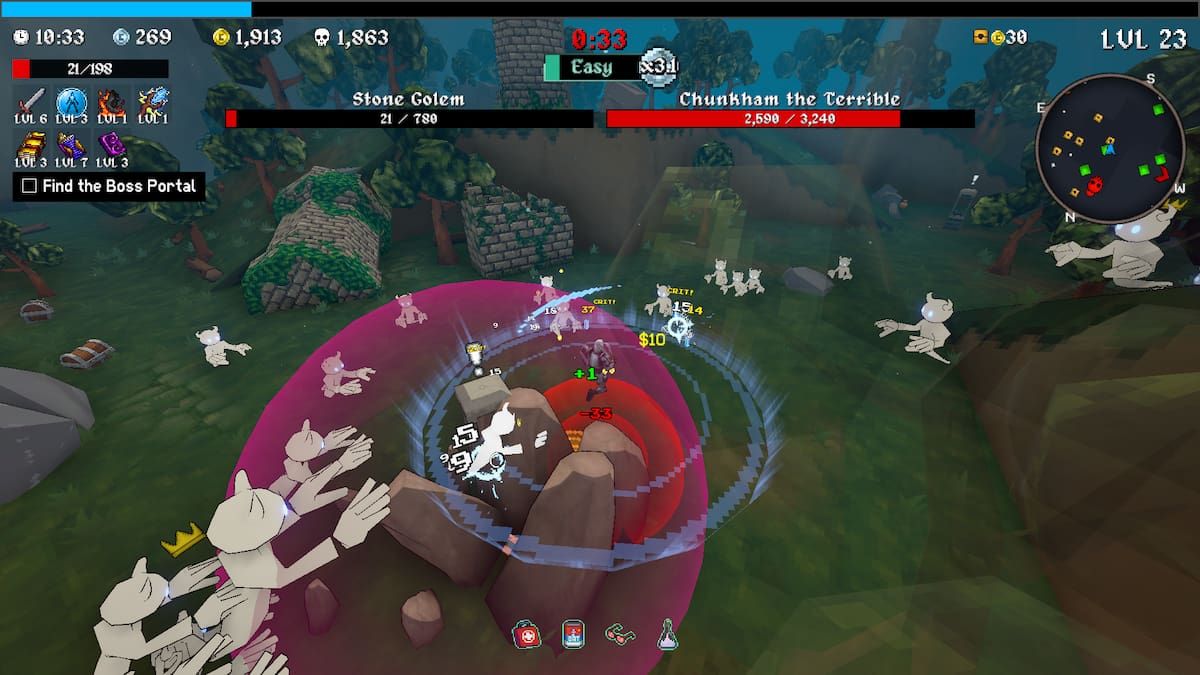
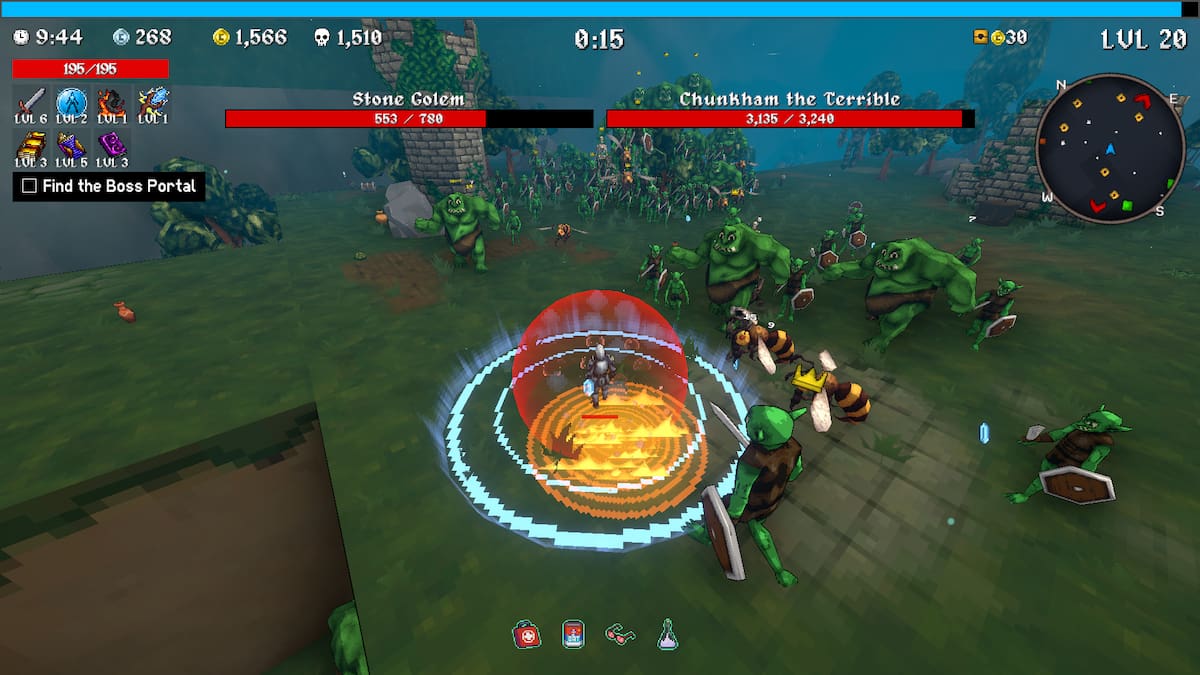
Available initially alongside Mr Fox, Sir Oofie trades speed for defensive capabilities. Proper optimization can elevate his utility for unlocking advanced options. Explore these strategic configurations to maximize his potential.
Core Combat Tools: Weapon and Passive
The Sword serves as his primary armament, delivering multi-target strikes in a single arc. Initial swing velocity and damage output may seem underwhelming, but synergistic enhancements significantly amplify effectiveness.
Armor escalates by 1% per level through his passive. Strategic selection of Tomes and Items enables unparalleled damage absorption.
Optimal Configurations for Sir Oofie
Three distinct approaches leverage his durability while addressing different playstyles. Configuration 2 proves particularly effective for specific achievement pursuits.
Configuration 1 – Stationary Striker
Compensating for limited mobility, this setup emphasizes area control through enhanced attack patterns. While less dynamic than agile counterparts, it maintains battlefield dominance through calculated positioning.
| Weapons | Tomes | Items |
|---|---|---|
| Bone/Revolver Lightning Staff Aura Sword |
Size Tome Cooldown Tome Damage Tome Quantity Tome |
Beefy Ring Demonic Soul Backpack Idle Juice Brass Knuckles Turbo Socks Boss Buster Battery Medkit Oats Gym Sauce |
Key Mechanics: Tome upgrades convert the Sword into a rapid area-clearing tool. Lightning Staff and Aura create layered defenses while supplementary items ensure survivability against concentrated assaults.
Configuration 2 – Passive Retaliation
This RNG-dependent setup transforms defense into offense through reflection mechanics. Prioritizes armor scaling and environmental interaction.
| Weapons | Tomes | Items |
|---|---|---|
| Blackhole Aura Aegis Sword |
Bloody Tome Damage Tome Armor Tome Thorns Tome |
Quin’s Mask Gas Mask Demonic Soul Cactus Gym Sauce Chonkplate Beefy Ring Oats Moldy Cheese |
Key Mechanics: Thorns scaling synergizes with passive armor gains, creating exponential retaliation damage. Defensive tools maintain survivability while crowd control weapons manage enemy positioning.
Configuration 3 – Sustained Survivor
Transforms health regeneration into combat sustainability through high-uptime attacks and healing amplification.
| Weapons | Tomes | Items |
|---|---|---|
| Bananarang/Bone Revolver Aura Sword |
Shield/HP/Armor Tome Cooldown Tome Quantity Tome Bloody Tome |
Holy Book Dragonfire Chonkplate Spicy Meatball Medkit Battery Backpack Gym Sauce |
Key Mechanics: Rapid attack cycles enable constant health recovery. Critical items convert excess healing into protective barriers, creating near-invulnerability during prolonged engagements.
