
Optimizing Field of View (FOV) in Dying Light: The Beast
A narrow field of view can make movement feel restricted and worsen motion sensitivity. Here’s how to customize FOV and improve gameplay visuals:
Two Methods to Adjust FOV on PC
- In-Game Settings: Navigate to the advanced video settings to modify the FOV slider. Disable post-processing effects like motion blur, film grain, and chromatic aberration. If the slider is unavailable, turn off the “reduced motion sickness” option in accessibility settings.
- Configuration File Edit: Locate the game’s video settings file in its documents folder. Add
ExtraGameFov(40)to the bottom, save, and set the file to read-only. This increases FOV from 57 to approximately 97. Tweak values for personal preference.
Visual Settings Recommendations
- Disable Motion Blur: Eliminates smearing during fast-paced combat.
- Remove Film Grain & Chromatic Aberration: Boosts image clarity by toning down gritty effects.
- Adjust Depth of Field: Turn off to prevent blurring when aiming or examining objects.
- Controller Fixes: Disable Steam Input for DualSense controllers to ensure proper button prompts.
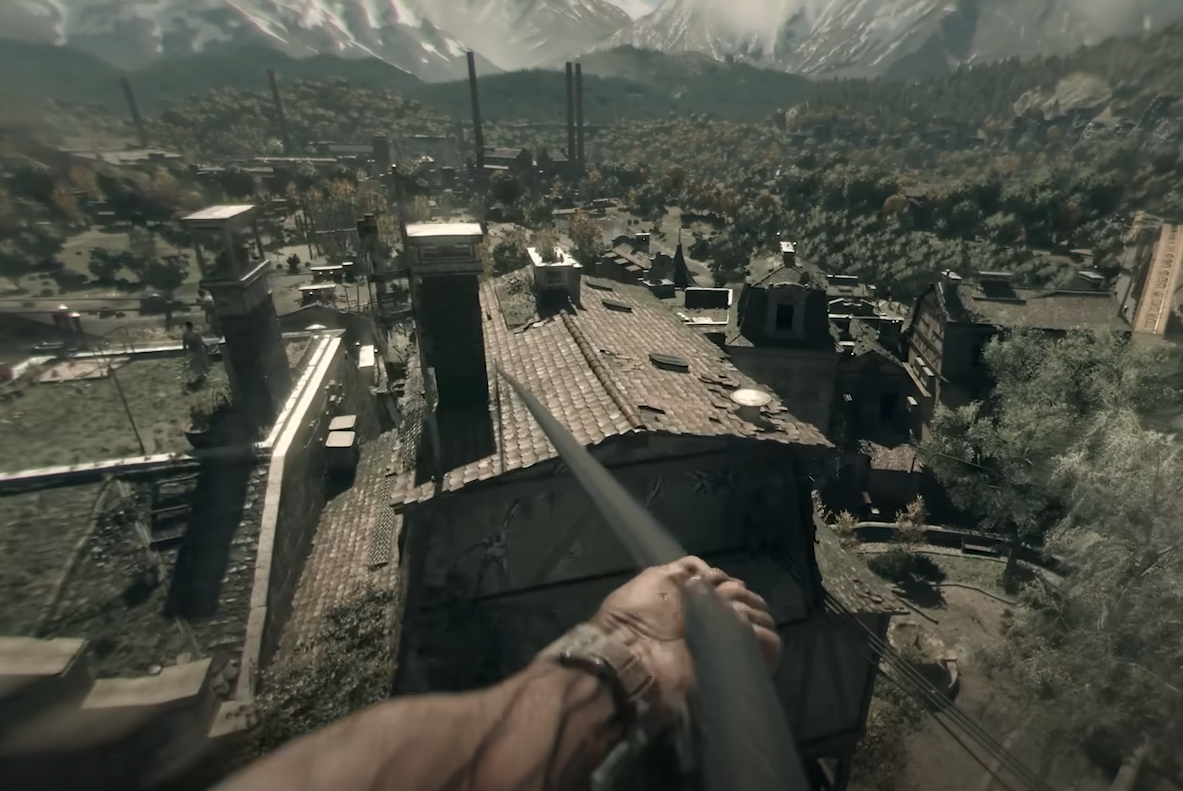
Why FOV Matters
A wider FOV improves situational awareness during parkour, nighttime escapes from Volatiles, and close-quarters combat. It reduces eye strain by minimizing the restrictive “tunnel vision” effect.
FAQ
- Default FOV: 57 (widely considered too narrow).
- Maximum Configurable FOV: ~97 using the
ExtraGameFovparameter. - Greyed-Out Motion Blur: Caused by enabling “reduced motion sickness” in accessibility options.
- Performance Impact: Minor frame rate drops due to increased rendered environment.