
Learning extraction points proves vital for successful Scav runs on Customs. This guide details navigation strategies for maximizing loot while avoiding conflict zones.
EFT Customs Map Scav Exit Guide
Seventeen extraction zones exist across the complex industrial terrain. Available exits rotate randomly per raid, requiring familiarity with multiple locations:
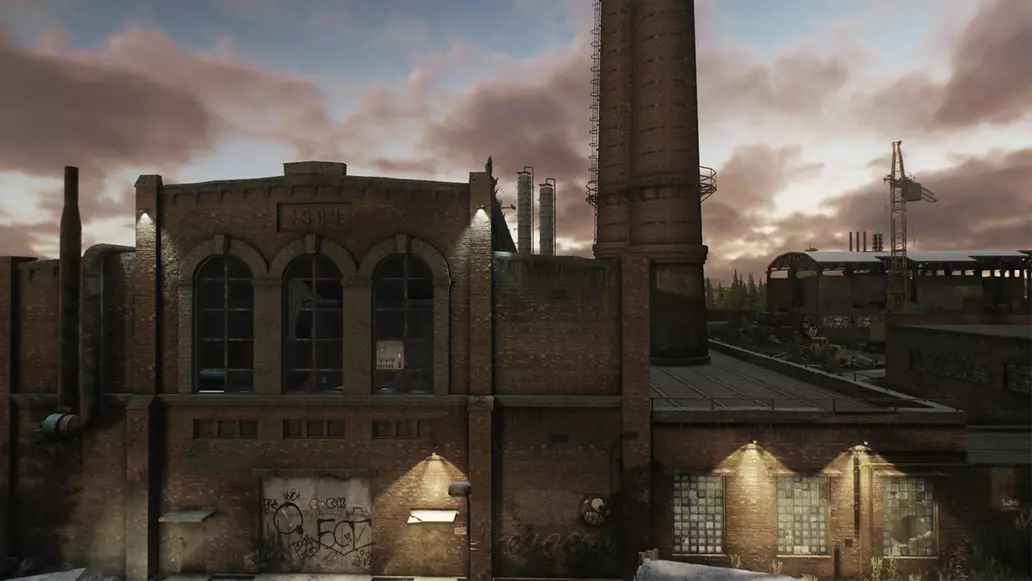
Eastern Sector Extraction: Factory Perimeter
Locate four cylindrical storage tanks near ZB-1011. The extraction activates in nearby brush-covered terrain east of the main complex.
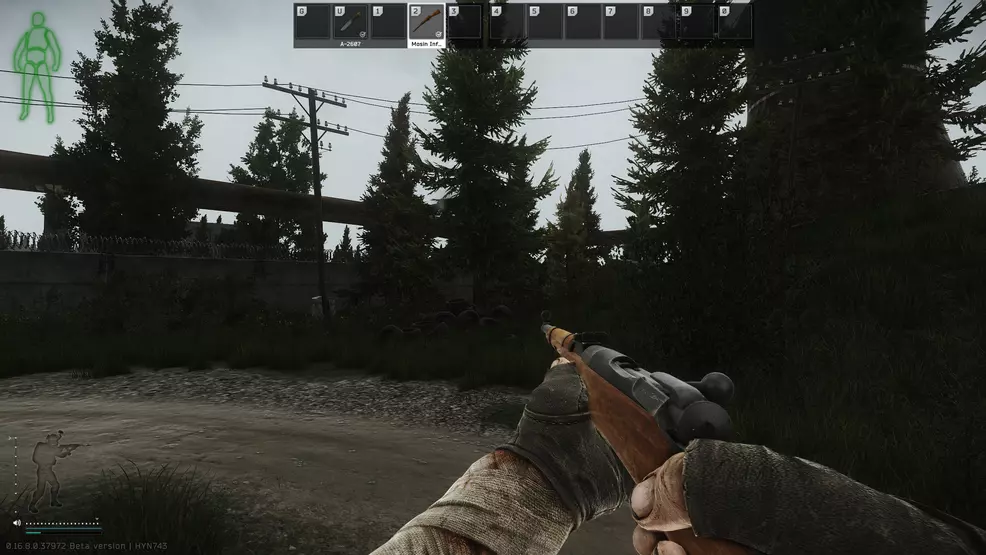
Northern Checkpoint Access
Identify the distinctive skeletal graffiti on northern sector doors. This exit remains accessible even during active firefights at military outposts.
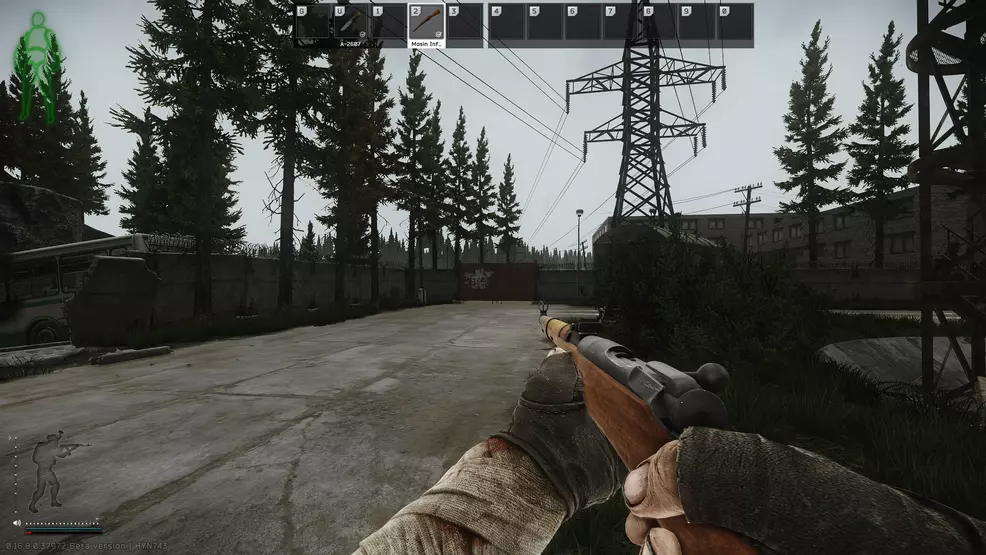
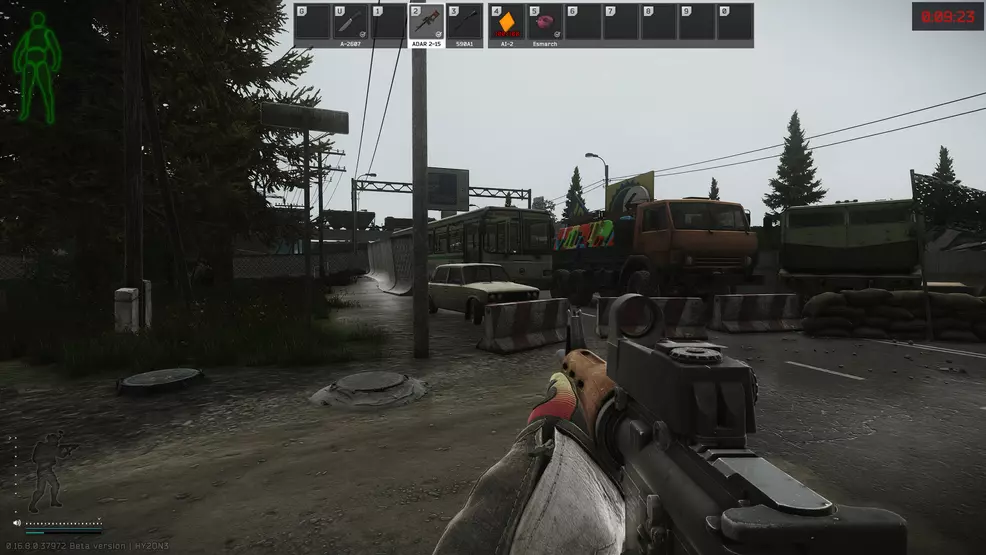
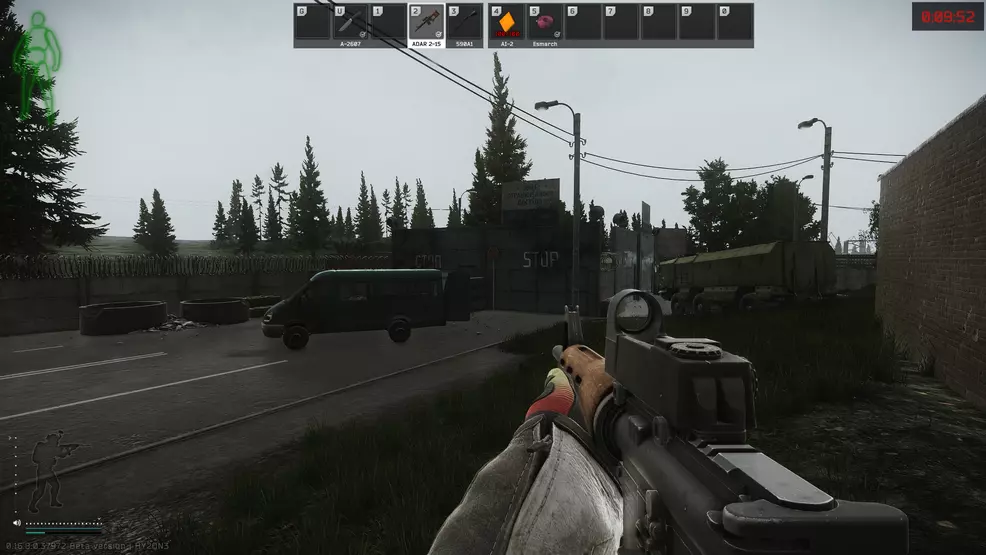
Barricaded Road Extraction
Charred vehicles and razor wire mark this western exit opposite the checkpoint zone. Activation requires proximity to the central burnt-out bus.
Military Transition Point

Follow northern perimeter walls to find an idling transport vehicle. This dual-purpose exit connects to Reserve or returns to stash directly.
Rock Formation Passage
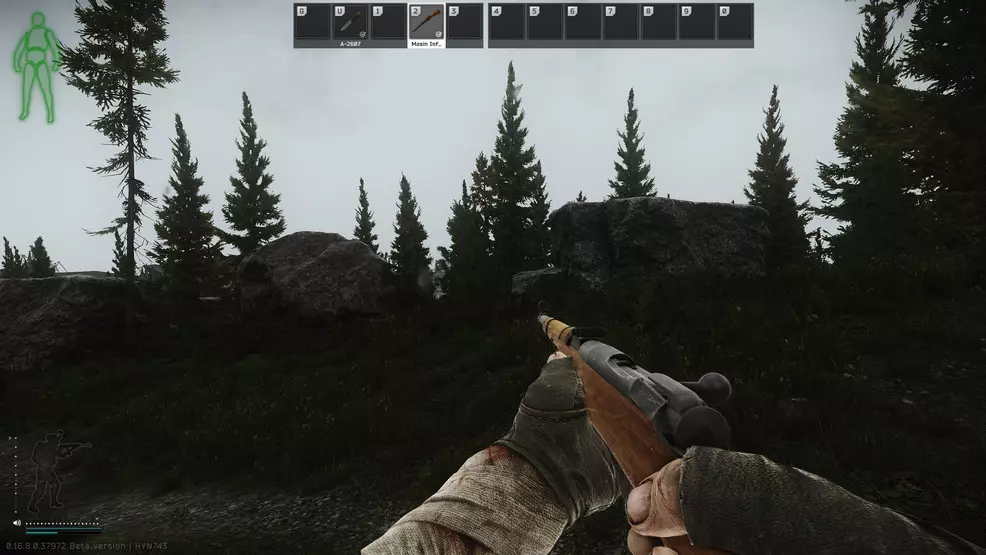
Railroad tracks border a geological anomaly northeast of dormitories. Extract through the fence between distinctive stone outcrops.
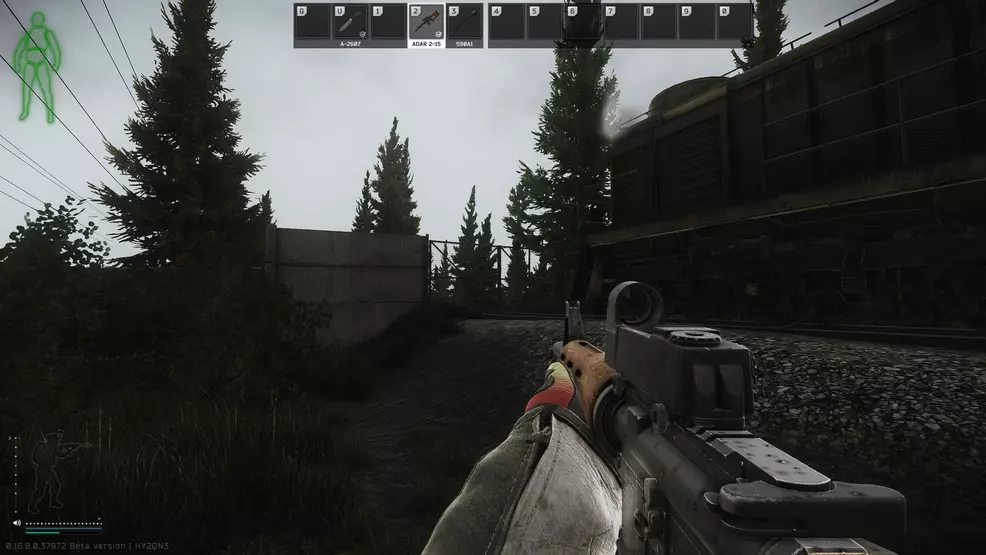
Rail Network Exit
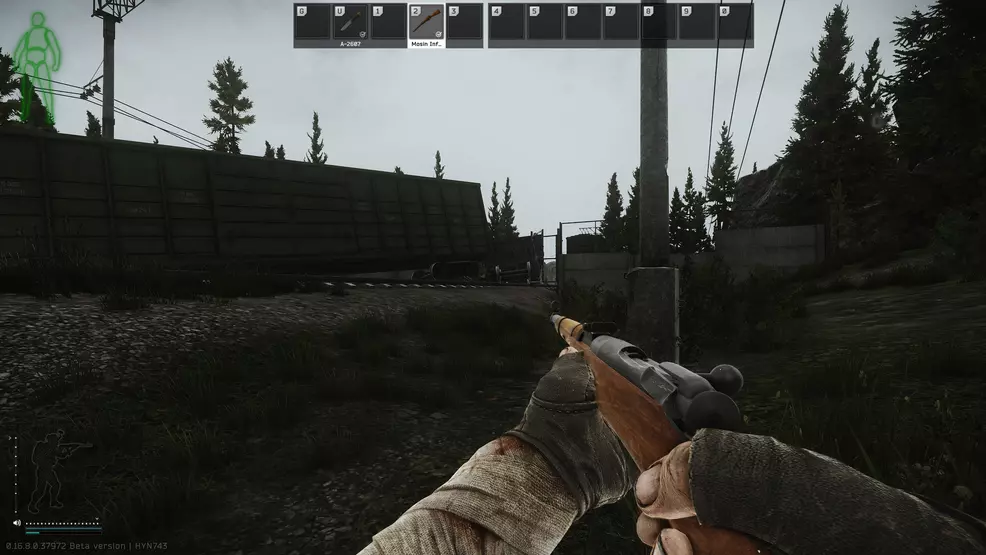
Northern rail terminus features fencing that blocks train passage. Stand near terminal tracks beyond maintenance structures to activate extraction.
Abandoned Vehicle Gate

PMC vehicle extraction doubles as Scav exit without payment requirements. Metal gates near ruined infrastructure mark this location.
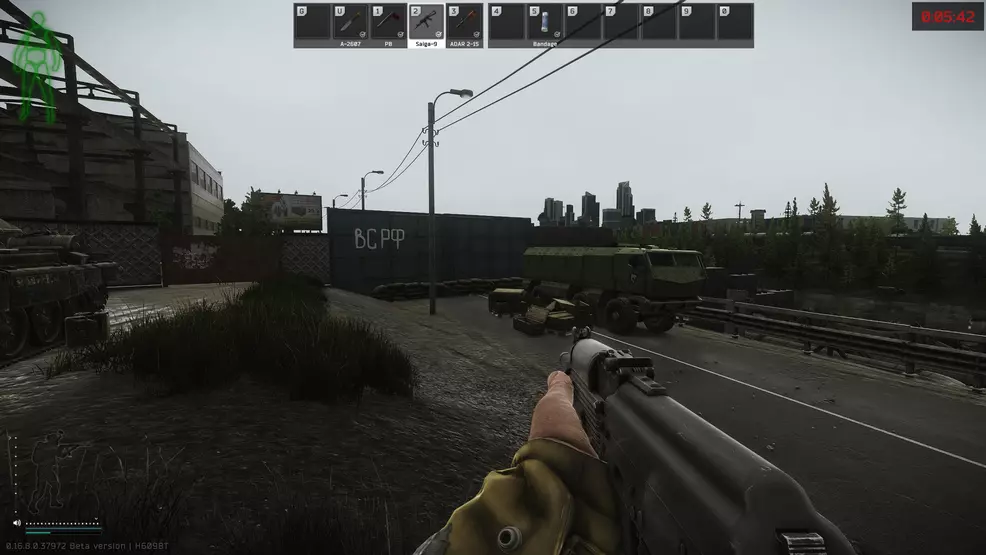
Sniper’s Outlook Point
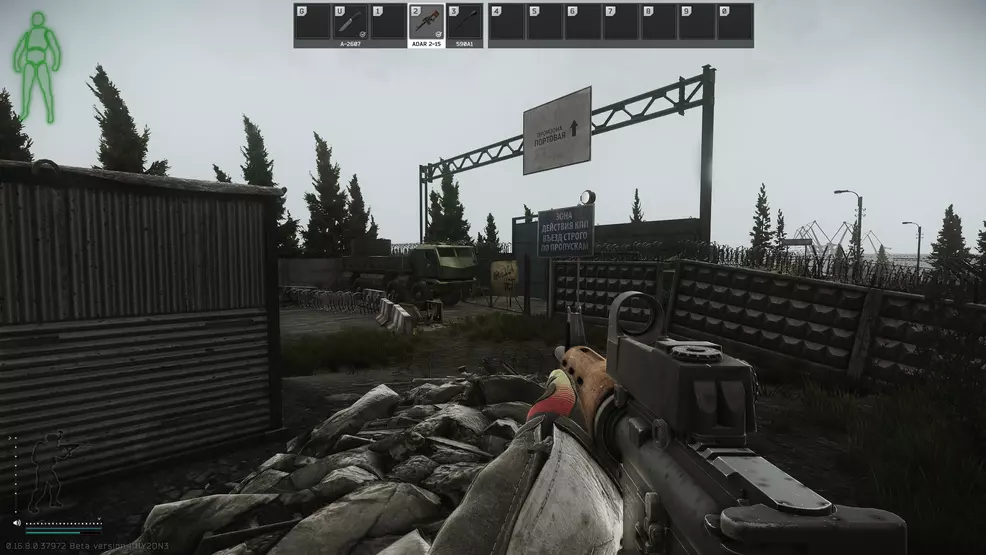
Green military transports parked north of armored emplacements indicate this exit. Shoreline transit becomes available through secondary interaction.
Storage Complex Access
Breach concrete barriers near armored vehicles to access industrial storage. Subterranean doors beneath stacked barrels require keycard access.
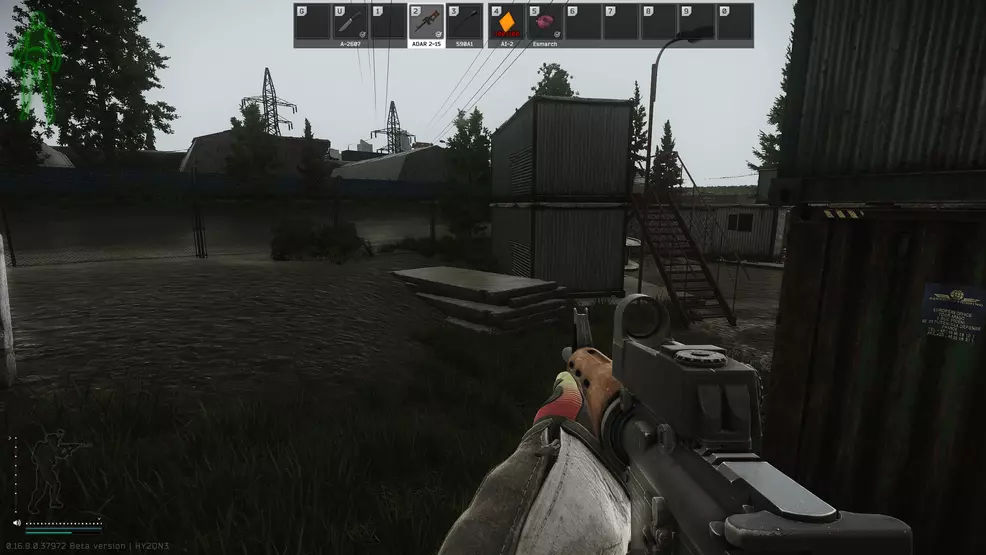
Shipping Container Zone
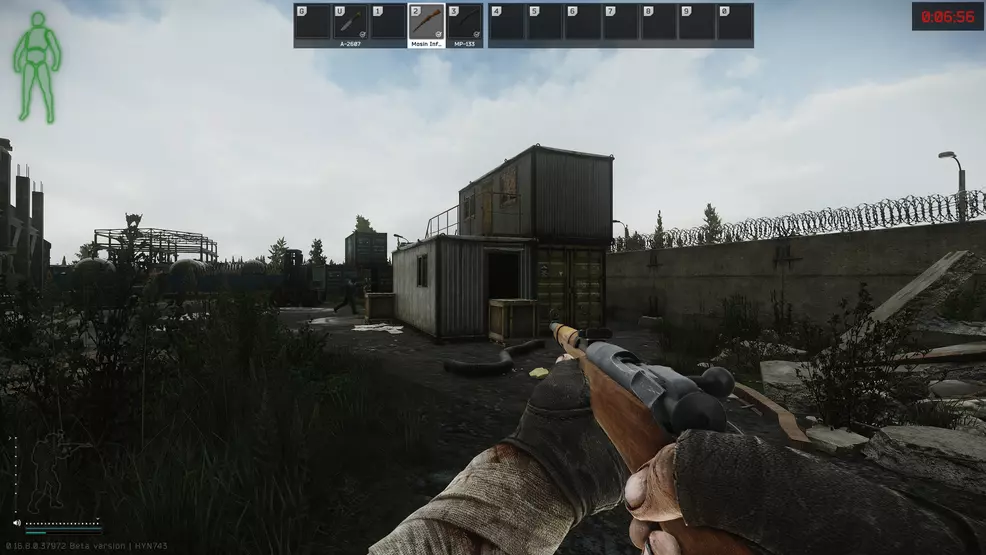
Follow perimeter walls southwest from construction sites to discover stacked cargo units. Extraction activates near weathered crates in shadowed alcoves.
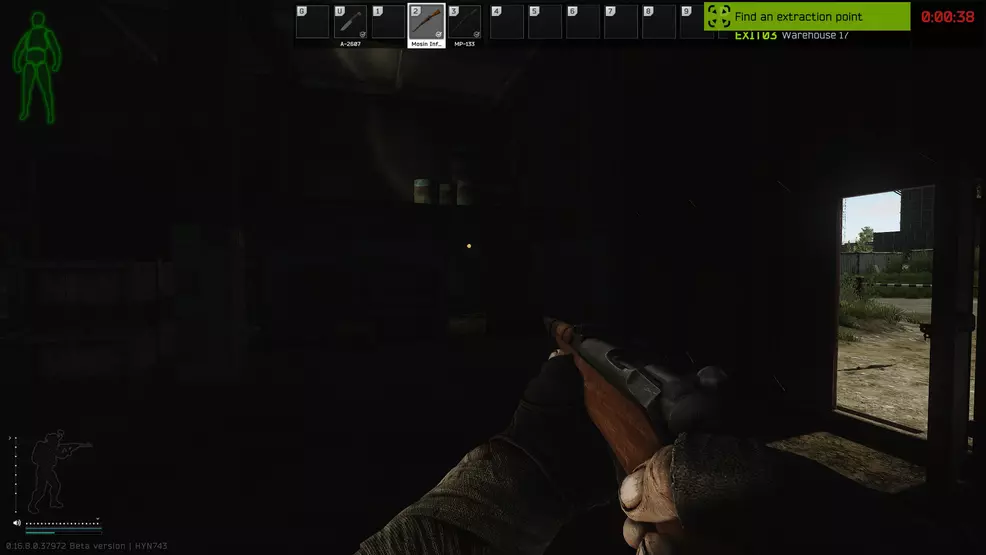
Industrial Warehouse Exit
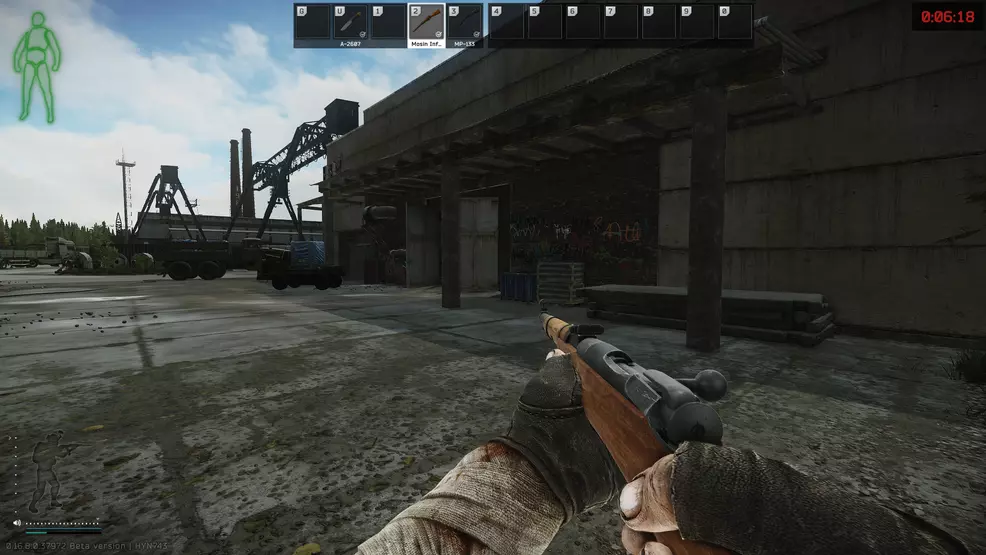
Opposite illuminated fuel stations stand three storage facilities. Westernmost structure’s open doorway provides extraction when facing perimeter walls.
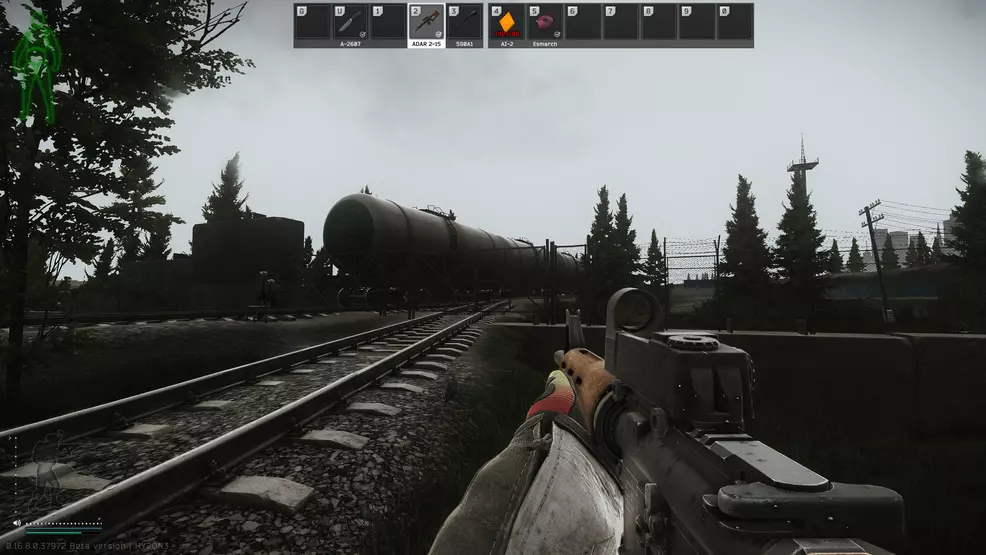
Factory Transit Point
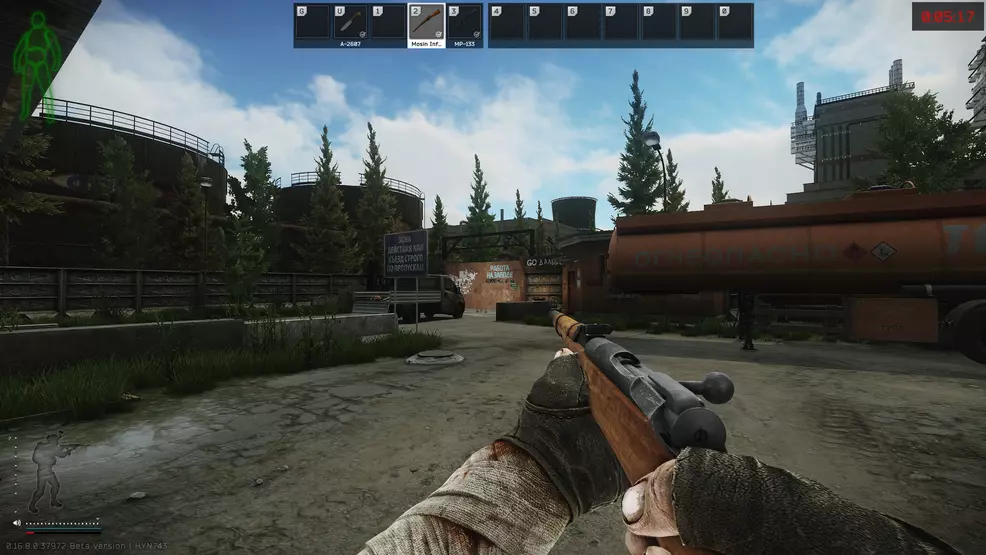
Southern progress from storage complexes leads to derelict fueling stations. Orange industrial gates left of tanker trucks enable Factory access.
Fuel Station Extraction
Corroded entryways adjacent to chain-link fencing mark this western exit. Activate extraction near oxidized doors facing river access points.
Western Rail Access
Northern rail termini beyond water crossings feature extraction zones. Activate near right-side fencing when facing away from central areas.
Southern Rail Terminus
Follow southern tracks past residential zones to map boundary walls. Trailer park proximity indicates activation zone completion.
Maintenance Shed Exit
Concrete slabs mark extraction between southern rail lines and wooded PMC exits. Positioning requires precise alignment with construction materials.
Commercial Transit Hub
Derelict buses near forested areas provide Interchange access. Full activation necessitates boarding vehicle interiors despite visible damage.
Western Perimeter Exit
Map’s western extremity features cobalt security barriers. Extraction activates near immobilized vans along southern blockade sections.
Armored Checkpoint
Eastern riverbank military installations with deployed armor allow extraction. Green barriers and watchtowers indicate proper activation zones.
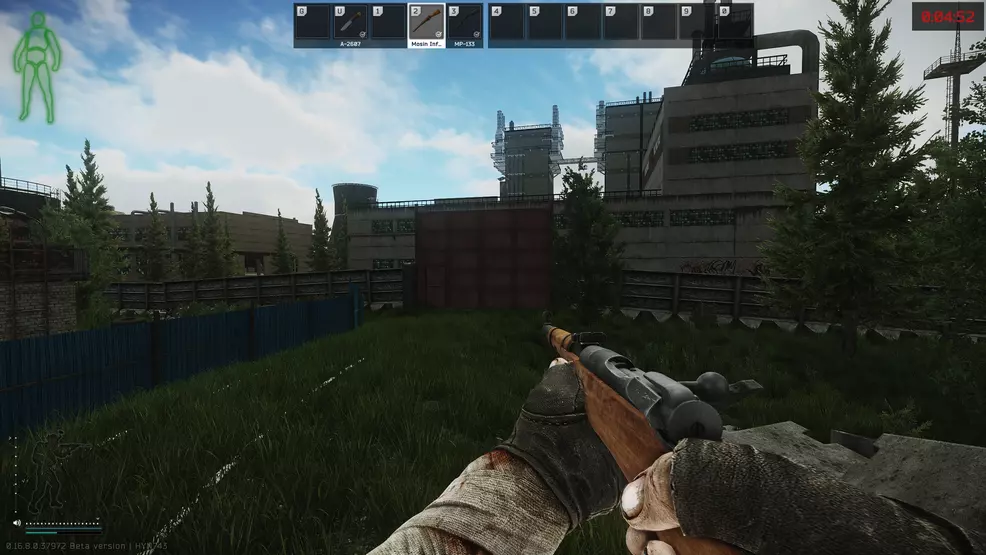
Collaborative Basement Exit
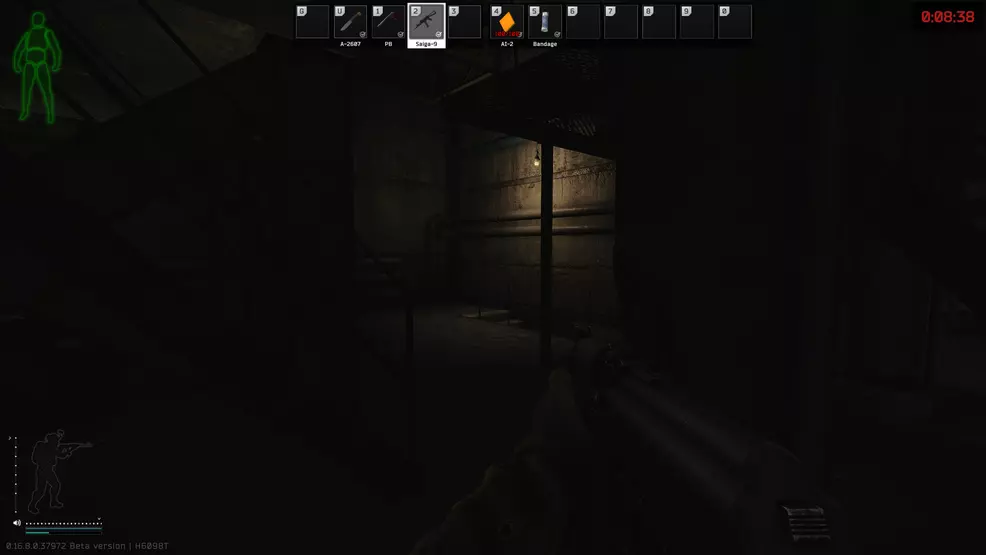
Industrial structures with ventilation stacks conceal subterranean exits. Cooperative extraction requires PMC ally presence at sealed vault doors.
Mastering multiple extraction routes enhances survival odds during Scav excursions. Regular patrol patterns and environmental awareness prove crucial for successful exits.