
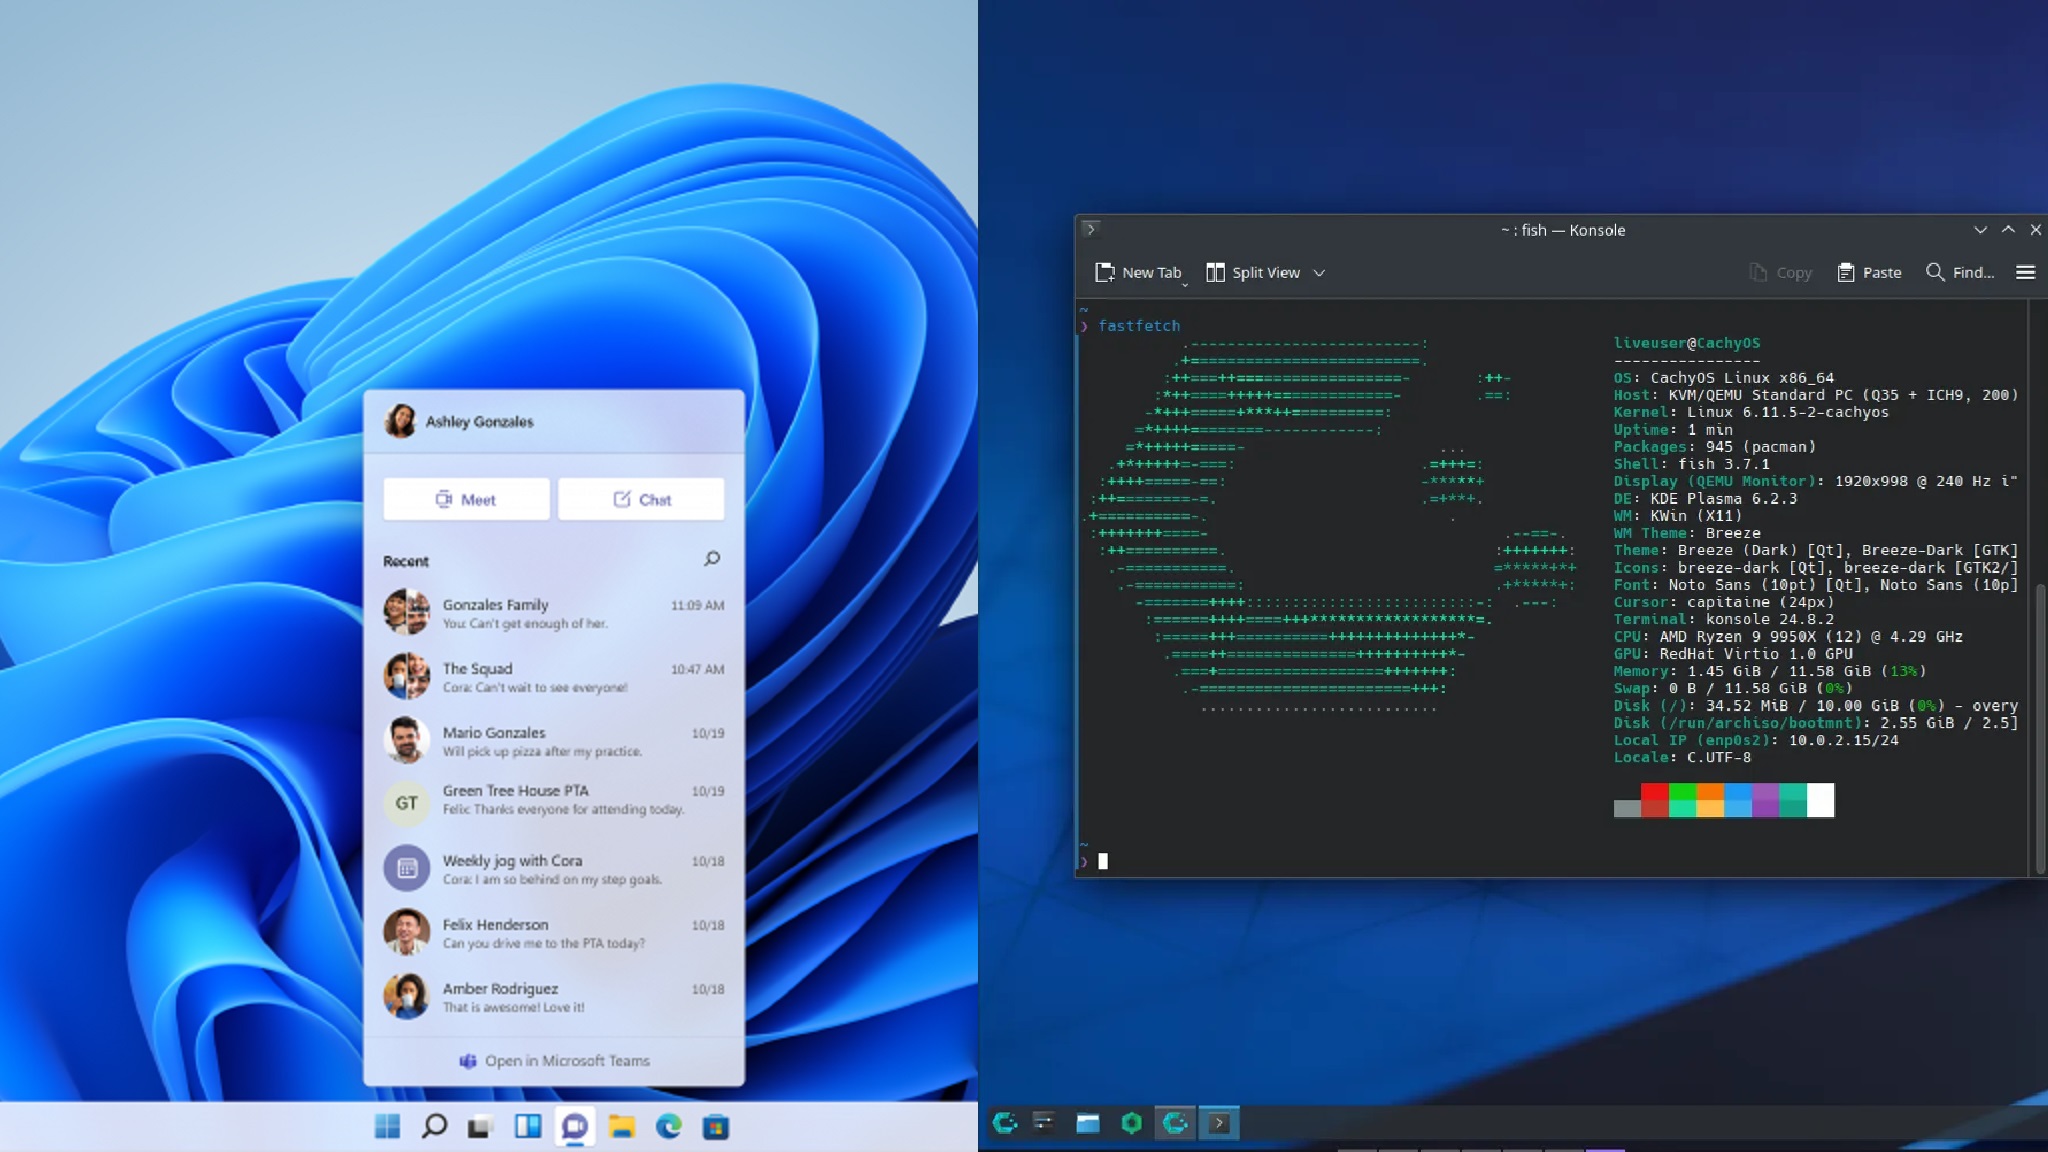
The reception of Windows 11 has been divisive among users. While some find it serviceable, others express dissatisfaction. Previous iterations faced technical shortcomings, though recent 24H2 updates have improved stability. Nevertheless, initial frustrations linger for many.
Linux presents viable alternatives, though complete Windows replacement remains impractical due to software compatibility constraints. A hybrid approach using dual boot systems allows switching between platforms based on task requirements.
Configuring such systems intimidates newcomers, prompting this simplified walkthrough for establishing dual environments.
Disclaimer: Opinions expressed are author’s own. Creating dual boot systems risks data loss—ensure comprehensive backups.
Understanding Dual Boot Configurations
Multi-boot configurations enable concurrent installation of Windows and Linux, offering OS selection during system startup. This permits using Microsoft’s ecosystem for productivity software while leveraging Linux for development, media consumption, or open-source applications.
Pre-Installation Requirements
Essential preparatory steps include:
- Complete data backup for all critical files
- Ready installation media: Windows 11 ISO, CachyOS image, and Rufus utility
- 8GB+ USB drive for bootable media creation
- Windows activation key (OEM systems may auto-activate)
Configuring Dual Boot Environments
Prioritize Windows installation before adding Linux distributions. Reference our clean Windows 11 installation guide for initial setup. Post-Windows configuration, proceed with CachyOS implementation.
Creating Bootable CachyOS Media
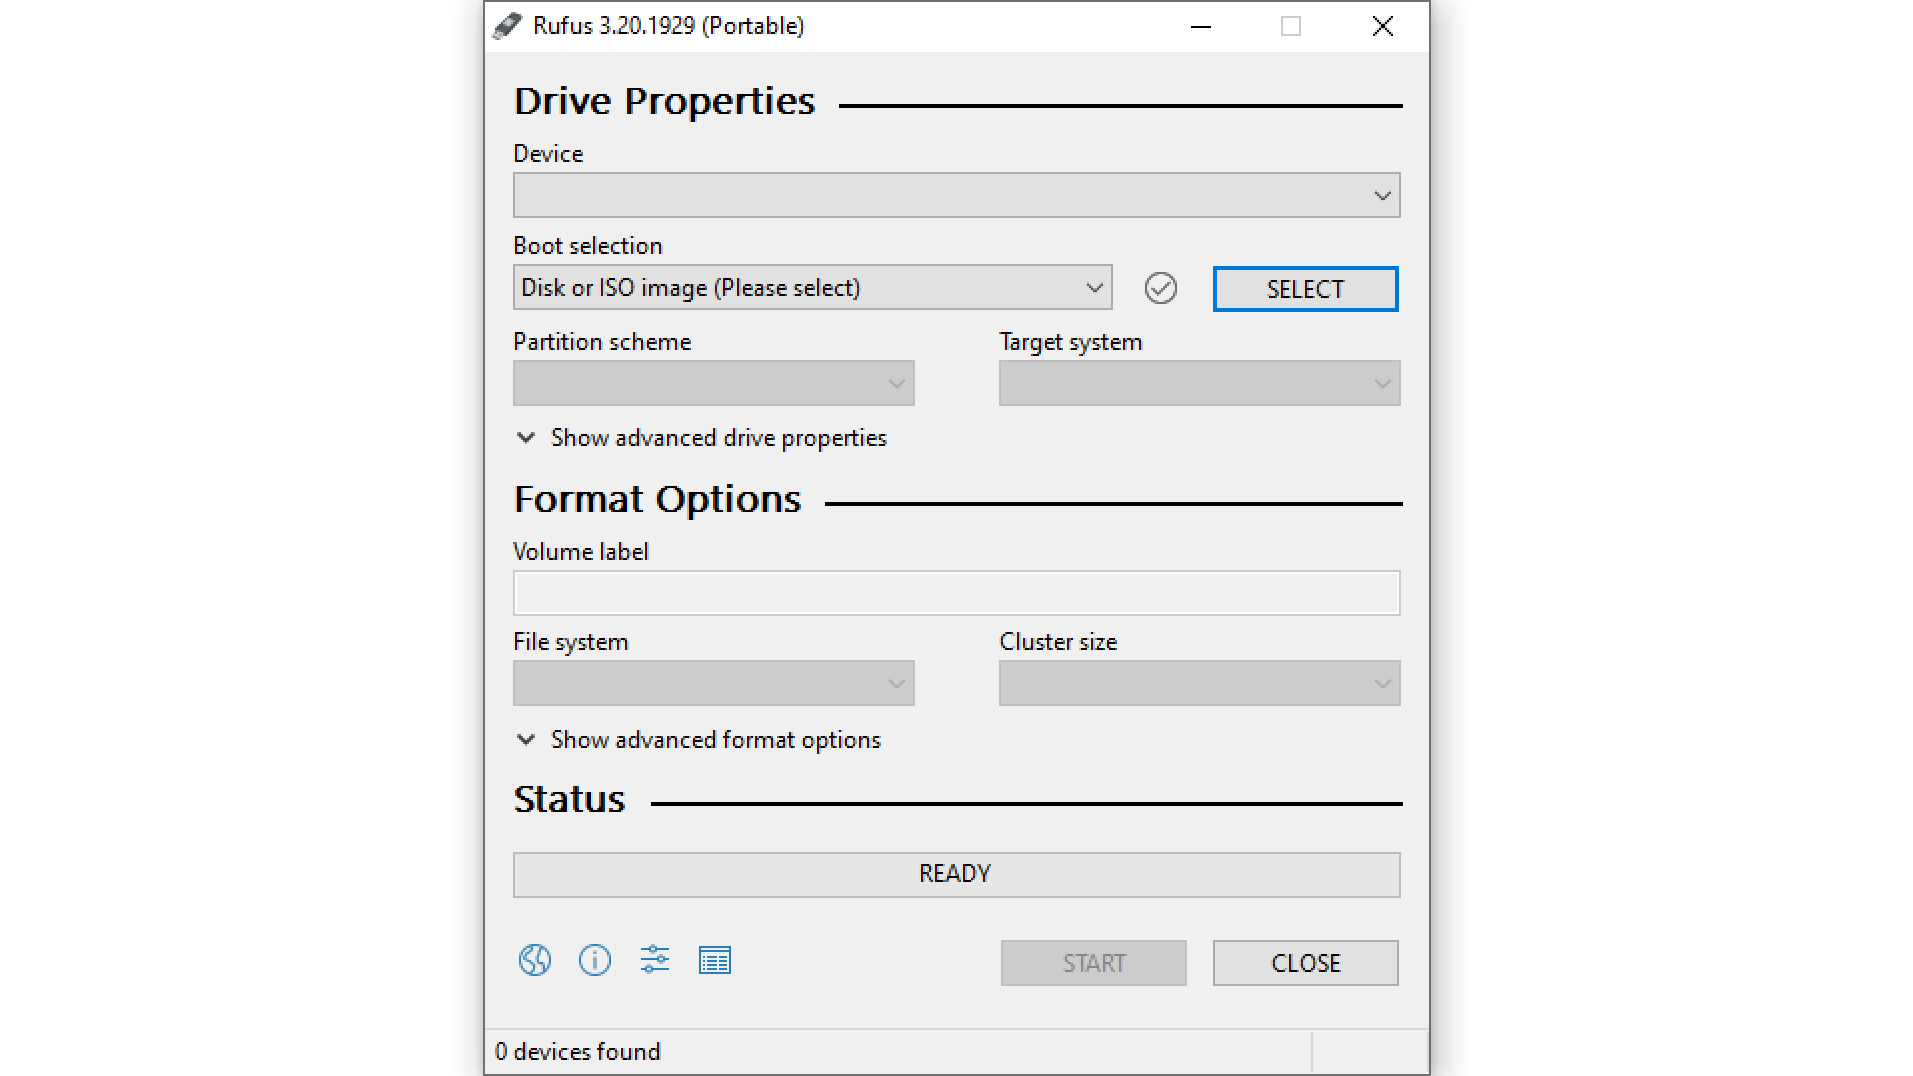
Boot media preparation steps:
- Insert USB drive and launch Rufus
- Select appropriate drive and CachyOS ISO
- Confirm GPT/UEFI partition settings
- Initiate write process and complete media creation
Implementing CachyOS Additional OS
Installation procedure overview:
- Boot from prepared USB media via BIOS priority adjustment
- Select appropriate driver variant (Nvidia users choose proprietary option)
- Launch installer from live environment
- Configure GRUB bootloader and storage allocation (“Install alongside” option)
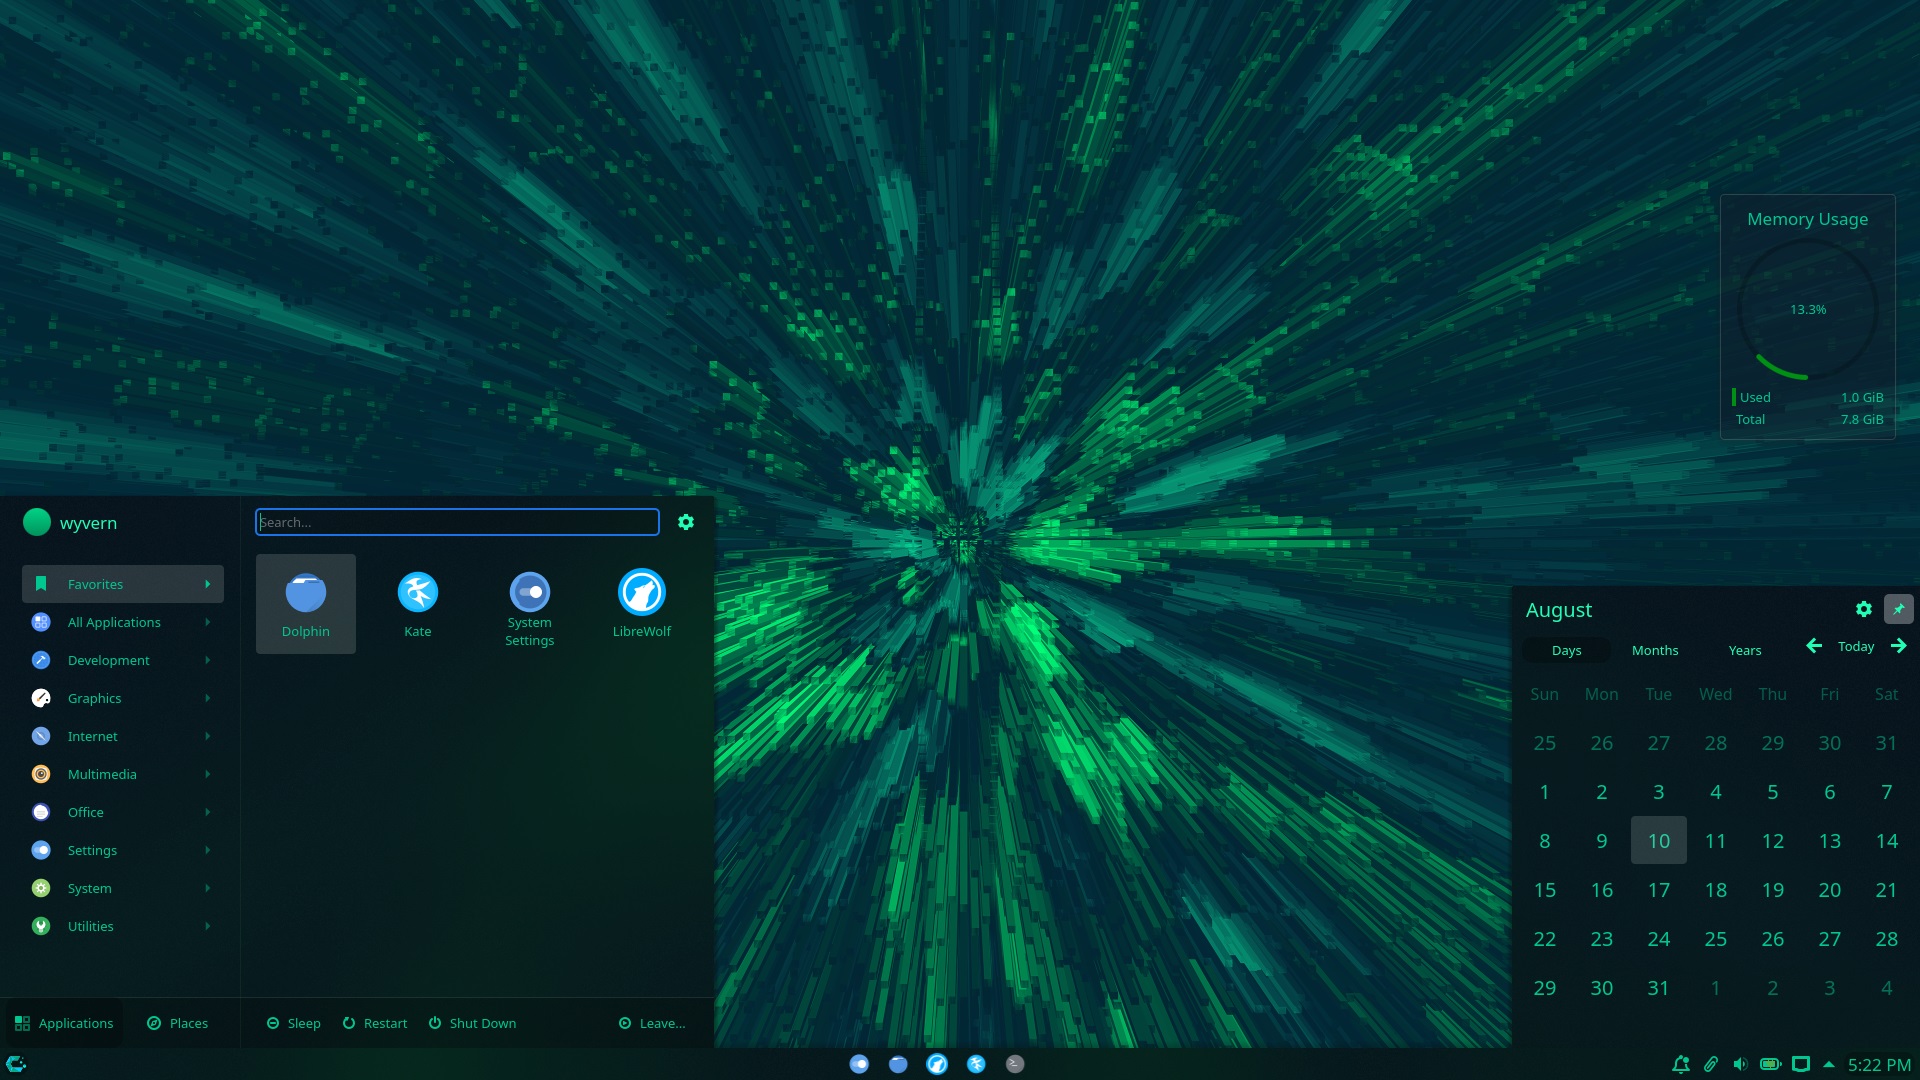
- Select Plasma Desktop for familiar interface and complete setup
GRUB menu enhancement steps:
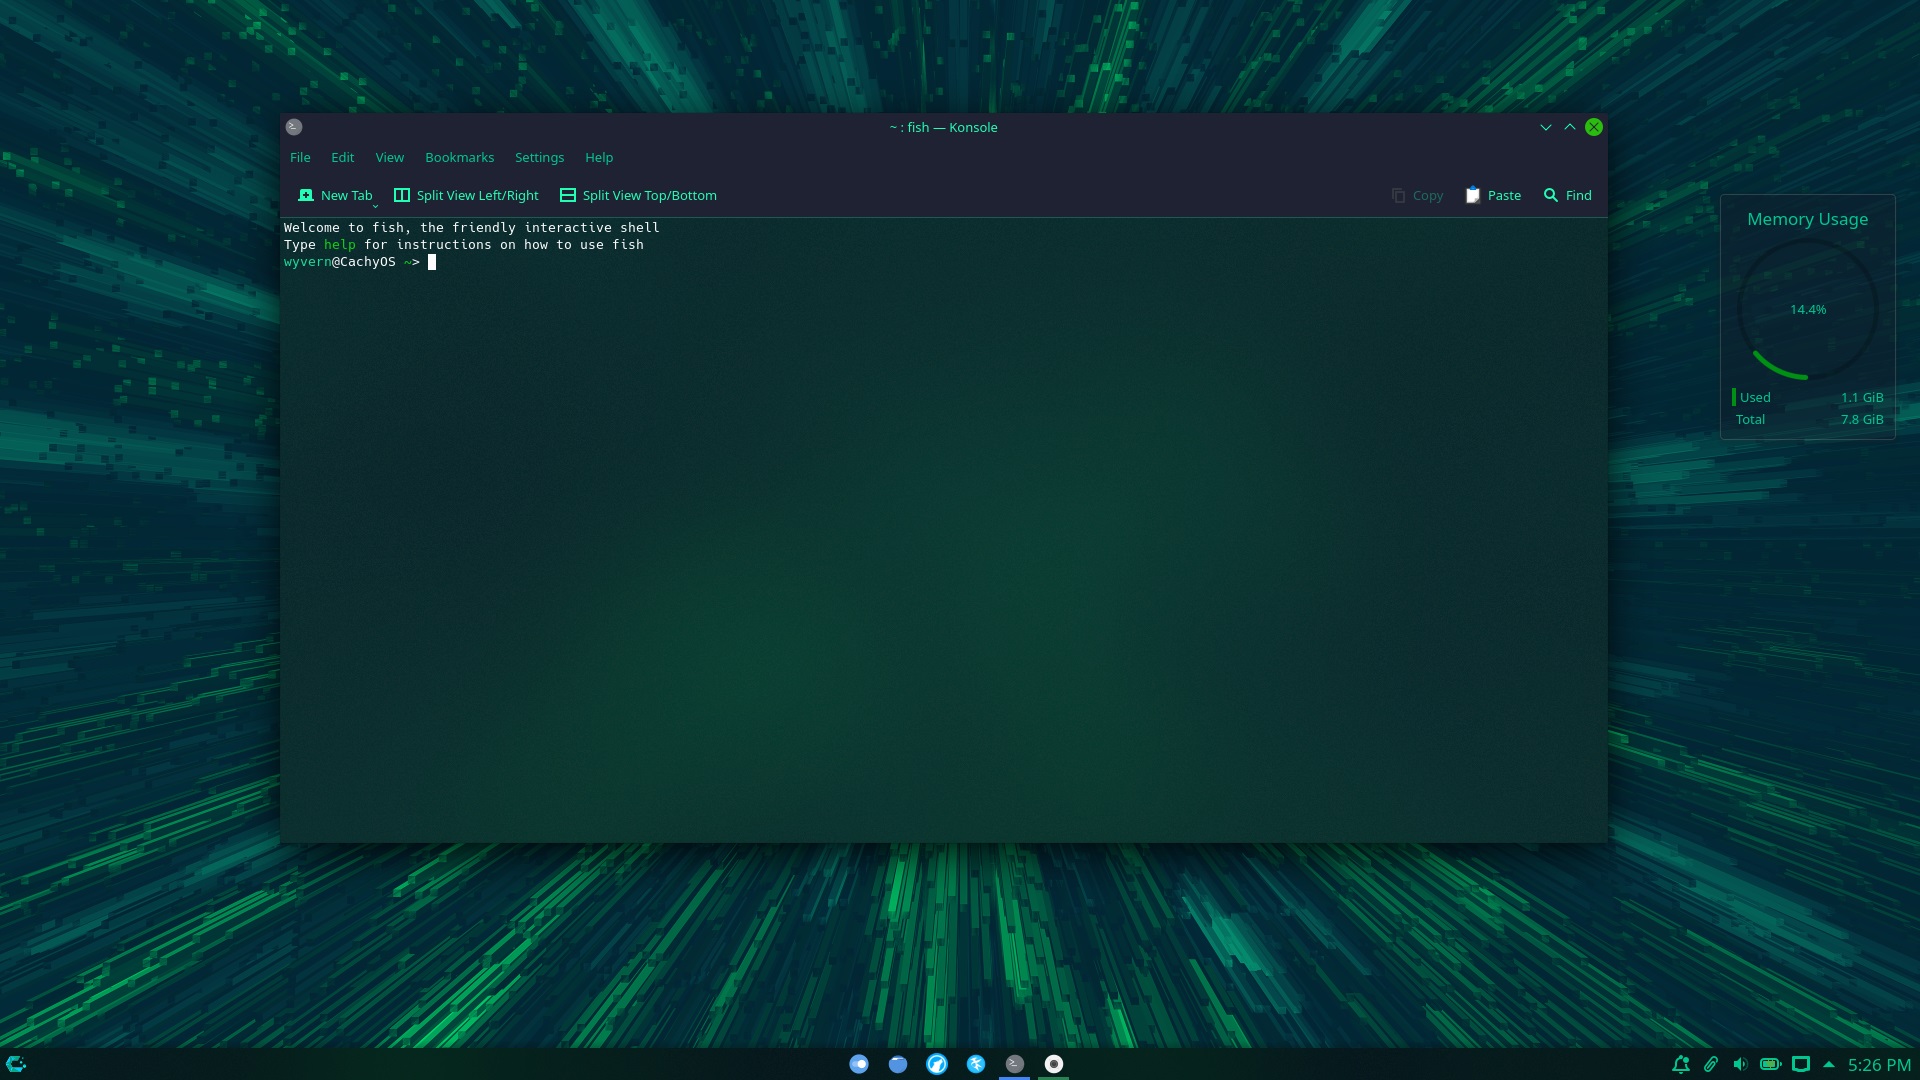
- Access Terminal/Konsole application
- Execute:
sudo pacman -S os-proberfollowed bysudo os-prober - Edit GRUB config via
sudo micro /etc/default/grub - Append
GRUB_DISABLE_OS_PROBER=falseand save modifications - Finalize with
sudo grub-mkconfig -o /boot/grub/grub.cfg
Subsequent reboots display both OS options in GRUB menu for seamless switching.