
Setting up a new computer and need to install an OS? Or perhaps persistent system errors have pushed you toward a complete system reset? A fresh Windows 11 installation often resolves most software-related problems, but the process requires careful preparation to avoid data loss or boot failures.
This walkthrough will guide you through creating installation media, configuring BIOS settings, and managing post-installation driver setups. Handle with caution: this procedure will erase existing data permanently.
Important: Always back up critical files before proceeding. Technical choices described here reflect the author’s experience, and system modifications carry inherent risks.
Pre-Installation Checklist
- Create full backups of personal files beyond standard cloud storage – consider physical drives for redundancy
- Download motherboard firmware, network adapters, and peripheral drivers directly from manufacturers’ support portals
- Obtain USB installation media (8GB minimum) and the latest Windows 11 ISO
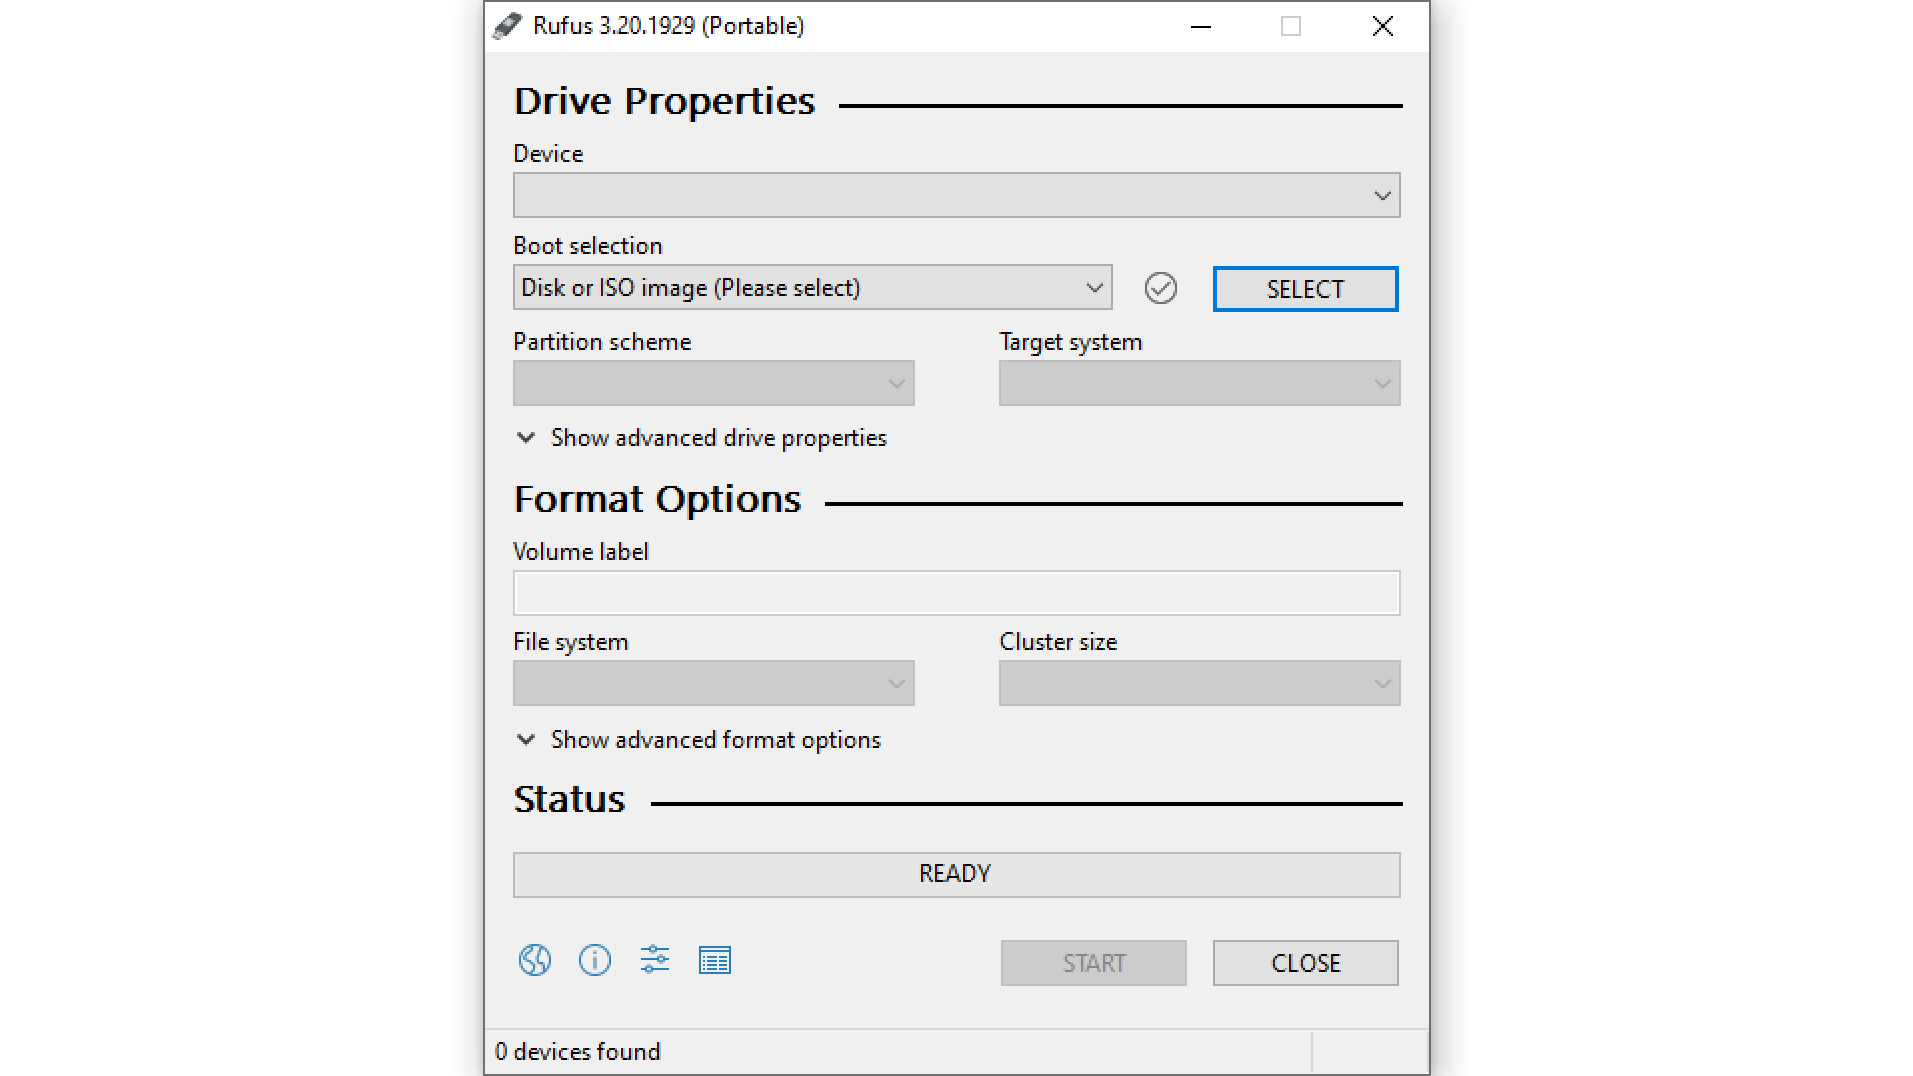
- Use Rufus to format drives with UEFI/GPT configuration for modern hardware compatibility
- Document your license key unless using OEM pre-activation
Media Preparation Steps:
- Insert USB drive and launch Rufus
- Select FAT32 formatting with GPT partitioning
- Load ISO file using non-Quick Format option
- Label driver directories clearly after flash drive creation
OS Installation Procedure
- Access BIOS/UEFI via DEL/F2 during boot
- Enable TPM 2.0 and Secure Boot under Security tab
- Prioritize USB boot using Boot Order settings
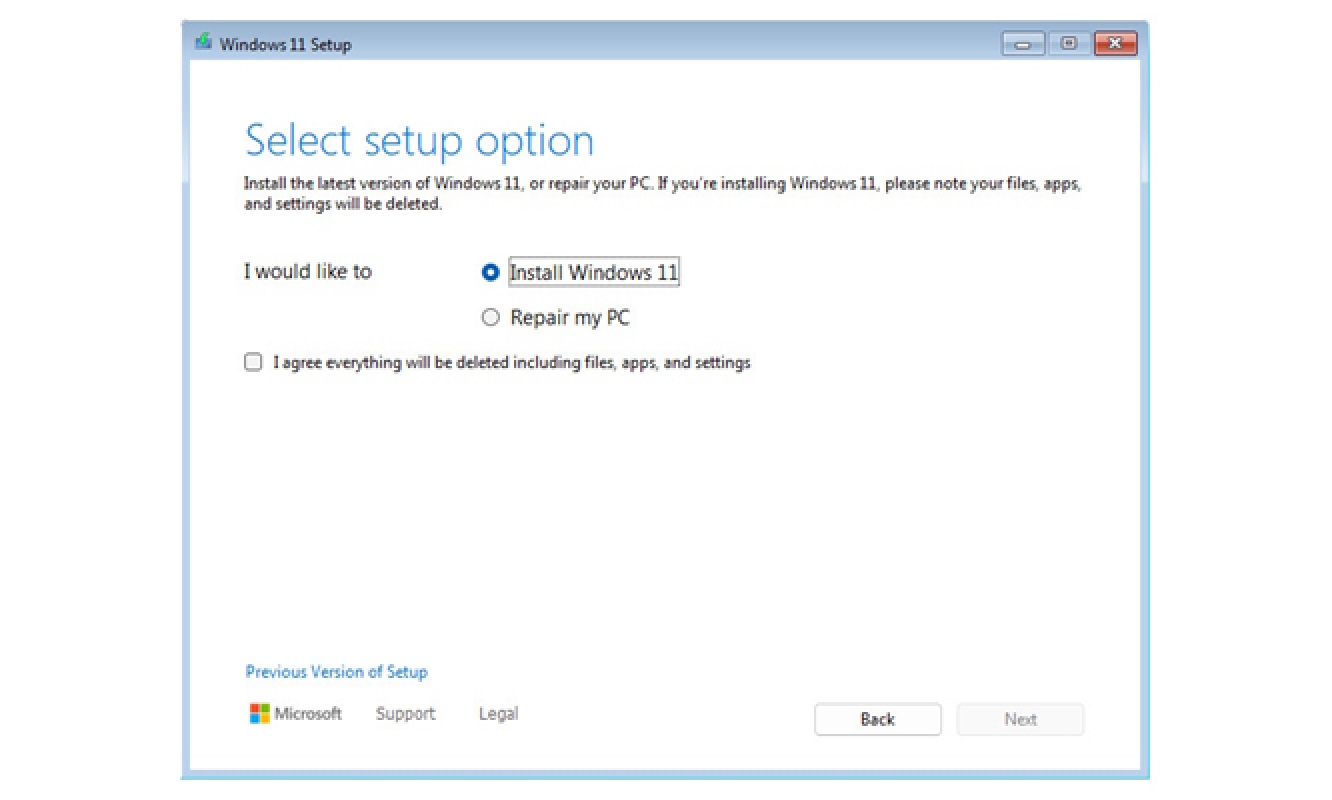
- Launch installer and select Custom Installation
- Delete existing partitions using Disk Cleanup tool
- Allow auto-reboot cycles without removing installation media
Post-Installation Steps
- Access Device Manager to identify missing drivers
- Install chipset utilities first, followed by network controllers
- Rebuild software firewall and update Windows through Settings
- Perform hardware validation via manufacturer diagnostics tools